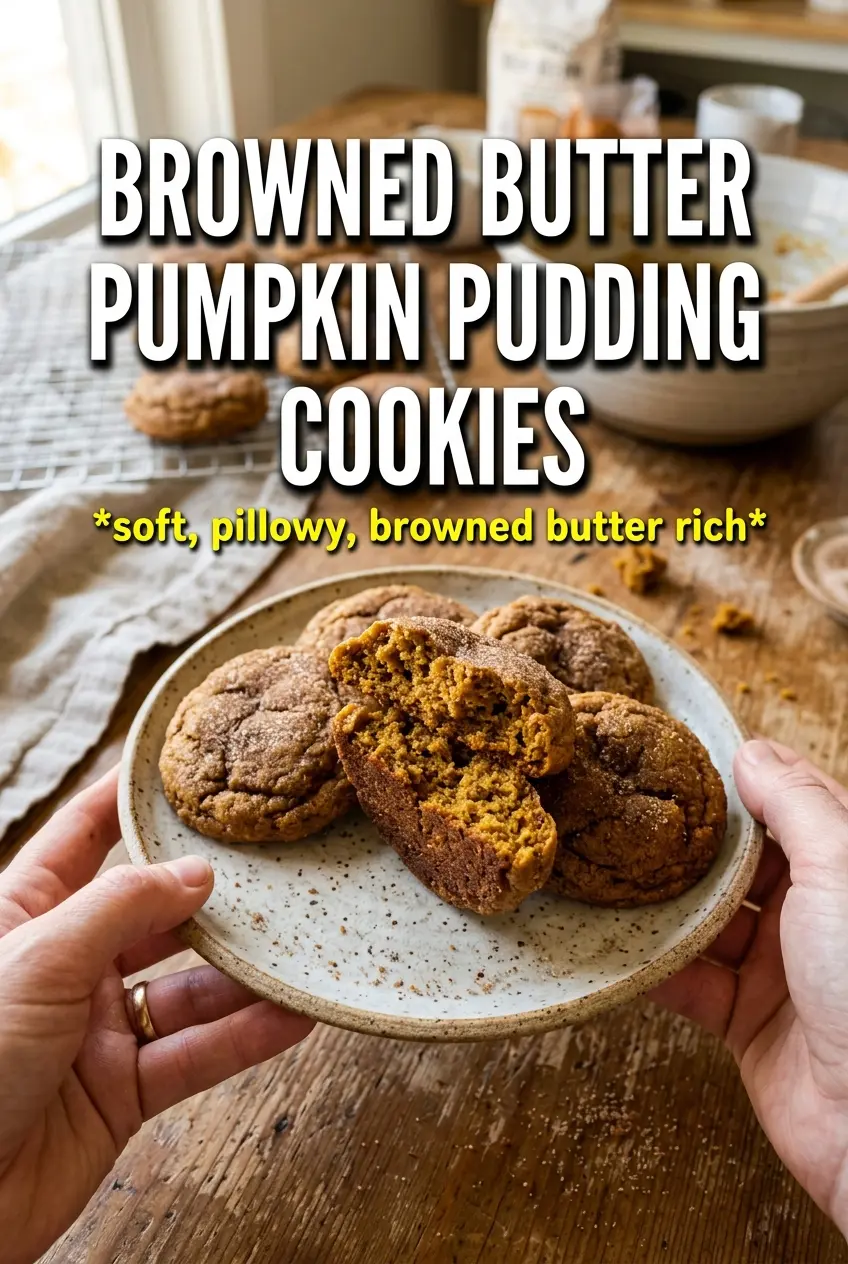
Browned butter pumpkin pudding cookies bake up thick, chewy, and packed with that deep caramel note that only browned butter can give. The pudding mix keeps the centers soft for days, while the blotted pumpkin adds just enough warmth and color without pushing the dough into cakey territory. They come out with crisp edges, a tender middle, and a finish of flaky salt that makes the butterscotch notes pop.
The two details that matter most here are the butter and the pumpkin. Brown the butter until the milk solids turn amber and smell nutty, then chill it until solid again before mixing the dough; if you use it warm, the cookies spread too fast. The pumpkin also needs to be blotted dry, because extra moisture changes the texture from chewy to bready in a hurry. Those two small steps are what keep these cookies dense, rich, and balanced instead of soft in the wrong way.
Below, I’ve broken down the parts that actually affect the final cookie so you know where to be careful and where you’ve got room to move. If you’ve ever had pumpkin cookies turn puffy or bland, this version fixes both problems.
The browned butter flavor came through in every bite, and the centers stayed chewy even the next day. I blotted the pumpkin like you said and the cookies baked up thick instead of cakey.
Save these browned butter pumpkin pudding cookies for the days when you want thick, chewy cookies with a butterscotch edge and a flaky salt finish.
The Trick Is Keeping the Pumpkin from Turning These Cakey
Pumpkin cookies fail when the dough carries too much moisture. Pumpkin puree brings water with it, and if that water stays in the dough, the cookies puff instead of staying dense and chewy. Blotting the pumpkin on paper towels sounds fussy, but it’s the step that keeps the texture grounded and lets the browned butter and pudding mix do their work.
The other piece is the chilled browned butter. Once the butter is browned, it needs to cool and firm back up before you beat it with the sugars. That solidified fat traps air better, creames properly, and gives you a cookie that spreads just enough without going flat. If the dough feels loose before scooping, it’s usually because the butter was still warm or the pumpkin was too wet.
What the Pudding Mix Is Actually Doing Here
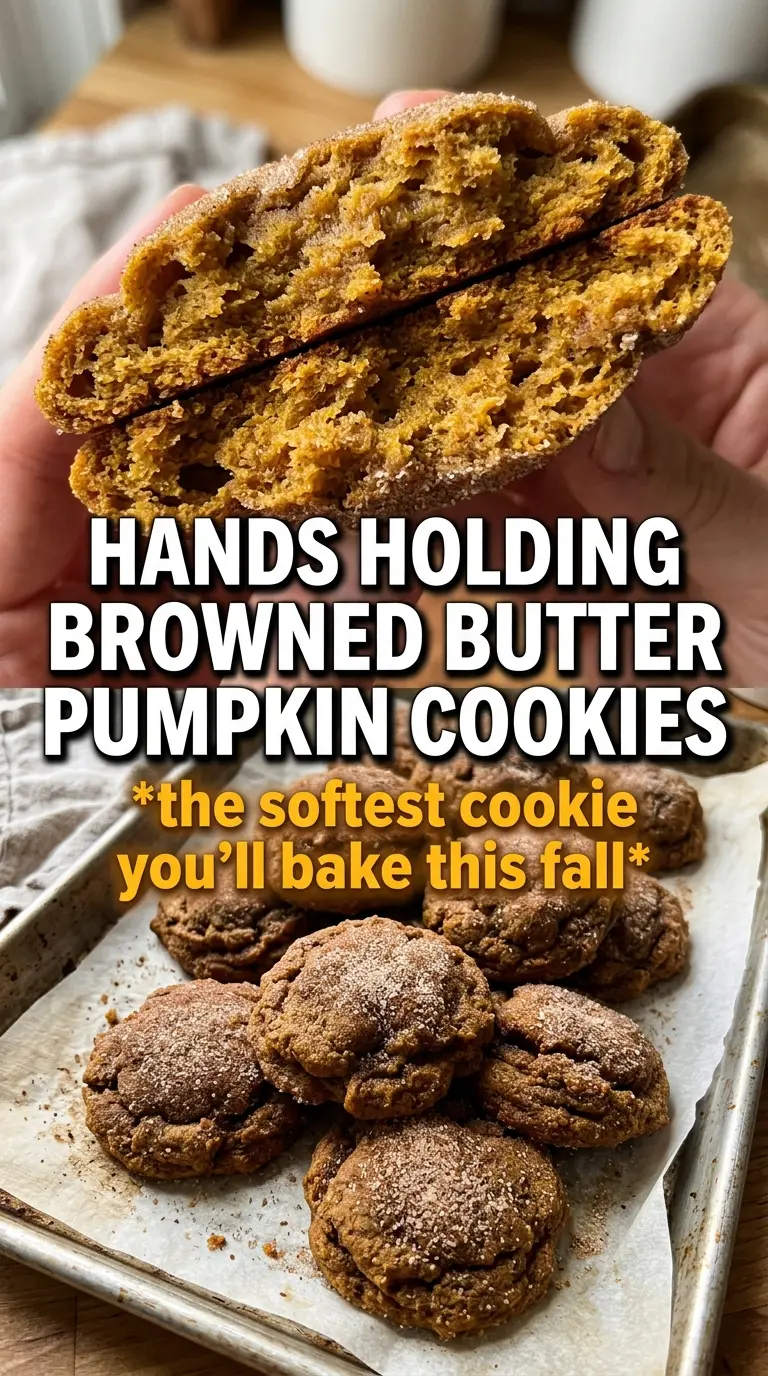
- Instant pudding mix — This is the texture insurance. It brings starch and extra flavor, which helps the cookies stay soft and chewy for longer than a standard pumpkin cookie. Use instant, not cook-and-serve, because the formula is designed to work in dough without cooking first.
- Browned butter — This is the flavor maker. The nutty, toasted notes give the cookies depth that plain butter can’t match. Chill it until firm again before mixing, or the dough will spread too much and lose that thick center.
- Pumpkin puree — Use pure pumpkin, not pie filling. The blotted puree adds earthy pumpkin flavor and color without flooding the dough. If you skip blotting, the cookies bake up softer and more cakey.
- Brown sugar — This brings moisture and chew, plus a deeper caramel note that works with the browned butter. Granulated sugar still has a job here, but brown sugar is what gives the finished cookie its soft bite.
- Flaky sea salt — Don’t leave this out. A little salt on top wakes up the butterscotch and pumpkin spices right after baking, while the cookies are still warm enough for it to cling.
Building the Dough So the Cookies Stay Thick
Brown and Chill the Butter First
Cook the butter until the milk solids turn golden brown and the kitchen smells nutty, not just buttery. Pour it into a bowl and refrigerate until solid again, about an hour. If you try to cream warm browned butter, the dough won’t hold enough structure and the cookies will spread thin.
Dry the Pumpkin Before It Touches the Bowl
Spread the pumpkin puree on a paper towel and press out as much liquid as you can without losing all of the flesh. You want a thick paste, not a watery smear. That small change is what keeps the centers chewy instead of soft and cakey.
Mix Just Until the Flour Disappears
Once the dry ingredients go in, fold them only until no streaks of flour remain. Overmixing develops too much gluten and makes the cookies tougher than they should be. Scoop the dough into rounded mounds; don’t flatten them, because they’ll settle into the right shape in the oven.
Bake for Set Edges and Soft Centers
Pull the cookies when the edges are set and the centers still look slightly underdone. They finish on the baking sheet as they cool, and that carryover heat is what keeps the middle chewy. Sprinkle the flaky salt right away so it sticks before the tops cool.
Three Ways to Change These Without Losing the Texture
Dairy-Free Version
Use a good plant-based butter that behaves like stick butter, not a soft tub spread. You’ll still want to brown it if it contains enough milk solids to brown, but check the label first because some dairy-free butters won’t develop the same toasted flavor. The texture stays close, though the finish will be a little less rich.
Gluten-Free Swap
Use a 1:1 gluten-free baking blend that includes xanthan gum. The pudding mix already helps with softness, so the cookies hold together well, but the dough may feel a little softer and need a few extra minutes to chill before scooping. The flavor stays the same; the crumb just comes out slightly more delicate.
Make Them More Butterscotch-Forward
Use butterscotch pudding mix instead of vanilla if that’s the version you can find. It pushes the caramel note harder and plays beautifully with the browned butter, which makes the cookies taste deeper and warmer. The texture stays the same, but the spice reads a little softer because the butterscotch takes the lead.
Storage and Reheating
- Refrigerator: Store in an airtight container for up to 5 days. They stay chewy, though the flaky salt softens a bit on the surface.
- Freezer: Freeze baked cookies for up to 2 months, or freeze scooped dough balls and bake from frozen with 1 to 2 extra minutes.
- Reheating: Warm baked cookies in a 300F oven for 3 to 4 minutes. The mistake is blasting them in the microwave, which makes the centers rubbery instead of soft.