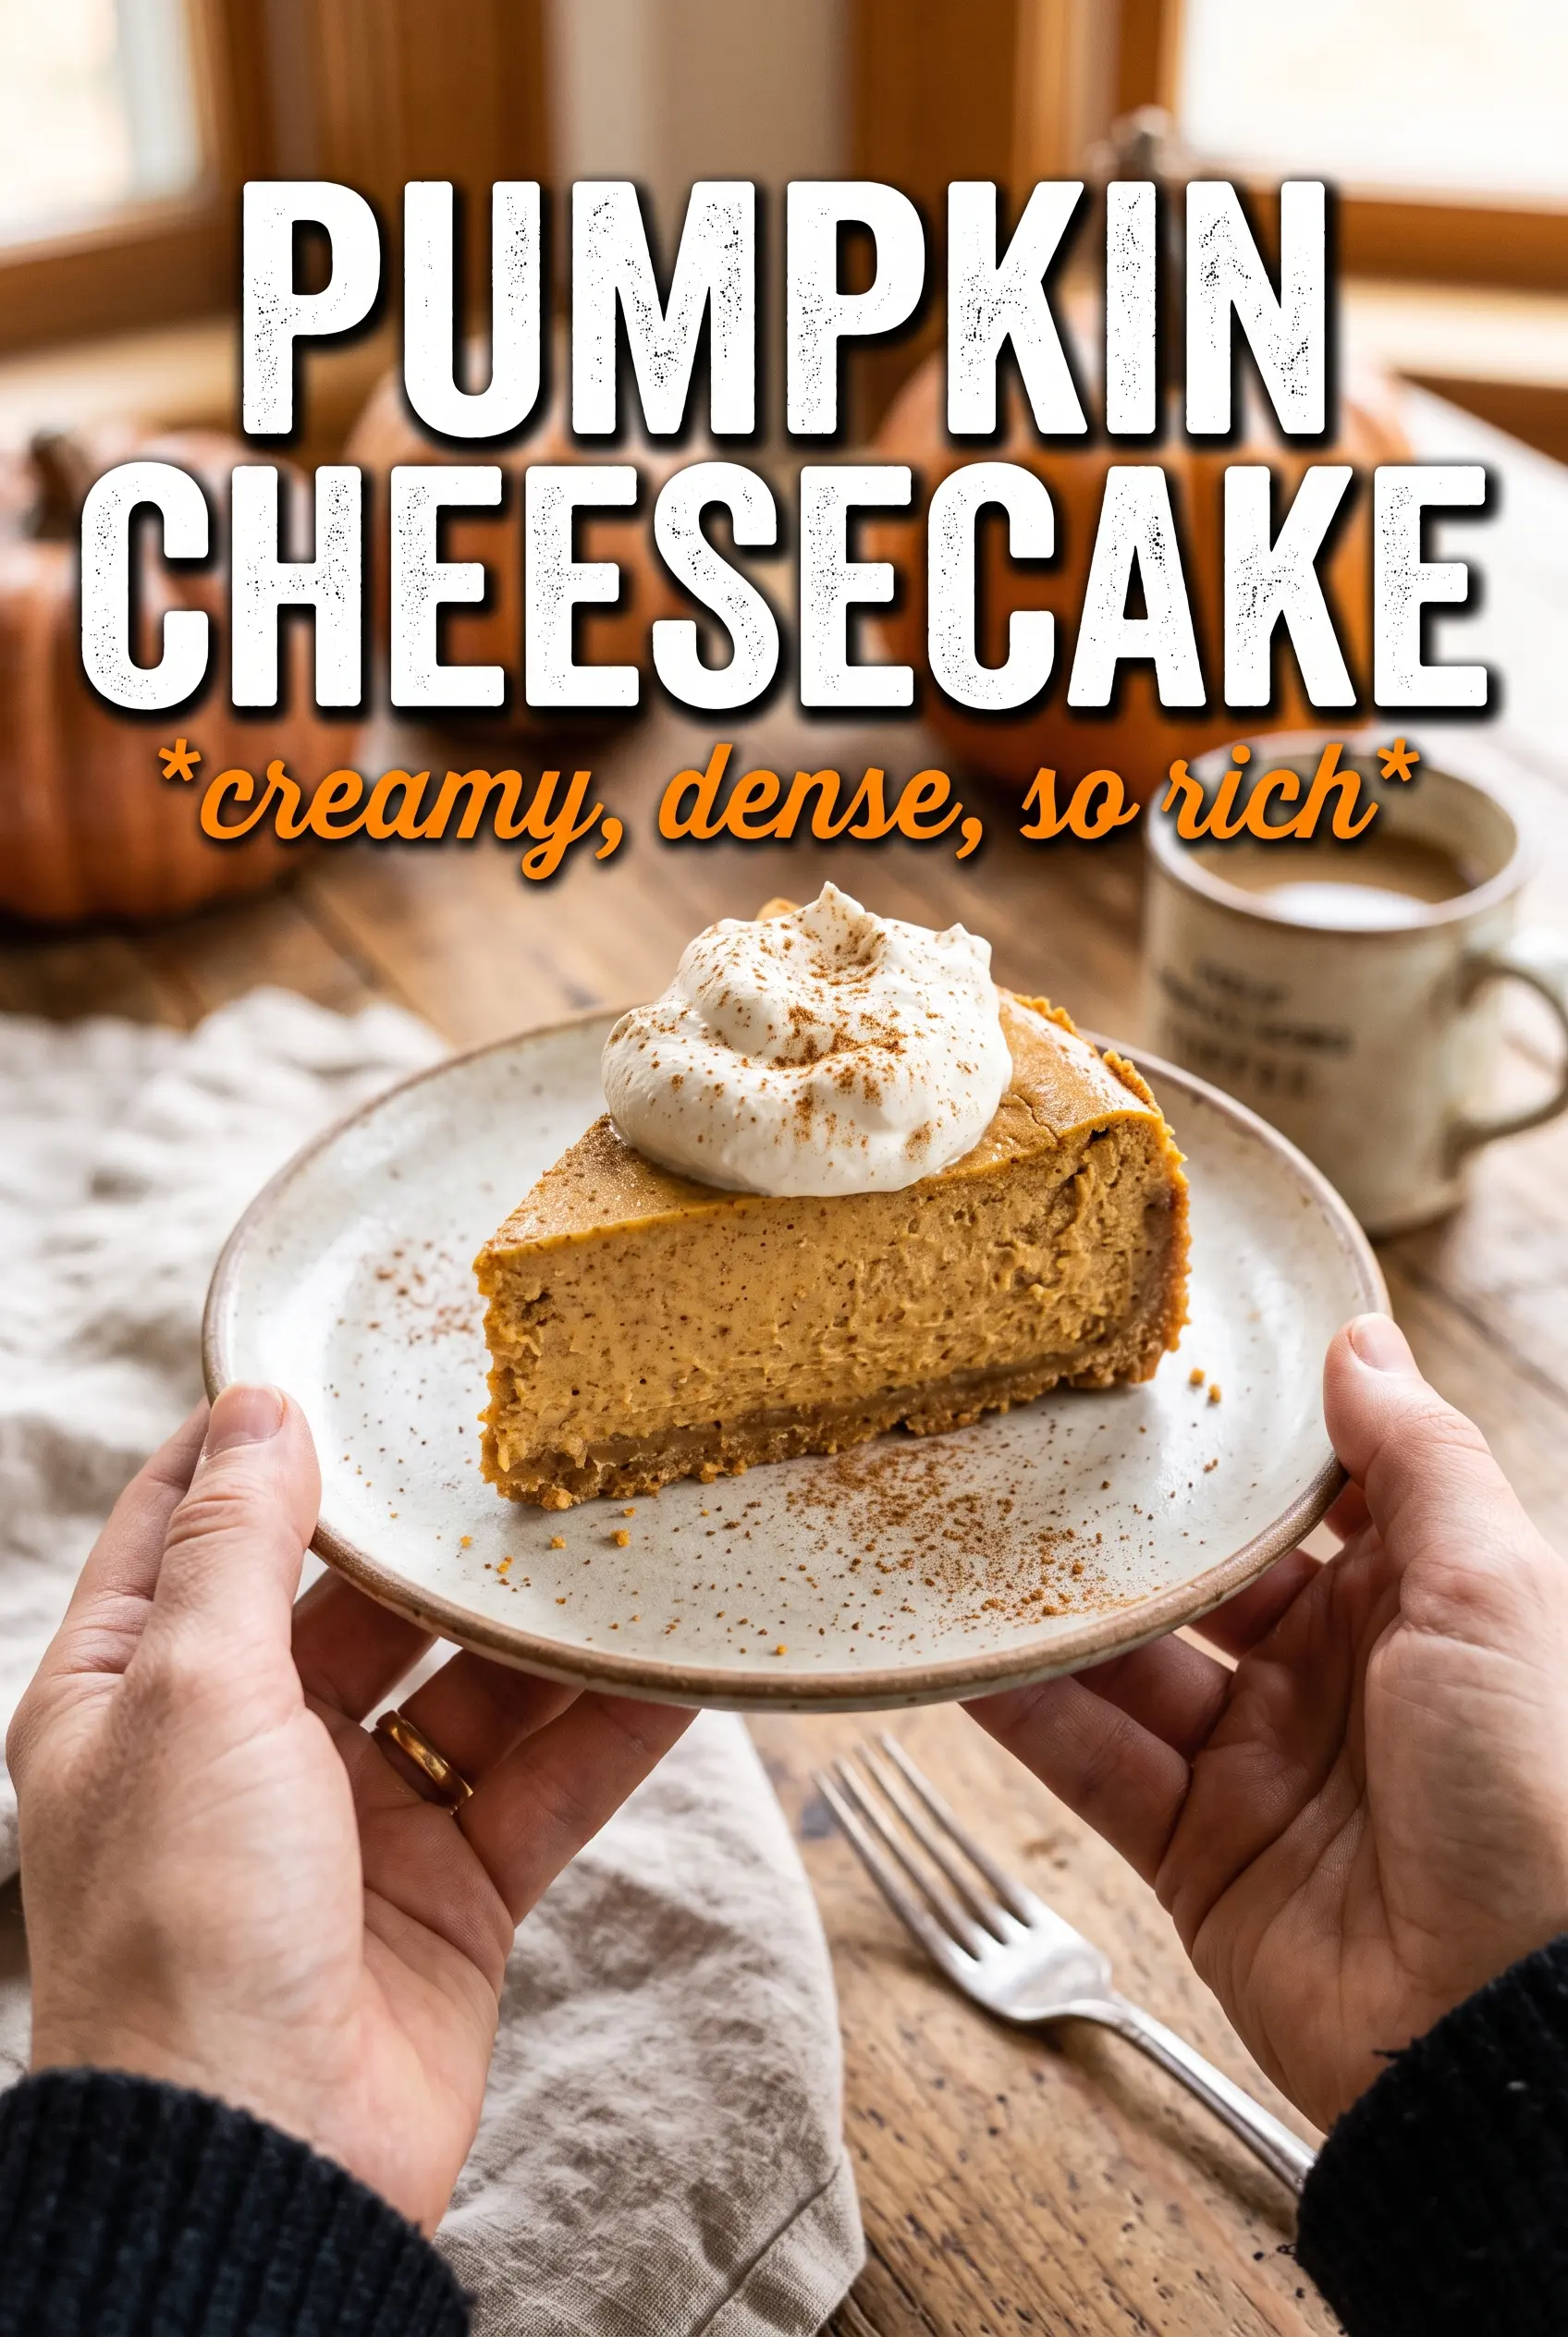
Silky pumpkin cheesecake with a spiced gingersnap crust hits that sweet spot between rich and restrained. The crust brings a deep molasses snap, the filling stays smooth instead of grainy, and the whole thing sets into clean slices that hold their shape on the plate. A dollop of whipped cream and a little cinnamon on top finish it the way a good cheesecake should: simple, cold, and steady.
The trick is starting with truly softened cream cheese and beating it until there isn’t a lump left before the eggs go in. That’s what keeps the filling dense and creamy instead of speckled or overworked. The water bath matters here too. It keeps the heat gentle enough for the center to set evenly without the top drying out and cracking.
Below, I’ve included the small details that make this cheesecake behave: how to keep the crust crisp, how to tell when the center is set correctly, and what to do if you want to make it a day ahead.
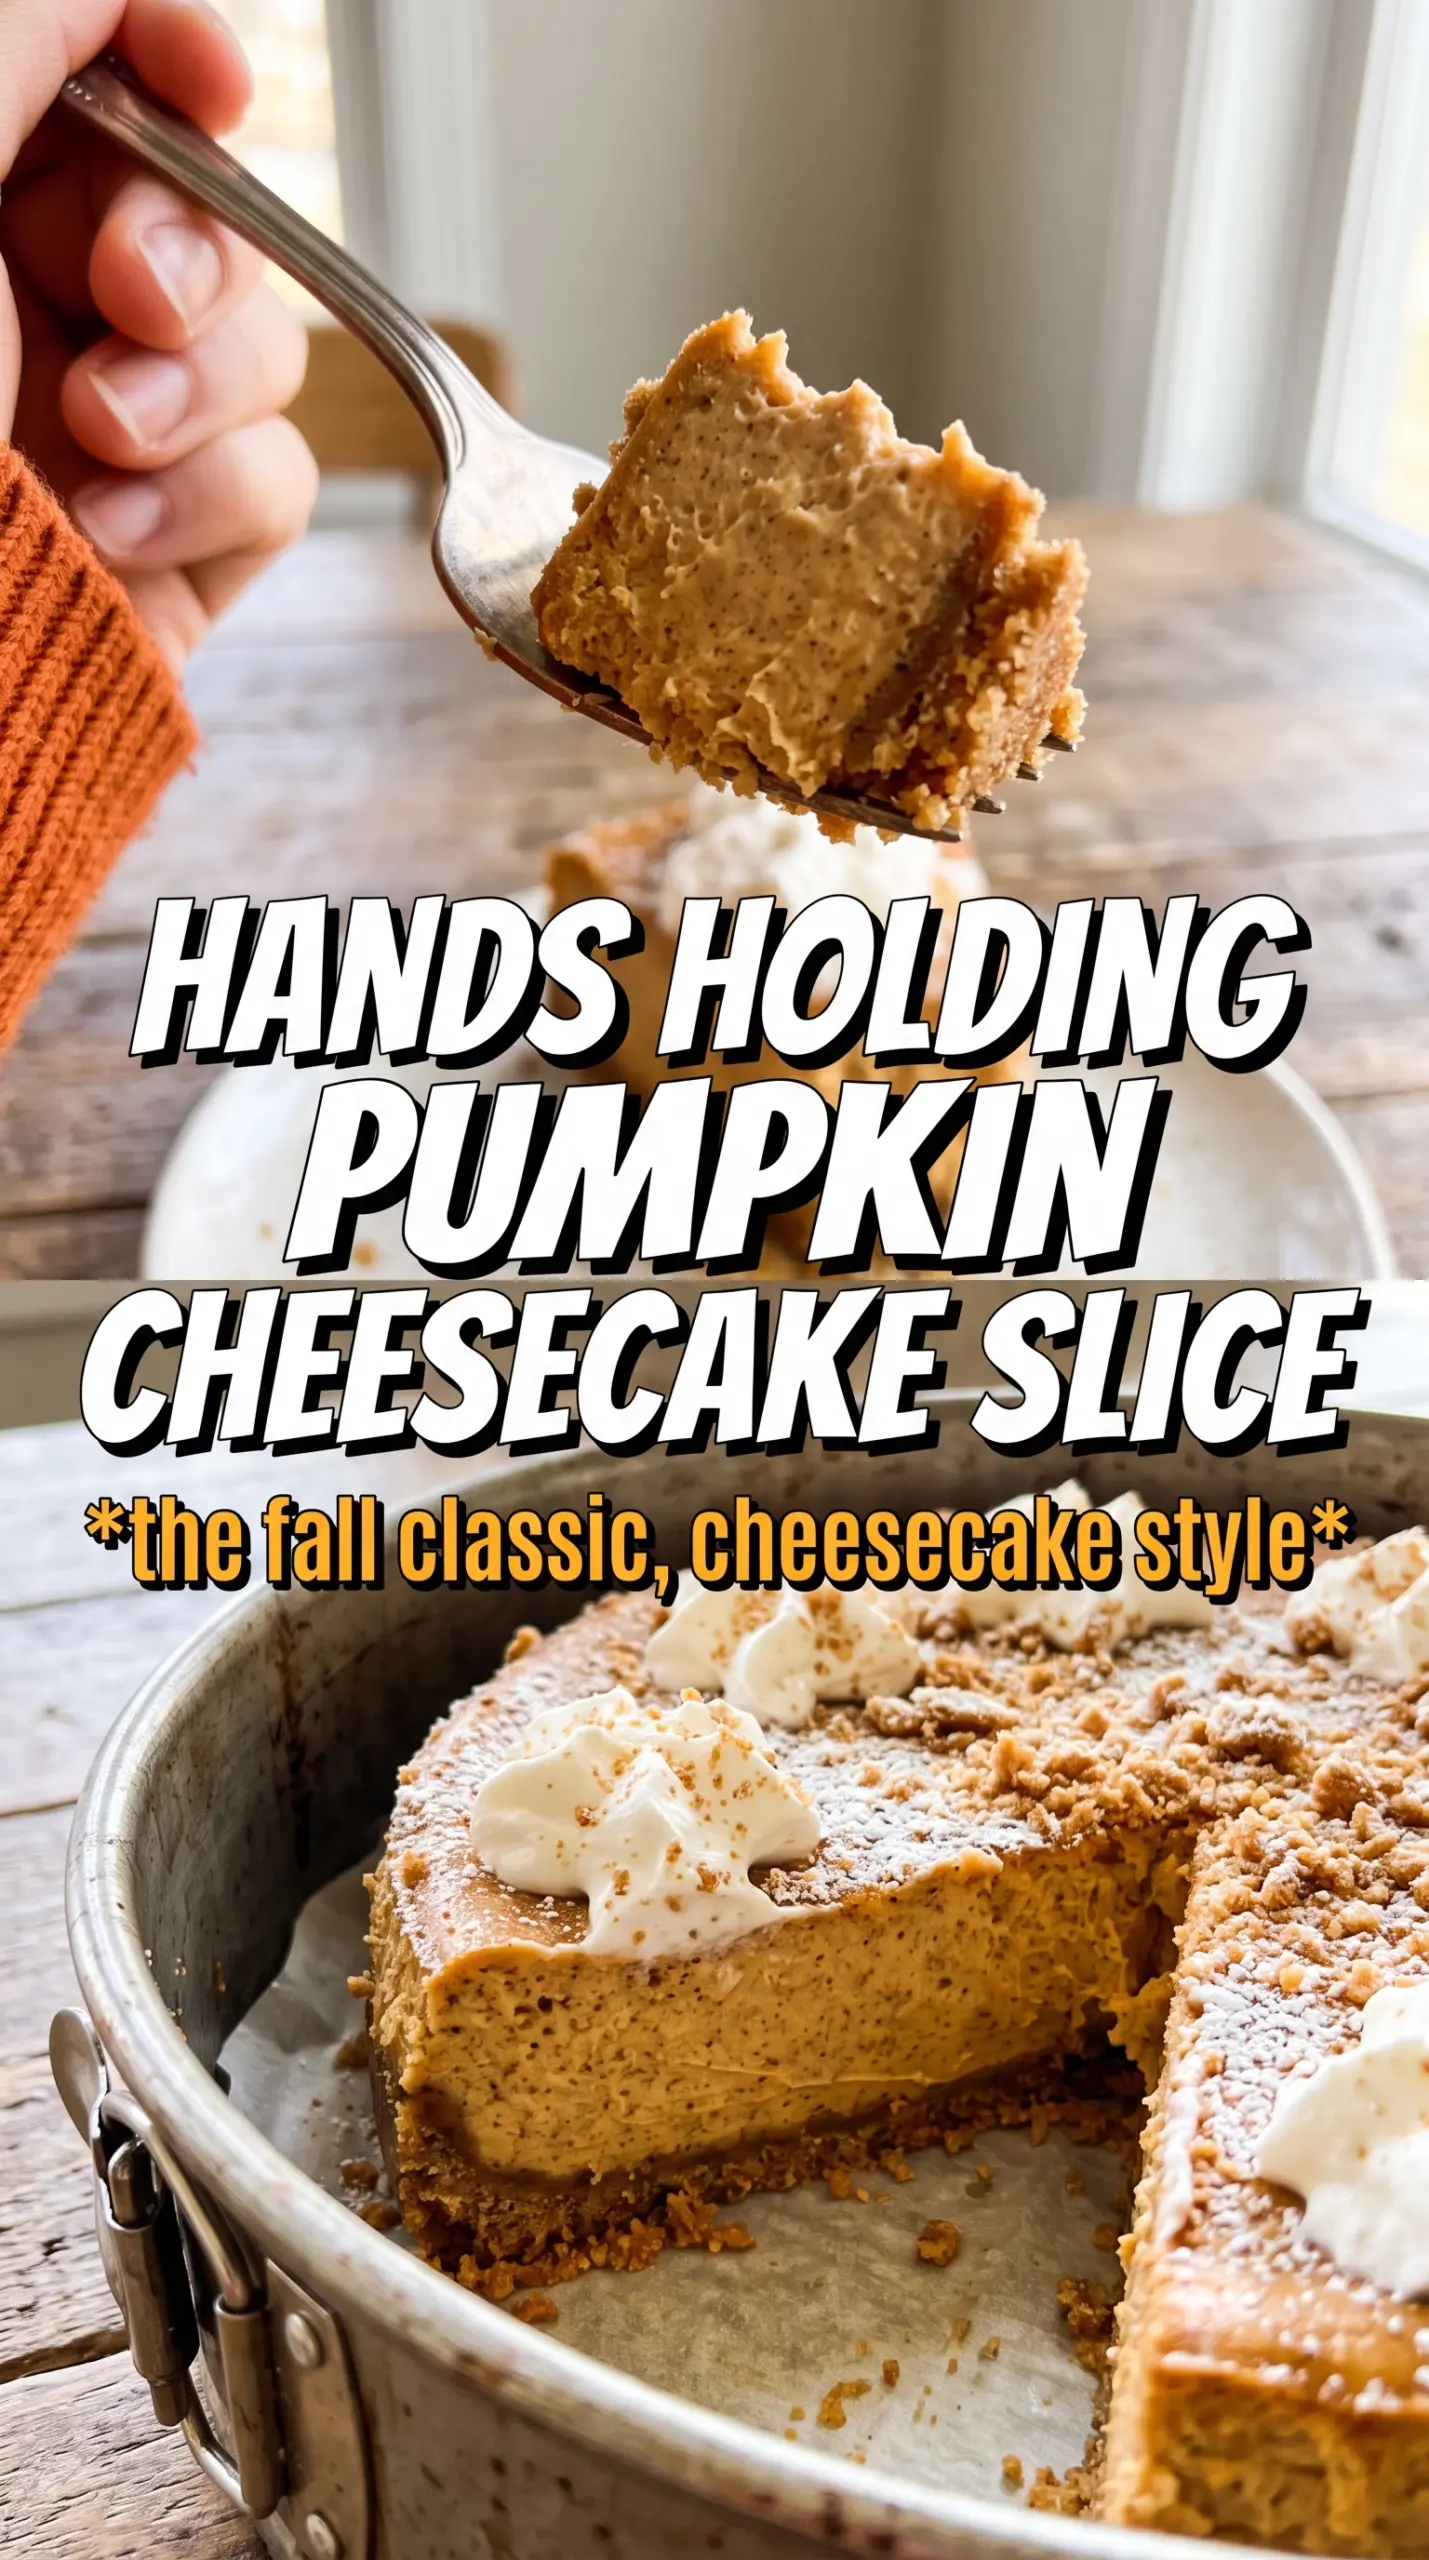
The center set up perfectly after the chill, and the gingersnap crust stayed crisp instead of turning soggy. I got clean slices with no cracks on top, which never happens for me with cheesecake.
Love the smooth pumpkin filling and crisp gingersnap crust? Save this pumpkin cheesecake for the dessert table.
The Detail That Keeps Pumpkin Cheesecake From Cracking
Most cracked cheesecakes start with heat that’s too aggressive or a batter that got beaten too long after the eggs went in. Once the eggs are added, the goal changes from aerating to combining. Stir just until the batter looks even, because extra mixing traps air that expands in the oven and collapses as it cools.
The water bath does a second job besides preventing cracks. It evens out the oven heat around the springform pan, which is what gives you that soft, custardy center instead of dry edges with a loose middle. If the cheesecake looks done when the center is fully firm, it will be overbaked by the time it chills.
- Softened cream cheese — Cold cream cheese leaves tiny lumps that never fully disappear. Let it sit at room temperature until it yields easily when pressed.
- Pumpkin puree — Use plain pumpkin puree, not pumpkin pie filling. Pie filling is already sweetened and spiced, which throws off the balance and texture.
- Sour cream — This keeps the filling tangy and helps it stay plush after chilling. Full-fat sour cream gives the best texture, but Greek yogurt works in a pinch for a slightly firmer finish.
- Gingersnap crumbs — They bring more flavor than a plain graham crust and stand up to the dense filling. If your cookies are very dry, measure by cup rather than count so the crust doesn’t get sandy.
What Each Ingredient Is Actually Doing in This Recipe
- Primary ingredient (the star) — Quality matters most. Choose the best you can find.
- Cooking medium (oil, butter, or broth) — This carries flavors and prevents dryness.
- Seasonings (salt, pepper, spices, herbs) — Layer flavors so nothing overpowers. Build depth gradually.
- Aromatics (garlic, onion, herbs) — Cook with fat to bloom flavors. Become the foundation.
- Supporting ingredients — Complement the main ingredient without overpowering it.
- Sauce or liquid (if applicable) — Brings flavors together. Balance richness with acid.
- Acid (lemon, vinegar, wine, or other) — Brightens and prevents flat-tasting results.
- Final finish (garnish, glaze, or sauce) — Prevents one-dimensional taste and adds visual appeal.
Building the Filling and Letting the Heat Do the Work
Pressing and Prebaking the Crust
Mix the gingersnap crumbs, sugar, and melted butter until the crumbs look evenly damp, like wet sand. Press them firmly into the bottom of the springform pan so the base holds together when sliced, then bake it until it smells toasted and looks a shade darker. That short bake helps the crust stay crisp under the filling instead of turning soft later. Let it cool while you build the batter.
Getting the Batter Completely Smooth
Beat the cream cheese and both sugars until the mixture looks glossy and there are no visible lumps along the bowl. Add the eggs one at a time and stop mixing as soon as each one disappears. After that, fold in the pumpkin puree, sour cream, spices, and vanilla just until the batter is uniform. If the mixer runs on too long here, the batter picks up too much air and that’s when the top tends to puff, crack, or fall.
Baking Until the Center Still Wobbles
Pour the filling over the crust and set the pan in a water bath before it goes into the oven. Bake until the edges look set and the center has a slight wobble when you nudge the pan, not a liquid slosh. Turn the oven off, crack the door, and let the cheesecake rest there for an hour so the temperature comes down gradually. That slow cooling is part of the set; skip it and the cheesecake is more likely to split.
Chilling for Clean Slices
Cool the cheesecake all the way to room temperature before refrigerating it. Then chill it for at least 6 hours, though overnight gives the cleanest slices and the deepest pumpkin flavor. Don’t rush this part by cutting it early, because the center firms as it chills and the texture turns from soft to sliceable. Add whipped cream and a dusting of cinnamon right before serving.
How to Adapt Pumpkin Cheesecake for Different Kitchens and Occasions
Gluten-Free Crust Swap
Use certified gluten-free gingersnap cookies in the crust and keep the rest of the recipe the same. The filling is naturally gluten-free, so this swap changes only the base while keeping the same spiced, sturdy bite.
Dairy-Free Version
Use dairy-free cream cheese and dairy-free sour cream with a neutral, full-fat texture. The cheesecake will be a little softer and less rich than the original, but it still slices well after a full chill if you don’t skip the overnight rest.
Make-Ahead Dessert for a Crowd
Bake it one day ahead and leave it in the pan in the refrigerator overnight. The flavor deepens and the texture sets up even more cleanly, which makes it easier to slice neatly for guests.
Extra-Spiced Filling
If you like a bolder spice note, add another 1/2 teaspoon of cinnamon or a pinch of cloves. Go easy on the cloves, because they can take over fast and make the cheesecake taste sharp instead of warm.
Storage and Reheating
- Refrigerator: Cover and chill for up to 5 days. The crust stays best in the first 2 to 3 days.
- Freezer: Cheesecake freezes well. Wrap individual slices tightly and freeze for up to 2 months, then thaw in the refrigerator overnight.
- Reheating: Don’t reheat this one. Serve it cold or let a slice sit at room temperature for 20 to 30 minutes so the texture softens without melting.