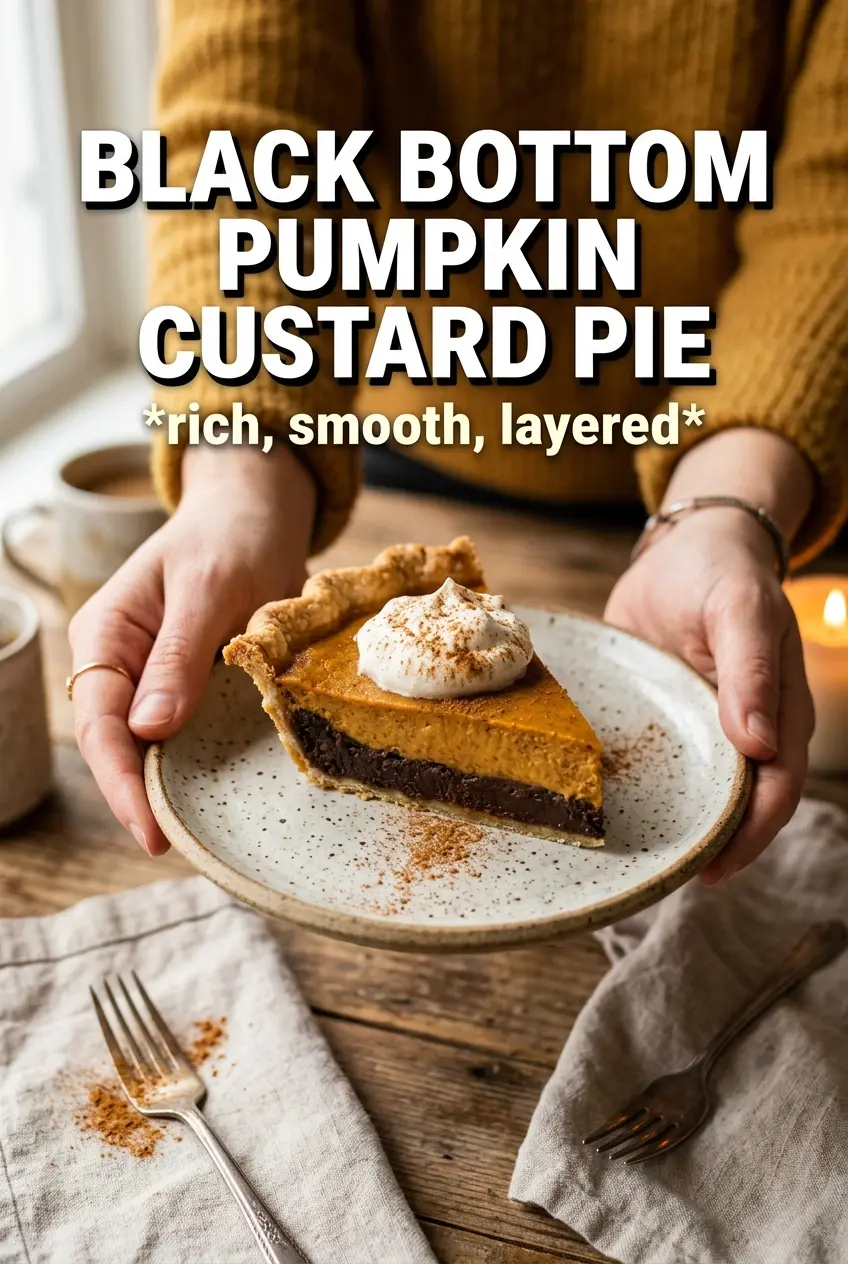
Black bottom pumpkin custard pie gives you two desserts in one clean slice: a silky, warmly spiced pumpkin filling over a glossy chocolate layer that sets into a soft truffle-like base. The contrast is the whole point. You get flaky crust, cool custard, and that little hit of dark chocolate at the bottom of every bite.
This version works because each layer is treated differently. The crust gets a short blind bake so it stays crisp under the filling, and the chocolate layer is turned into a quick ganache before the pumpkin mixture goes on top. Freezing that ganache for a few minutes keeps the layers distinct in the oven instead of letting them swirl together.
Below you’ll find the small timing details that matter, plus a few smart swaps if you need to work around ingredients you already have. The technique is simple, but the order is what gives this pie its clean layers and smooth finish.
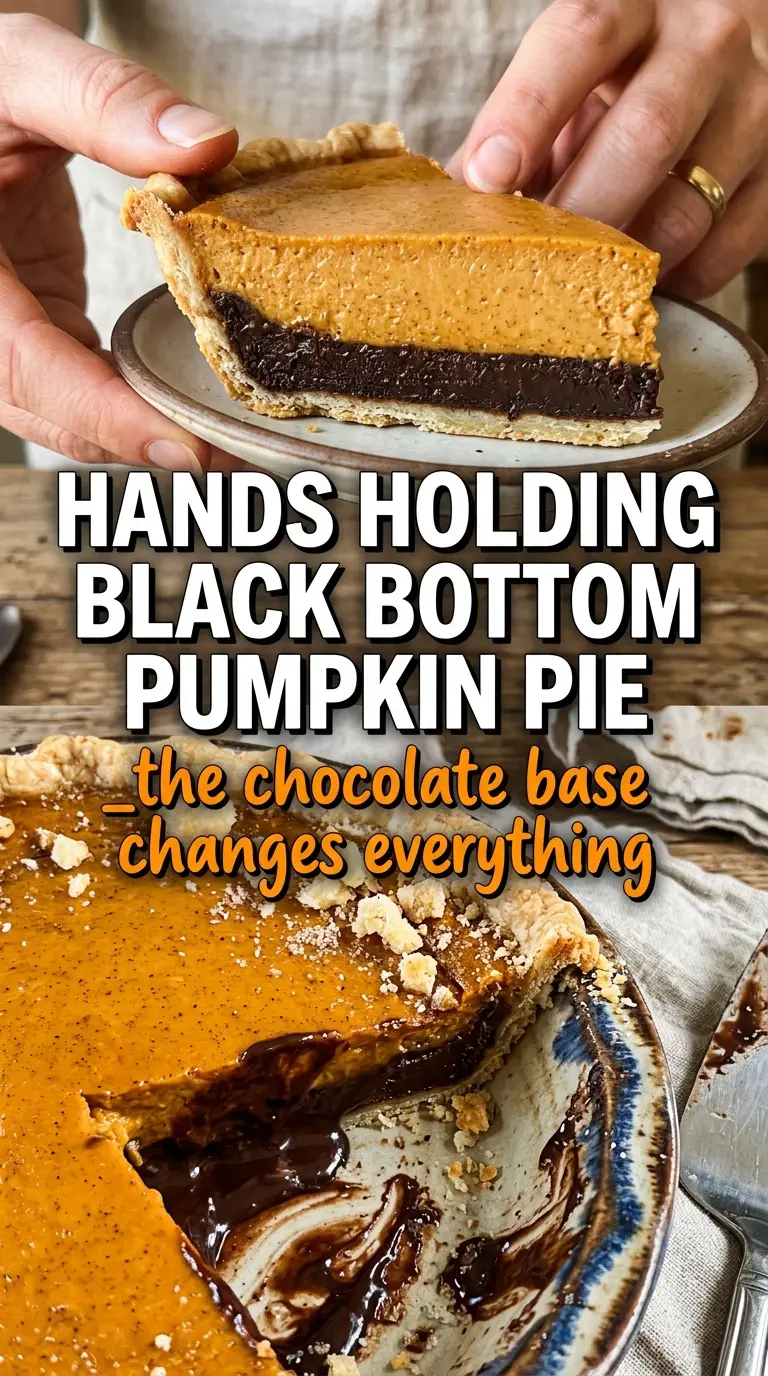
The ganache layer set up beautifully and stayed neat under the pumpkin filling. I chilled it like you said, and the slices came out with a clean black-and-orange line that looked bakery-made.
Love the clean chocolate-and-pumpkin layers? Save this black bottom pumpkin custard pie for the next time you want a creamy pie with a rich hidden base.
The Trick to Keeping the Chocolate Layer Distinct
The part that usually goes wrong is the chocolate base. If you pour the pumpkin custard onto warm ganache, the layers start to blend and you lose that sharp black bottom. The fix is fast and simple: pour the ganache into the crust, then freeze it long enough for the surface to firm up before adding the filling.
The custard itself is forgiving, but it needs a smooth, even pour. Too much stirring after the eggs go in can trap air bubbles, and overbaking gives you a puffed center that cracks as it cools. Pull the pie when the edges are set and the middle still has a small wobble. It will finish setting as it chills.
What Each Ingredient Is Actually Doing in This Pie
- Deep-dish pie crust — A sturdy crust matters here because it has to hold both the ganache and the custard. Blind-baking it for 10 minutes keeps the bottom from turning soggy. A store-bought crust works fine if it’s deep enough.
- Dark chocolate chips — Chips melt into a stable ganache that sets neatly under the custard. Dark chocolate gives the bottom layer enough intensity to stand up to the sweet pumpkin filling. Semi-sweet chips work too, but the base will taste a little softer and sweeter.
- Heavy cream and butter — This combination makes the chocolate layer smooth and sliceable. The butter helps the ganache set with a glossy finish instead of a dull, chalky one. Don’t swap in milk here; it won’t give you the same texture.
- Pumpkin puree — Use plain pumpkin puree, not pumpkin pie filling. Pie filling is already sweetened and spiced, which throws off the balance and can make the custard too loose. Canned puree is the right choice and works consistently.
- Evaporated milk — This is what gives the custard its rich, baked-pie texture without making it heavy. Regular milk won’t set as well. If you need a dairy-free pie, full-fat canned coconut milk is the closest swap, though it brings a light coconut note.
- Brown sugar, spice, vanilla, and salt — Brown sugar adds depth that plain white sugar doesn’t. The spice blend and vanilla round out the pumpkin, while salt keeps the pie from tasting flat. The salt matters more than people think in a sweet custard like this.
Building the Layers Without Letting Them Mingle
Blind-Bake the Crust First
Start with the pie crust and bake it just until set, not deeply browned. You want the dough to hold its shape and lose the raw look on the bottom. If you skip this step, the custard will soften the crust before it ever has a chance to crisp.
Make the Ganache and Chill It Fast
Heat the cream and butter until they just start to simmer, then pour them over the chocolate chips and let the bowl sit for two minutes. Stir until smooth and glossy, then spread it into the crust in an even layer. Freeze it long enough that the surface feels firm to the touch; if it’s still soft, the pumpkin filling will sink into it.
Whisk the Custard Until It’s Completely Smooth
Mix the pumpkin, eggs, brown sugar, evaporated milk, spices, salt, and vanilla until there are no streaks left. A whisk works better than a spoon because it breaks up the pumpkin puree and the eggs evenly. Stop as soon as it looks smooth. Overbeating adds air, and air is what gives you cracks.
Bake Until the Center Still Moves a Little
Pour the custard over the set chocolate layer slowly so you don’t disturb it. Bake at 350F until the edges are firm and the center gives a slight wobble when you gently tap the pan. If the center looks fully firm in the oven, it’s already too far gone. Cooling and chilling finish the job.
Make It Dairy-Free
Use a dairy-free pie crust, canned full-fat coconut milk in place of the evaporated milk, and a dairy-free chocolate chip. The pie still sets well, though the filling picks up a faint coconut note and the ganache won’t taste quite as deep unless you use a dark dairy-free chocolate.
Go Gluten-Free Without Changing the Filling
Swap in a gluten-free deep-dish pie crust and keep the rest exactly the same. The custard and ganache are naturally gluten-free, so the only thing that changes is the crust texture. Bake the crust until fully set before filling it so it doesn’t go soft underneath.
Use a Lighter Chocolate Base
If you want the pumpkin to lead, use semi-sweet chips instead of dark chocolate. The layer will be a little sweeter and less intense, but it still sets cleanly. This is the move if you’re serving people who like a softer chocolate note under the spice.
Storage and Reheating
- Refrigerator: Store covered for up to 4 days. The custard stays smooth, and the chocolate layer firms a bit more each day.
- Freezer: This pie freezes well if you skip the whipped cream until serving. Wrap it tightly and freeze for up to 1 month, then thaw overnight in the refrigerator.
- Reheating: Serve it chilled or let slices sit at room temperature for 15 to 20 minutes. Don’t microwave it; that softens the chocolate layer and can make the custard weep.