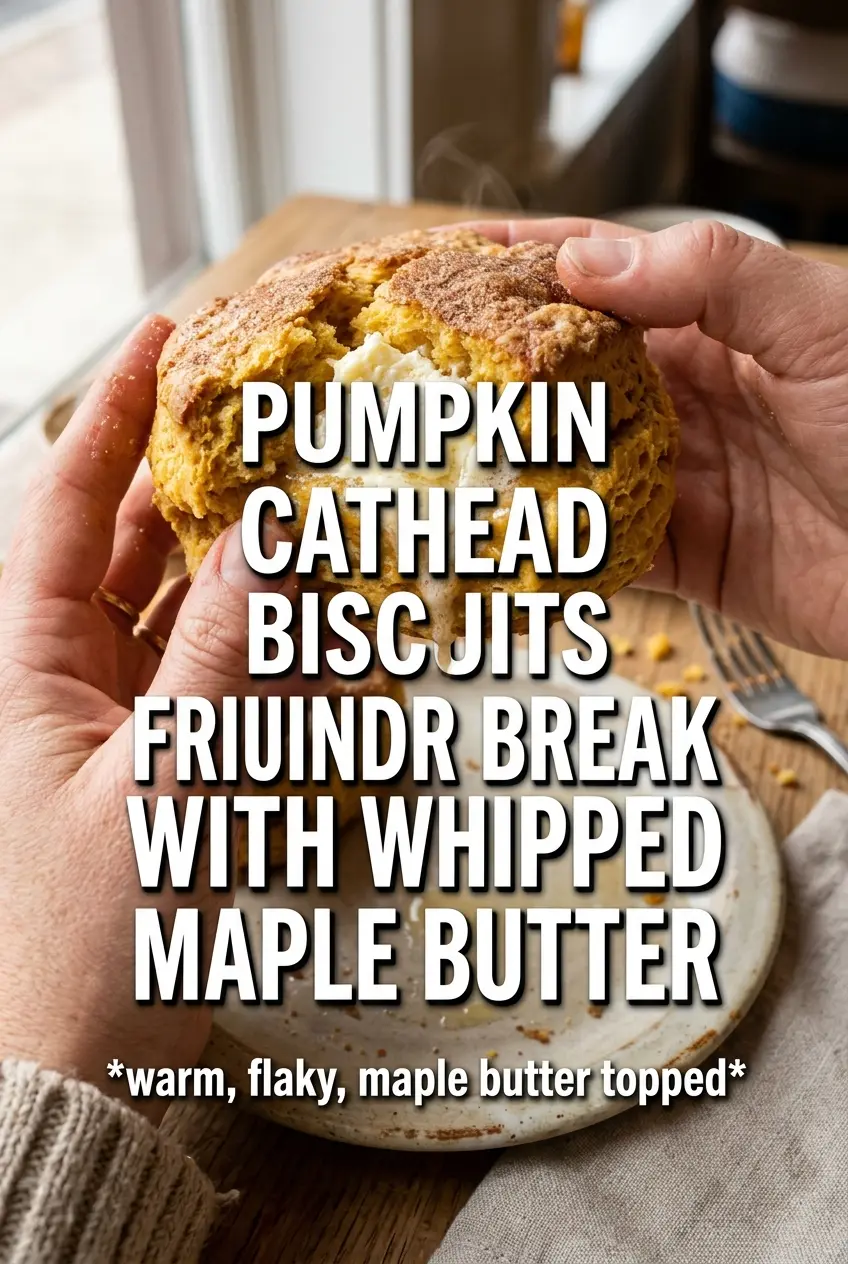
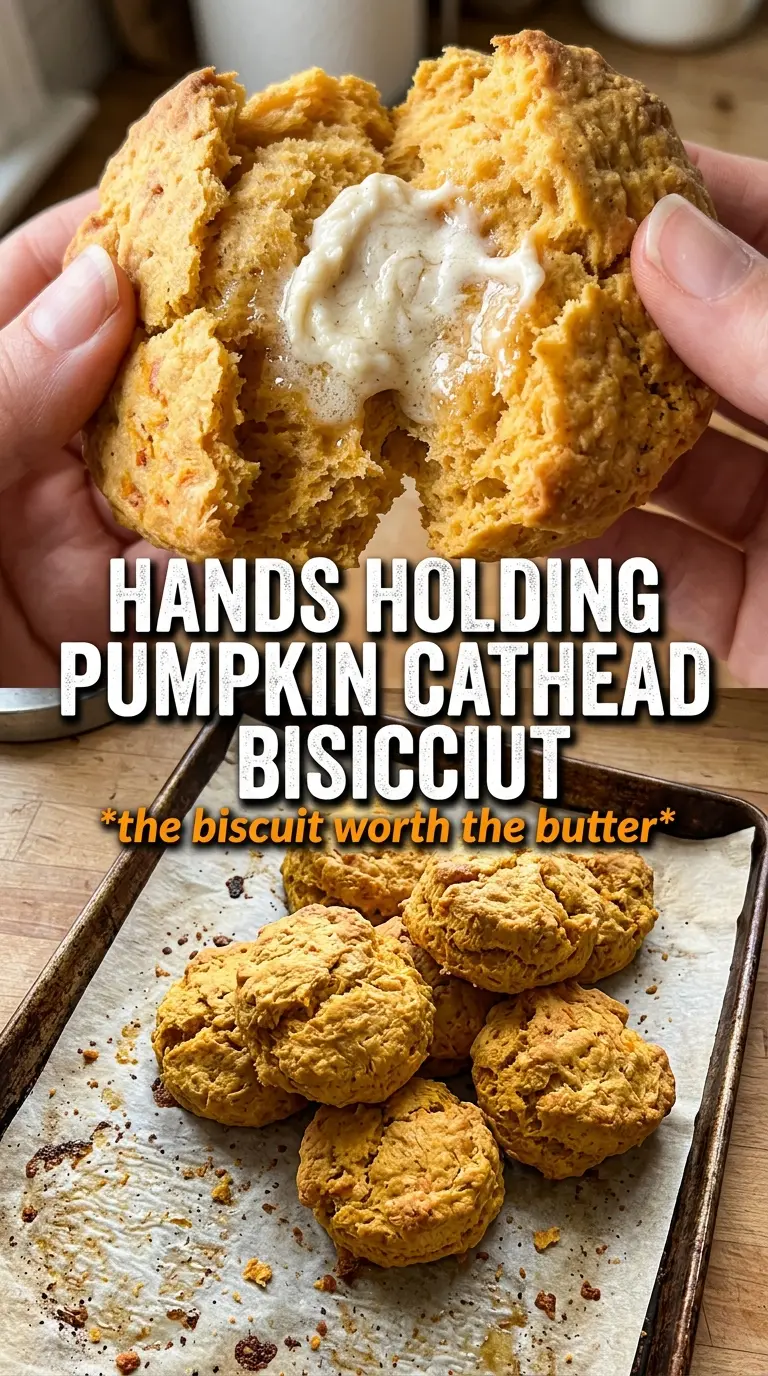
These pumpkin cathead biscuits bake up tall, craggy, and tender in the middle with browned, buttery edges that hold their shape in a hot skillet. The pumpkin gives them a warm color and a little moisture, but the texture still lands squarely in biscuit territory: soft, layered, and sturdy enough to split open and catch a generous swipe of whipped maple butter.
What makes this version work is the balance between a wet ingredient like pumpkin and the cold fat in the dough. Pumpkin puree adds flavor and softness, but it can also make biscuits dense if the dough is overmixed. Keeping the butter cold, using buttermilk for acidity, and dropping the dough as loose mounds instead of rolling and cutting gives you that cathead shape without overworking the gluten.
Below, I’ll walk through the part that matters most: how to keep the dough light even though it looks a little rough going into the oven. I’ve also included the one butter step that makes the topping fluffy enough to melt into every split biscuit.
The biscuits came out tall and fluffy even with the pumpkin in the dough, and the maple butter melted right into all the rough edges. I loved that I didn’t have to roll or cut anything, and they were still light instead of heavy.
Save these pumpkin cathead biscuits for the mornings when you want tall, tender biscuits with whipped maple butter in every split and crumb.
The Trick to Keeping Pumpkin Biscuits Tall Instead of Heavy
Pumpkin biscuits go dense fast when the dough gets handled like a standard biscuit dough. Pumpkin puree adds moisture, but it also removes some of the slack you get from plain milk or cream, which means the dough can go from shaggy to sticky in a hurry. The fix is simple: keep the butter cold, stir just until the flour disappears, and stop before the dough looks smooth.
Cathead biscuits are meant to be rustic, so you don’t need to shape them neatly. That loose drop method matters here because it keeps you from pressing out the air you worked to build with the baking powder and baking soda. A hot cast iron skillet also helps the bottoms set quickly, which gives the biscuits lift before the edges have time to spread.
What Each Ingredient Is Actually Doing in the Dough
- Pumpkin puree — This gives the biscuits their color, subtle sweetness, and tender crumb. Use plain pumpkin puree, not pumpkin pie filling, or the seasoning and sugar balance will be off and the dough can turn too sweet.
- Cold butter — This is what creates the little pockets that turn into layers in the oven. Cubes of butter should still be visible in the flour mixture when you stop cutting it in; if it looks paste-like, the biscuits will bake up bready instead of flaky.
- Buttermilk — The acidity helps the baking soda do its job and keeps the flavor balanced against the pumpkin and maple butter. If you don’t have buttermilk, add 2 teaspoons lemon juice or vinegar to a scant 3/4 cup milk and let it sit for 5 minutes, but expect a slightly softer, less tangy biscuit.
- Cinnamon and nutmeg — These should read as warm background notes, not pumpkin pie spice overload. Freshly grated nutmeg makes a difference here if you have it; the flavor is deeper and cleaner than pre-ground nutmeg that’s been sitting in the cabinet too long.
- Maple butter — Softened butter whipped with maple syrup and cinnamon stays spreadable and melts into the biscuit instead of sitting on top. Beat it until fluffy before serving so the syrup is fully incorporated and the texture stays light.
How to Mix the Dough So It Stays Rough and Tender
Cutting in the Butter
Start with cold butter and work it into the dry ingredients until the mixture looks like coarse crumbs with a few pea-sized pieces still showing. Those larger bits of butter are worth keeping because they steam in the oven and create tender layers. If the kitchen is warm and the butter starts to smear, chill the bowl for a few minutes before moving on.
Bringing in the Pumpkin Mixture
Stir the pumpkin puree and cold buttermilk together before adding them to the flour. That keeps the wet ingredients evenly distributed, which matters because overworked pockets of pumpkin can make parts of the dough gummy. Mix with a spatula just until the flour disappears and the dough looks shaggy, not polished.
Dropping and Baking the Biscuits
Use about 1/3 cup for each biscuit and drop the mounds into a greased cast iron skillet with space between them. They should look tall and uneven, not flattened into neat rounds. Bake until the tops are deeply golden and the sides feel set when nudged; if the centers still seem soft, give them the full time rather than pulling them early, because pumpkin dough needs that extra minute to finish baking through.
How to Adapt These Biscuits for Different Kitchens
Dairy-Free Pumpkin Cathead Biscuits
Swap the butter for a high-quality plant butter that stays firm when cold, and use a dairy-free buttermilk substitute made with unsweetened oat milk or almond milk plus a little lemon juice. The biscuits will still rise and brown well, but the flavor will be a little less rich and the crumb slightly softer.
Gluten-Free Version
Use a 1:1 gluten-free baking flour that includes xanthan gum. The dough will be a bit more delicate, so drop it quickly and don’t expect the same layered pull-apart texture, but you’ll still get a tender biscuit with good pumpkin flavor.
Make Them More Savory
Cut the sugar to 1 teaspoon and skip the maple butter in favor of plain salted butter or honey butter. That keeps the pumpkin in the background and makes the biscuits easier to pair with eggs, sausage, or gravy.
Storage and Reheating
- Refrigerator: Store baked biscuits in an airtight container for up to 3 days. They’ll soften a little as they sit, especially because of the pumpkin.
- Freezer: These freeze well. Wrap individually and freeze for up to 2 months; thaw at room temperature or reheat from frozen.
- Reheating: Warm in a 325F oven for about 8 to 10 minutes, or until heated through. The big mistake is microwaving them too long, which makes the crumb rubbery and wipes out the flaky edges.