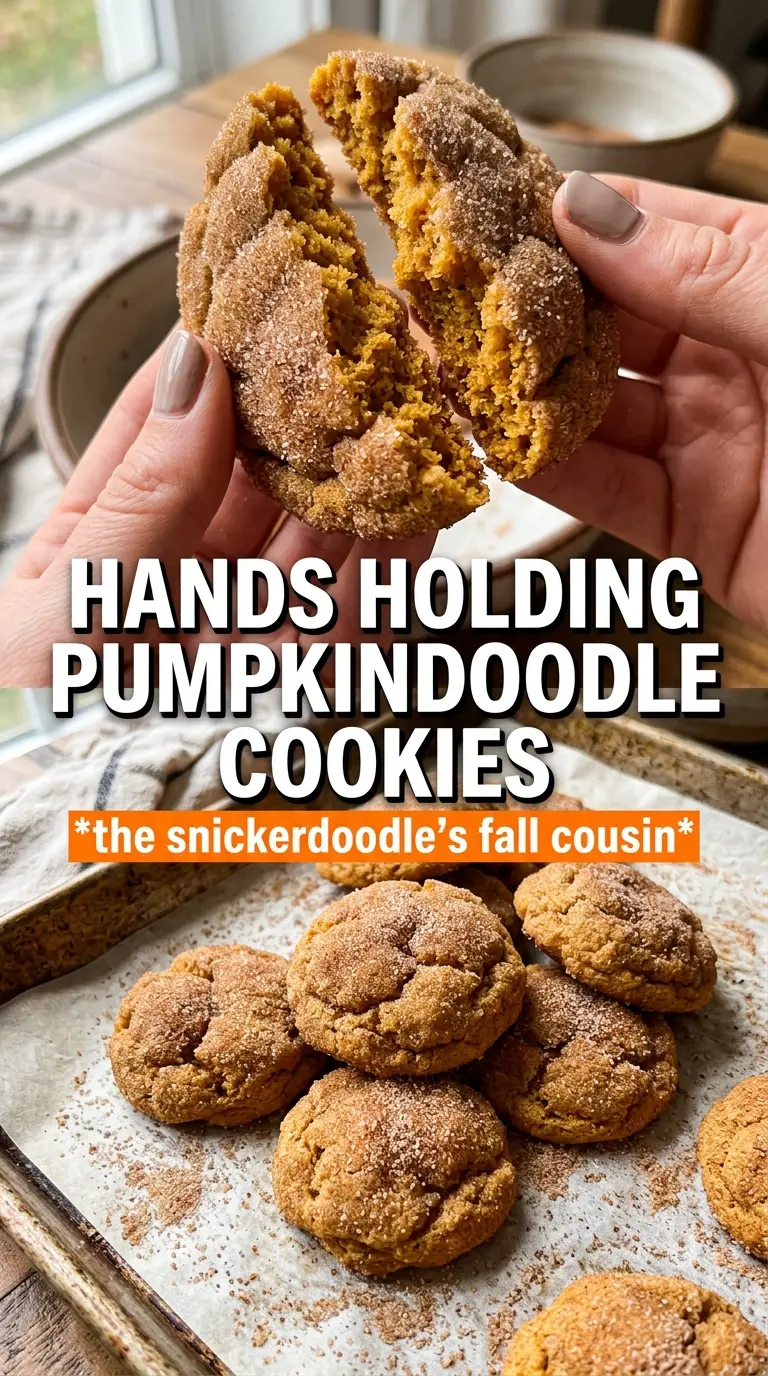
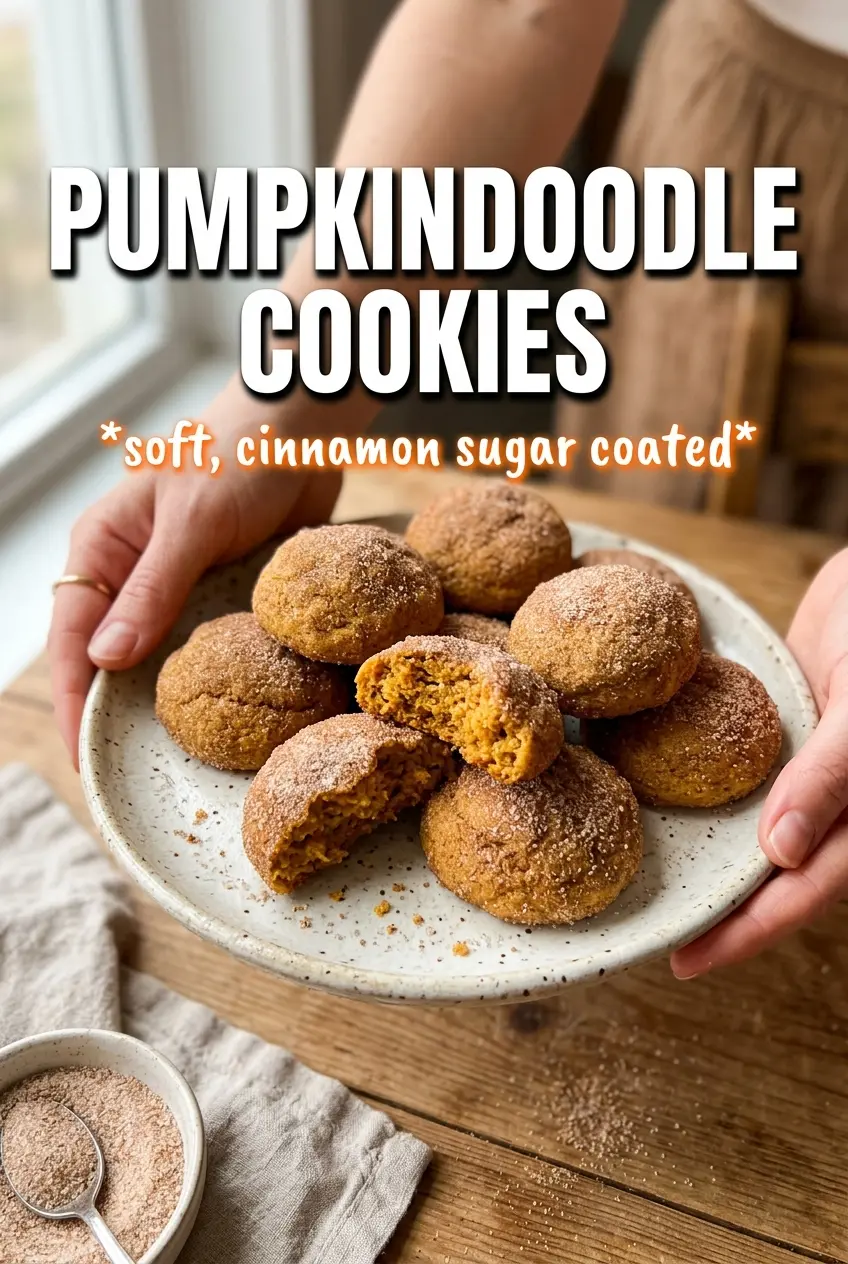
Pumpkindoodle cookies bake up with crinkled tops, soft centers, and that cinnamon-sugar shell that cracks just enough when you bite in. They taste like a pumpkin snickerdoodle with a little more depth from the spice blend, but the real payoff is the texture: chewy edges, tender middles, and those crackled tops that make them look as good as they taste. The trick is keeping the pumpkin from turning the dough cakey. Once the moisture is under control, these cookies hold their shape and bake into thick little rounds instead of puffing into something soft and bready.
I tested these with both freshly opened pumpkin puree and puree that had been blotted until nearly dry, and the difference was huge. Too much moisture makes the sugar dissolve before the cookies set, which blurs the crinkle and leaves you with a softer, less defined cookie. Cream of tartar is the other non-negotiable here because it gives you that classic snickerdoodle tang and helps the cookies spread in the right way. If you love pumpkin spice but want something with a little more bite and a lot more cookie character, these are worth making on repeat.
Below, I’ve included the one prep step that changes everything, plus a few swaps and storage notes so you can keep the texture right from the first batch to the last.
The cookies came out with that perfect crinkled top and stayed soft in the middle. Blotting the pumpkin first made a huge difference — mine spread just enough and didn’t turn cakey.
Save these pumpkindoodle cookies for the batch that bakes up crinkled, chewy, and cinnamon-sugar coated every time.
The Tiny Moisture Detail That Keeps These Cookies Crinkled
Pumpkindoodle cookies live or die by the pumpkin. If the puree is too wet, the dough turns loose, the sugar coating melts too fast, and the cookies bake up puffy instead of crinkled. Blotting the pumpkin until it looks almost paste-like keeps the dough firm enough to spread in a controlled way, which is what gives you those classic cracked tops.
The other thing that matters is not overmixing after the flour goes in. Once the dry ingredients hit the bowl, you want the dough just combined. Overworking it develops too much structure, and these cookies need enough tenderness to stay soft in the middle while the edges set. The best batches have a dough that scoops cleanly and rolls without sticking all over your hands.
What Each Ingredient Is Actually Doing Here
- Pumpkin puree — This adds the pumpkin flavor, but it also adds moisture, which is why blotting matters so much. Use canned puree, not pumpkin pie filling. Pie filling is already sweetened and spiced, and it throws off both the texture and the balance.
- Cream of tartar — This is what gives the cookies their snickerdoodle tang and helps them bake with that classic crackled finish. There isn’t a true one-to-one substitute for the same texture and flavor, so this is one of the ingredients I wouldn’t skip.
- Cinnamon, pumpkin pie spice, and nutmeg — This blend gives the cookies a layered spice note instead of one flat pumpkin spice taste. If your pumpkin pie spice is old, replace it; stale spice tastes dusty here because there’s nowhere to hide it.
- Butter — Softened butter helps the dough whip up light before the dry ingredients go in. It should be soft enough to press, not greasy or melted. If it gets too warm, the cookies spread faster and lose some of that neat crinkle.
- Rolling sugar — The cinnamon-pumpkin sugar coating is what sets the outside and gives each cookie that sparkly, craggy finish. Don’t skip the full coating. A light dusting won’t create the same surface texture.
How to Build the Dough So It Bakes Up Chewy, Not Cakey
Dry the Pumpkin First
Start by blotting the pumpkin puree between layers of paper towel until it gives up most of its moisture. You’re aiming for a thick, almost sticky spoonful rather than a loose puree. If you skip this, the dough will be too soft and the cookies will bake up more like little pumpkin cakes than snickerdoodles. The drier the pumpkin, the better the crinkle.
Whip the Butter and Sugar Until It Lightens
Beat the butter and granulated sugar until the mixture looks paler and slightly fluffy. That step traps air, which helps the cookies spread just enough before setting. Once the pumpkin, eggs, and vanilla go in, the mixture may look a little separated, and that’s fine as long as it comes back together when the flour is added. If it looks curdled, keep going until the dry ingredients are mixed in.
Stop Mixing the Moment the Dough Comes Together
Add the flour, cream of tartar, baking soda, spices, and salt, then mix only until no dry streaks remain. The dough should be soft but scoopable. If you keep beating it, the cookies will toughen and lose that tender center. Roll the balls right away so the sugar coating clings well and the dough doesn’t warm up too much in the bowl.
Bake Until Set at the Edges and Cracked on Top
After rolling, bake the cookies at 375°F for 10 to 12 minutes. Pull them when the tops are crinkled and the edges look set, even if the centers still seem a little soft. They finish on the hot pan during the five-minute rest, which is how you keep them chewy instead of dry. If you wait until they look fully firm in the oven, they’ll overbake by the time they cool.
Make Them Gluten-Free
Use a good 1:1 gluten-free baking flour with xanthan gum. The cookies will still crinkle and stay chewy, though they may spread a touch less and taste a little more delicate around the edges. Don’t use almond flour here; it changes the structure too much and the cookies won’t hold the same shape.
Lean Into the Spice
If you want a stronger pumpkin spice note, increase the pumpkin pie spice in the dough by 1/2 teaspoon and add an extra pinch to the rolling sugar. That keeps the flavor warm without making the dough bitter or dry. The cinnamon still carries the cookie, but the added spice makes it feel a little more autumn-forward.
Dairy-Free Version
Swap the butter for a plant-based baking stick, not a soft tub spread. Baking sticks behave much closer to real butter and give you better spread and texture. The flavor stays close to the original, though the cookies may brown a little differently.
Storage and Reheating
- Refrigerator: Store in an airtight container for up to 5 days. The sugar coating softens a little after day one, but the cookies stay chewy.
- Freezer: These freeze well. Freeze baked cookies in a single layer, then transfer to a sealed container for up to 2 months, or freeze the scooped dough balls and roll them in cinnamon sugar right before baking.
- Reheating: Warm baked cookies in a 300°F oven for 3 to 5 minutes. The microwave makes the centers too soft and can melt the sugar coating, so use the oven if you want the edges to perk back up.
Questions I Get Asked About This Recipe
Pumpkindoodle Cookies
Ingredients
Equipment
Method
- Blot the pumpkin puree between many layers of paper towels until extremely dry for a stronger crinkle.
- Preheat the oven to 375°F and line baking sheets so the dough can go in immediately after shaping.
- Beat the softened butter and granulated sugar until very light.
- Add the blotted pumpkin puree, then beat in the eggs and vanilla until smooth.
- Fold in the all-purpose flour, cream of tartar, baking soda, cinnamon, pumpkin pie spice, nutmeg, and salt until just combined.
- Roll 1-1/2 tablespoon balls of dough in the cinnamon pumpkin sugar coating.
- Bake for 10–12 minutes at 375°F until the cookies are crinkled and set at the edges.
- Cool the cookies for 5 minutes on the pan to firm up before transferring.