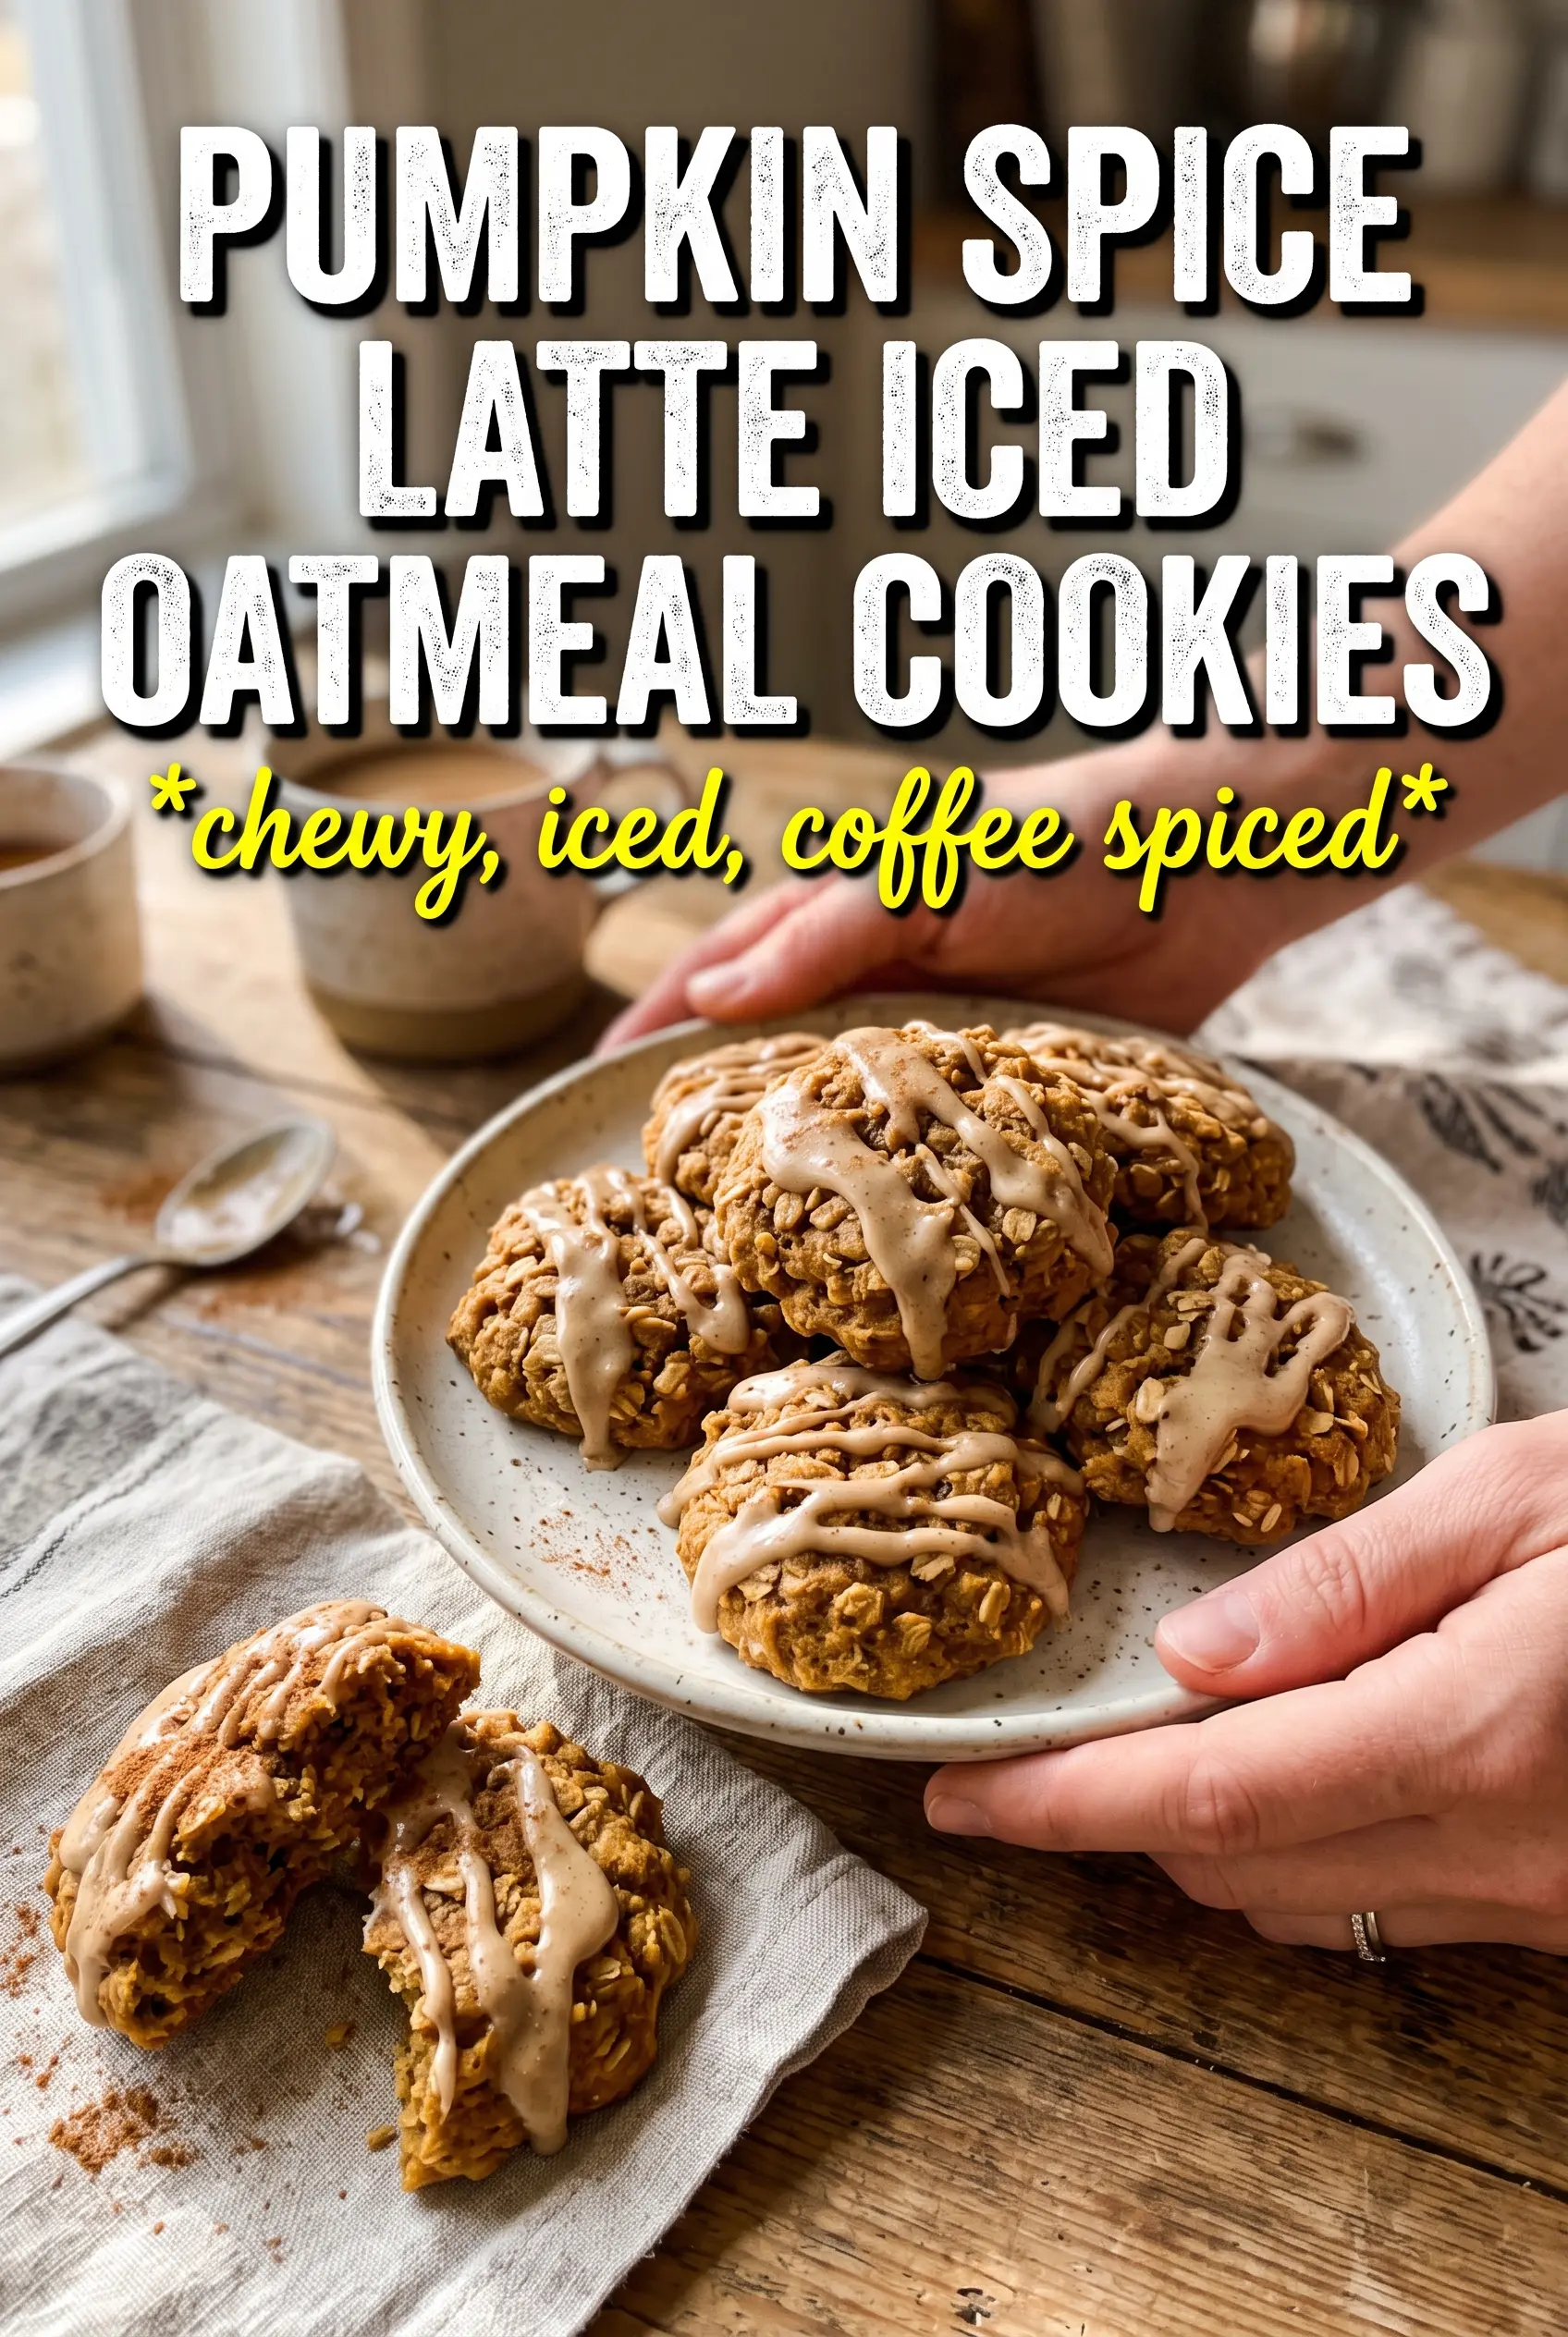
Pumpkin spice latte iced oatmeal cookies land with the kind of chewy, hearty bite that makes them hard to leave alone. The oats give them substance, the pumpkin keeps the center soft, and the coffee glaze sets into a thin, crackly cap that tastes like the bakery version people keep chasing in fall, except these hold onto that home-baked oatmeal cookie texture instead of turning cakey or bland.
The details matter here. The pumpkin gets blotted dry so it adds flavor and tenderness without watering down the dough, and the oats are pulsed just enough to break them down while still keeping some texture. The espresso powder in the dough doesn’t make these taste like coffee cookies; it deepens the spice and makes the pumpkin flavor read warmer and richer. The glaze uses strong coffee or espresso plus a little pumpkin puree, so the topping tastes like a latte instead of straight powdered sugar.
Below, I’ve included the one texture tip that keeps these from spreading too much, plus a few swaps that still keep the cookies chewy and the glaze set properly.
The cookies stayed chewy for days and the glaze set up instead of soaking in. I loved that the pumpkin flavor came through without making them soft or cakey.
Pumpkin spice latte iced oatmeal cookies with that chewy center and coffee glaze are worth saving for your next cookie tray.
The Trick to Keeping These Oatmeal Cookies Chewy Instead of Puffy
The two places these cookies usually go sideways are the pumpkin and the oats. Pumpkin brings water with it, and if you add it straight from the can, the dough can turn soft enough to bake up cakey instead of chewy. Blotting it first keeps the cookie dough dense enough to hold its shape while still giving you that gentle pumpkin flavor in the middle.
The oats matter just as much. Pulsing them coarsely gives you a cookie that eats like an oatmeal cookie, not a muffin in disguise. If you grind them too fine, the dough loses that hearty chew. If you leave them whole, the cookies can feel bulky and crumbly. The sweet spot is a rough chop with some visible oat pieces left behind.
- Blotted pumpkin — This is what keeps the dough from getting slack. Press the pumpkin between paper towels until it looks thicker and less glossy.
- Espresso powder — A small amount deepens the spice and makes the glaze taste more like a latte. Instant coffee can work in a pinch, but the flavor is less clean.
- Brown sugar — It keeps the cookies moist and chewy. White sugar won’t give the same soft middle.
- Rolled oats — Quick oats can work, but the texture gets softer and less substantial.
What the Coffee Glaze Is Doing Besides Looking Pretty
- Powdered sugar — This gives the glaze body so it can set on top of the cookies instead of running off the edges.
- Strong coffee or espresso — Use it strong enough that the glaze tastes like coffee after it dries, not just sweet sugar water. Lukewarm is best so it blends smoothly.
- Pumpkin puree — This adds a little warmth and color, but keep it to the measured amount. Too much and the glaze goes thin.
- Pumpkin pie spice and cinnamon — These echo the spice in the cookie and keep the topping from tasting flat.
Getting the Dough, Bake, and Glaze in the Right Order
Coarsely Break Down the Oats First
Pulse the oats just until they’re broken into smaller pieces, with some texture still visible. You’re not making oat flour. The dough should look rustic, not powdery, because those bigger oat pieces are what give the cookies their chew and prevent the crumb from turning sandy. If the oats get too fine, the cookies lose their bite and bake up more like soft spice cookies.
Build the Butter Base Before the Dry Ingredients Go In
Beat the softened butter and brown sugar until the mixture looks lighter and a little fluffy. That step traps air and gives the cookies enough lift without making them puffy. Add the blotted pumpkin, eggs, and vanilla next, then mix just until combined. If the pumpkin still looks wet at this point, stop and blot it a little more before moving on.
Fold the Dough Just Until It Holds Together
Add the oat mixture and flour mixture and fold until you stop seeing dry streaks. Overmixing after the flour goes in will tighten the cookies and make them tough. The dough should be thick and scoopable, not glossy or wet. If it feels loose, let it rest for a few minutes so the oats hydrate and the dough firms up.
Bake Until the Edges Set and the Centers Still Look Soft
Scoop the dough into 2-tablespoon rounds and bake at 375°F for 10 to 12 minutes. Pull them when the edges are set and the centers still look slightly underdone. They finish on the pan as they cool, and that’s how you keep the middle chewy instead of dry. Transfer them too early and they can break; leave them on the sheet just long enough to firm up.
Spoon on the Glaze Only After the Cookies Are Cool
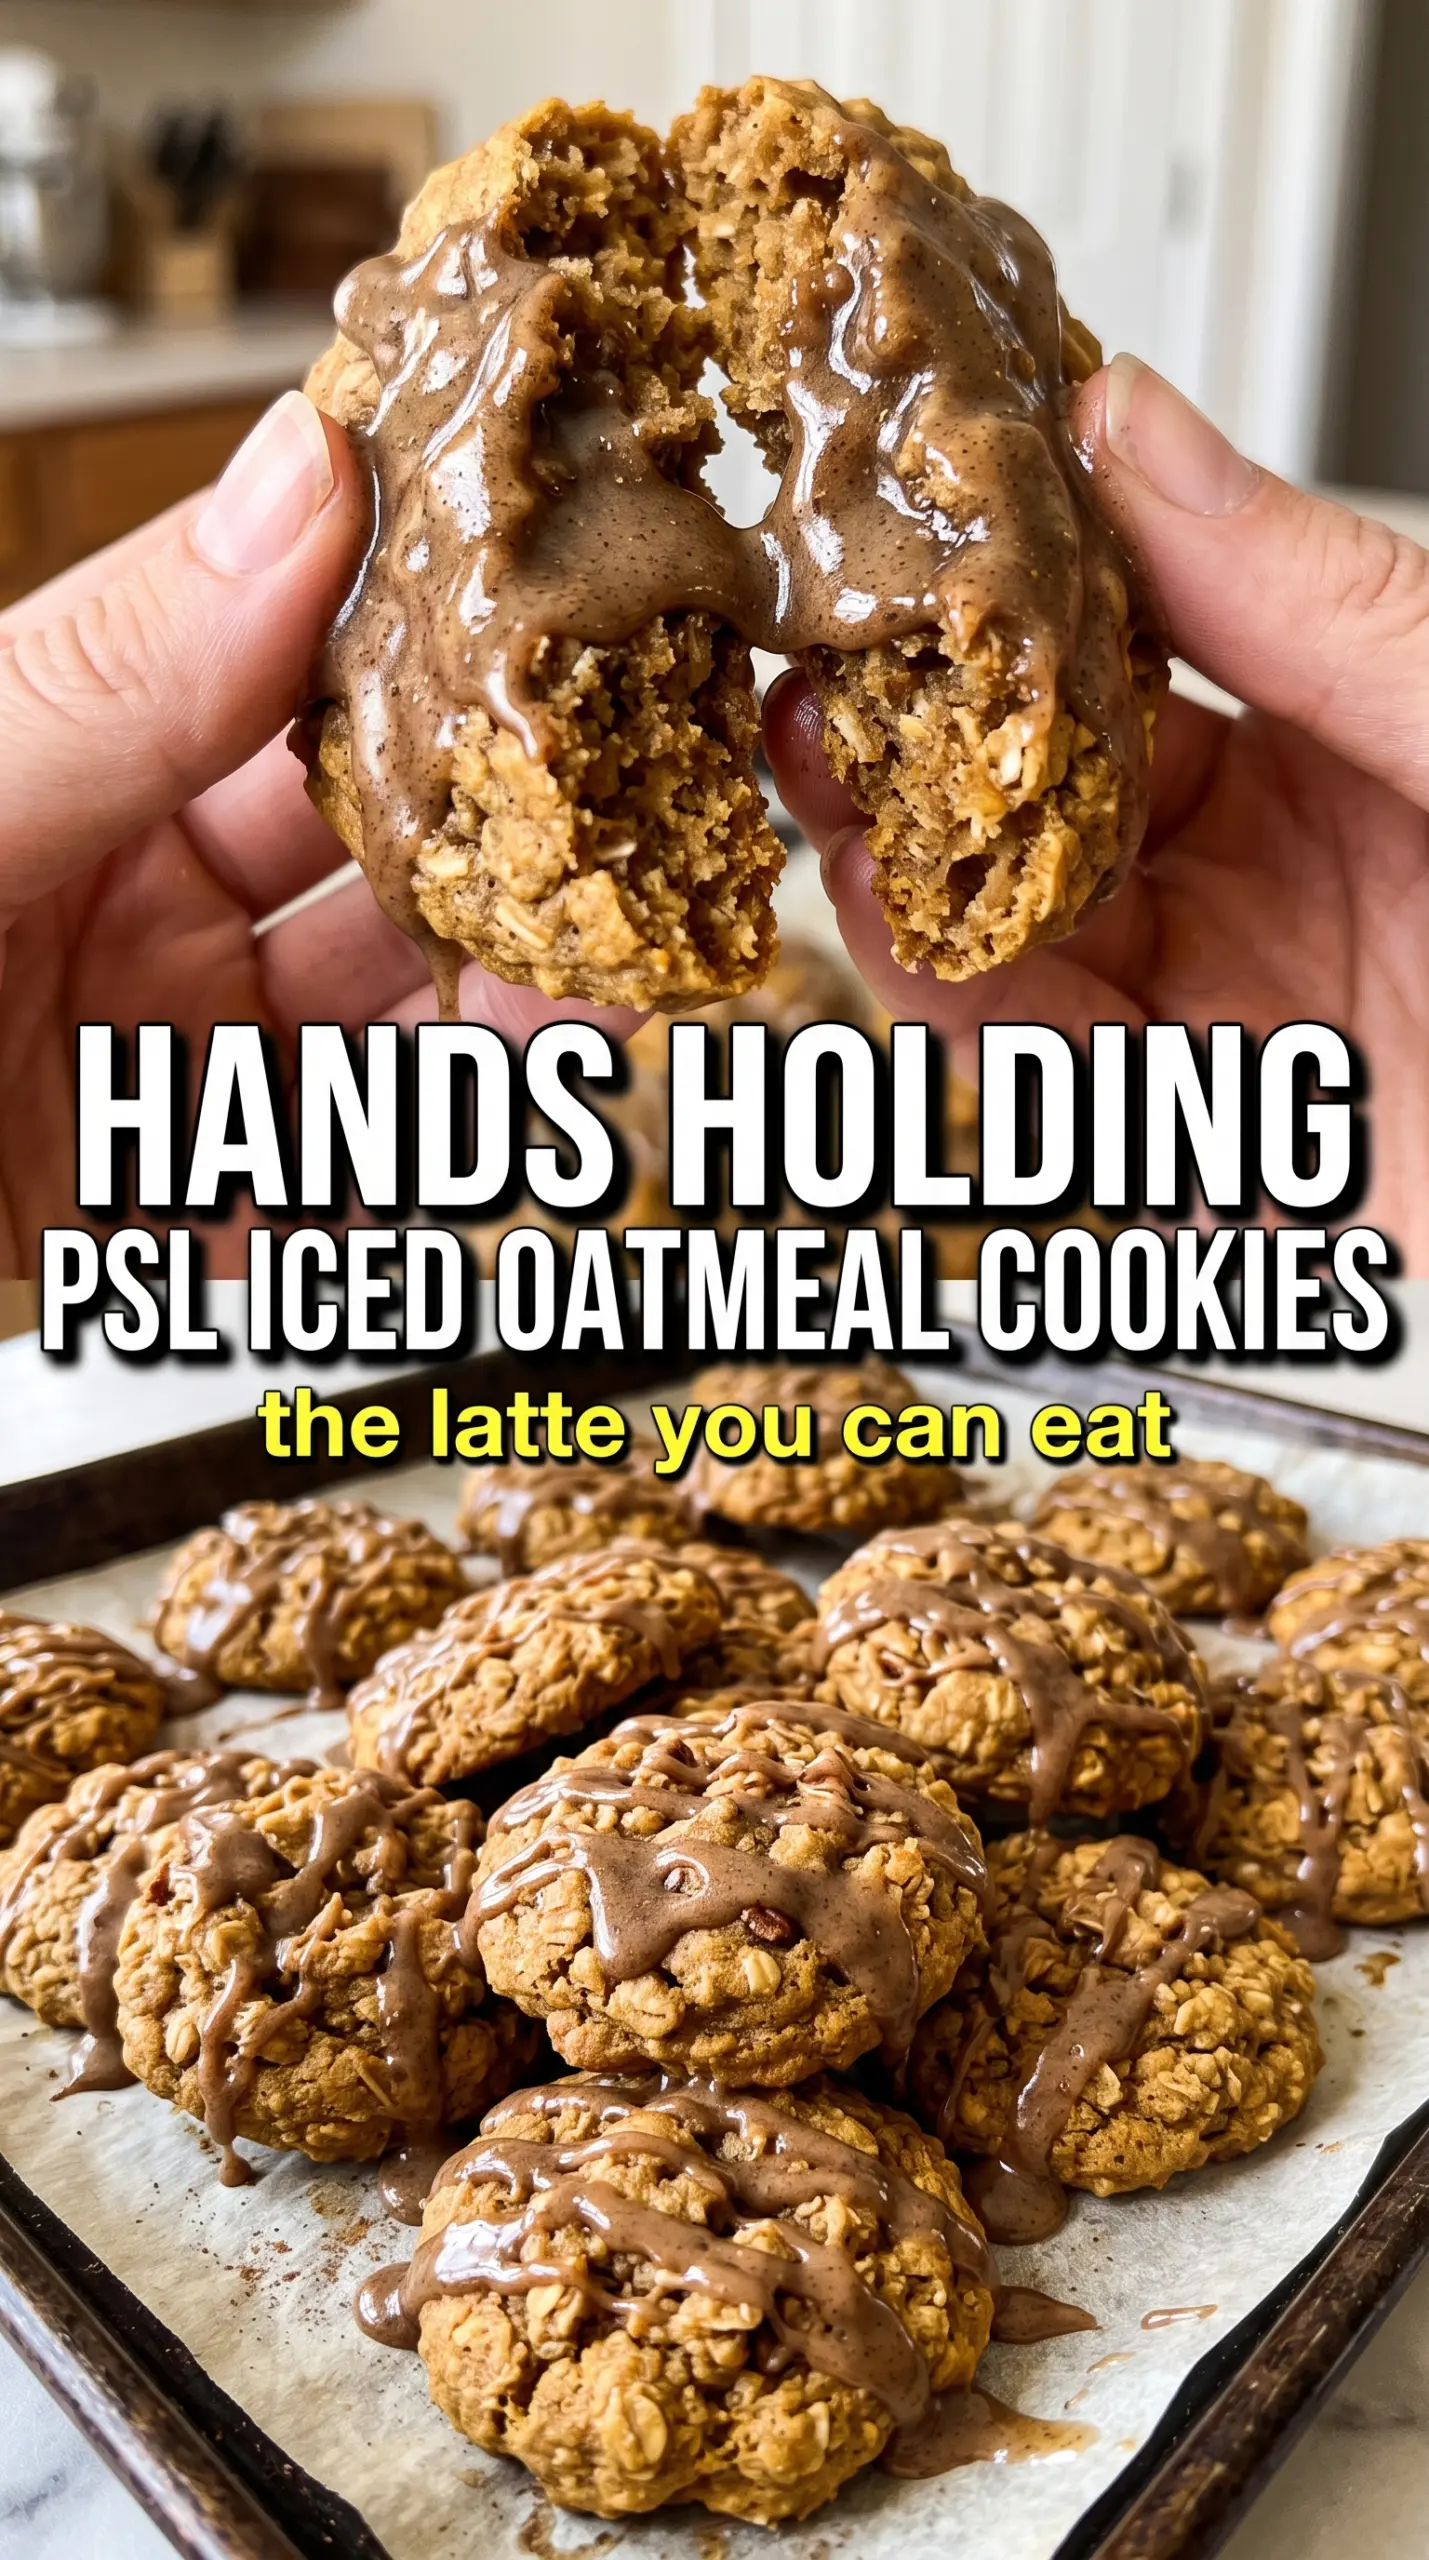
Let the cookies cool completely before glazing them. If they’re even warm, the icing thins out and runs into the oatmeal crags instead of sitting on top. Stir the glaze until smooth, then spoon it over each cookie and let it settle on its own. It should spread slowly and set into a soft, glossy finish.
Ways to Adjust These Cookies Without Losing the Chewy Texture
Dairy-Free Version
Use a good plant-based butter that’s meant for baking and keep everything else the same. The cookies will still bake chewy, though the flavor is a little less rich than with dairy butter. Pick a stick-style substitute, not a tub spread, or the dough can get too soft and spread more than you want.
Gluten-Free Swap
A 1:1 gluten-free flour blend works best here, but the texture will be a touch more delicate. Keep the oats certified gluten-free if that matters for your kitchen. The cookies may need the full bake time, and they’re easiest to move once they’ve cooled on the pan for a few minutes.
Extra Coffee Flavor
Increase the espresso powder in the dough by another 1/2 teaspoon if you want the coffee note to come forward more. The glaze will still taste sweet, but the cookie itself will read closer to a true pumpkin spice latte. Don’t add more liquid to chase flavor; extra coffee in the glaze can thin it enough that it won’t set.
Storage and Reheating
- Refrigerator: Store in an airtight container for up to 5 days. The glaze will stay set, and the cookies soften slightly as they sit.
- Freezer: Freeze the unglazed cookies for up to 2 months. Thaw at room temperature, then glaze them after they’ve fully warmed and dried.
- Reheating: These don’t need reheating, and the glaze doesn’t like heat. If you want a warm cookie, do it before glazing, just long enough to take the chill off.