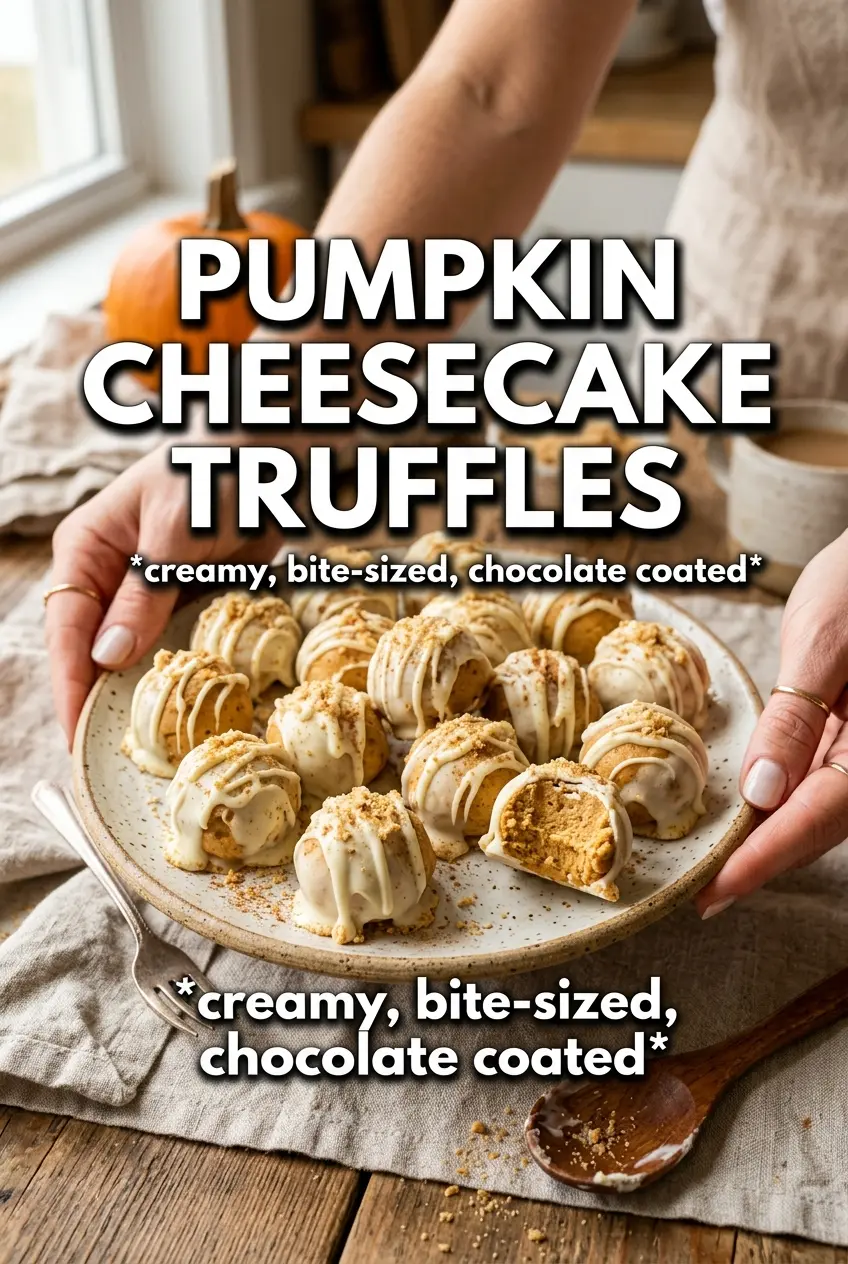
Pumpkin cheesecake truffles hit that sweet spot between a no-bake dessert and a candy-shop treat: creamy in the center, snappy on the outside, and just spiced enough to taste like pumpkin cheesecake in one bite. The filling stays soft and tangy, but it firms up beautifully after chilling, which is what gives these truffles that clean, neat shape instead of a sticky mess.
The trick is treating the pumpkin like extra moisture, not just flavor. Blotting it dry keeps the filling from turning loose, and the graham crumbs give the mixture enough structure to roll without making it taste dry or chalky. White chocolate or almond bark works best for coating because it sets firmly around the chilled centers, which helps the orange drizzle sit on top instead of sliding off.
Below, I’ve included the small details that matter here: how dry the pumpkin needs to be, why the filling gets a quick chill before rolling, and what to do if the coating starts to thicken before you finish dipping.
The filling chilled up fast and rolled like a dream, and the white chocolate set with that clean little snap I was hoping for. My kids kept sneaking them from the fridge before I could even finish the drizzle.
Save these Pumpkin Cheesecake Truffles for a creamy no-bake dessert with a crisp white chocolate shell and a spiced pumpkin center.
The Part That Keeps the Filling From Turning Loose
The biggest mistake with pumpkin cheesecake truffles is treating the pumpkin puree like it behaves the same way as cream cheese. It doesn’t. Pumpkin carries a lot of water, and if you skip the step of blotting it dry, the filling stays soft for too long and turns sticky when you try to roll it. You want the mixture to feel thick, almost like a dense frosting that holds a ridge when you drag a spoon through it.
Chilling the filling before rolling does two jobs at once: it firms the cream cheese and gives the crumbs time to hydrate, which helps the mixture bind. If you try to shape the truffles while the filling still feels glossy or loose, they’ll flatten in your palms. A short freeze before dipping is just as important, because a cold center helps the white chocolate set quickly instead of sliding around the truffle.
What Each Ingredient Is Doing in the Center and the Shell
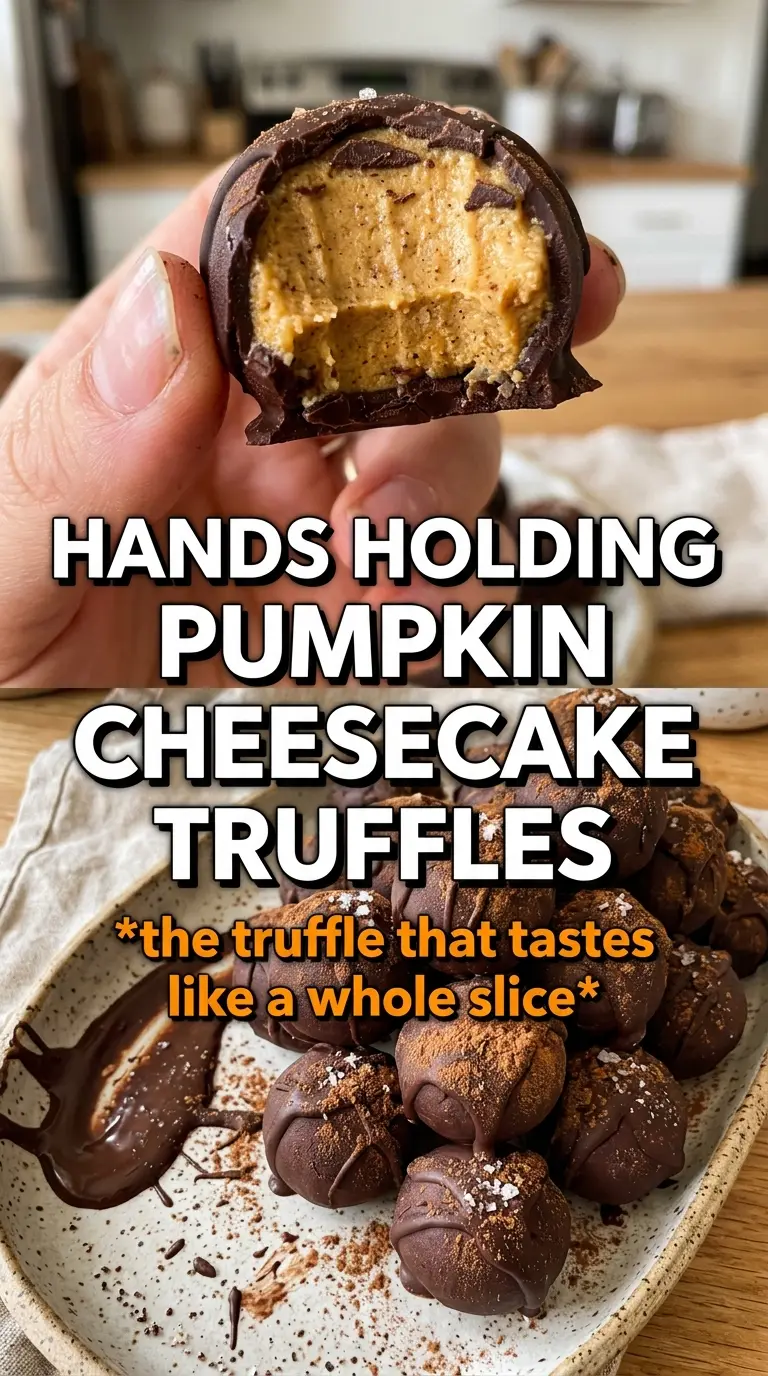
- Cream cheese — This is the backbone of the filling, so use the full-fat block style if you can. It gives the truffles that tangy cheesecake bite and sets up better than whipped tubs or reduced-fat versions.
- Pumpkin puree — Blot it well before measuring and again after if it still looks wet. Canned pumpkin works beautifully here because the texture is consistent, but the drying step matters more than the brand.
- Powdered sugar — It sweetens and tightens the mixture without adding grit. Granulated sugar won’t dissolve the same way and can leave the filling sandy.
- Graham cracker crumbs — These act like the crust in miniature form and give the filling enough body to roll. If you need a gluten-free version, use gluten-free graham crumbs with the same amount.
- White chocolate chips or almond bark — Almond bark is the easiest coating if you want a smooth, fast-setting shell. White chocolate chips work too, but they need the coconut oil and gentle heat to melt evenly without seizing.
- Coconut oil — Just a little loosens the coating so it dips cleanly and dries with a thinner shell. Too much will make the coating soft, so stick to the measured teaspoon.
Rolling, Freezing, and Dipping Without Losing the Shape
Building the Cheesecake Base
Beat the cream cheese until it’s completely smooth before anything else goes in. If you start with cold cream cheese, you’ll end up with tiny lumps that never quite disappear once the pumpkin and sugar are added. Stir in the blotted pumpkin, powdered sugar, spices, and vanilla until the mixture looks uniform, then fold in the crumbs just until combined. Overmixing after the crumbs go in can make the filling heavy and pasty.
Letting the Filling Firm Up
Chill the bowl for about 30 minutes before scooping. That short rest is enough to make the mixture scoopable without turning it hard, and it keeps the truffles from smearing on the parchment. If the filling still feels too soft after chilling, give it another 10 to 15 minutes rather than adding extra crumbs, which can make the centers dry and grainy.
Coating the Cold Centers
Scoop into 1-inch portions and roll quickly between your palms, then freeze them until they feel firm on the outside. That cold surface is what helps the chocolate cling in one even layer. Melt the white chocolate with the coconut oil in short bursts and stop heating as soon as most of the chips are melted; residual heat will finish the job. If the coating gets too thick, a tiny bit more oil or a brief warm-up smooths it out, but don’t overheat it or it can turn dull and clumpy.
Finishing With the Drizzle
Set the dipped truffles back on parchment and let the coating lose its shine before you drizzle on the orange candy melts. If you drizzle while the shell is still wet, the color can bleed instead of sitting on top in clean lines. Dust with pumpkin pie spice at the end so it stays visible and aromatic. Once they’re set, store them chilled so the centers stay firm and the shell keeps that nice snap.
Three Ways to Make These Truffles Work for Different Kitchens
Gluten-Free Pumpkin Cheesecake Truffles
Swap in certified gluten-free graham cracker crumbs and keep everything else the same. The texture stays close to the original, though some GF crumbs soften a little faster, so chill the mixture until it feels extra firm before rolling.
Dairy-Free Version With a Little More Chill Time
Use dairy-free cream cheese and dairy-free white chocolate, then chill the filling a bit longer because plant-based cream cheese usually starts softer. The flavor still reads as pumpkin cheesecake, but the center will be slightly less tangy and a touch softer at room temperature.
Extra-Spiced Truffles
Increase the pumpkin pie spice to 3/4 teaspoon and add a pinch of nutmeg if you want a warmer finish. This pushes the pumpkin spice flavor forward without changing the structure, but don’t go heavy on the cinnamon or it can dominate the cream cheese.
Make-Ahead Storage
Keep the finished truffles refrigerated in a single layer or with parchment between layers so the coating doesn’t scuff. Refrigerator: 5 days. Freezer: they freeze well for up to 2 months; freeze on a tray first, then move to an airtight container. Reheating: no reheating needed, but let frozen truffles thaw in the fridge so condensation doesn’t dull the coating.