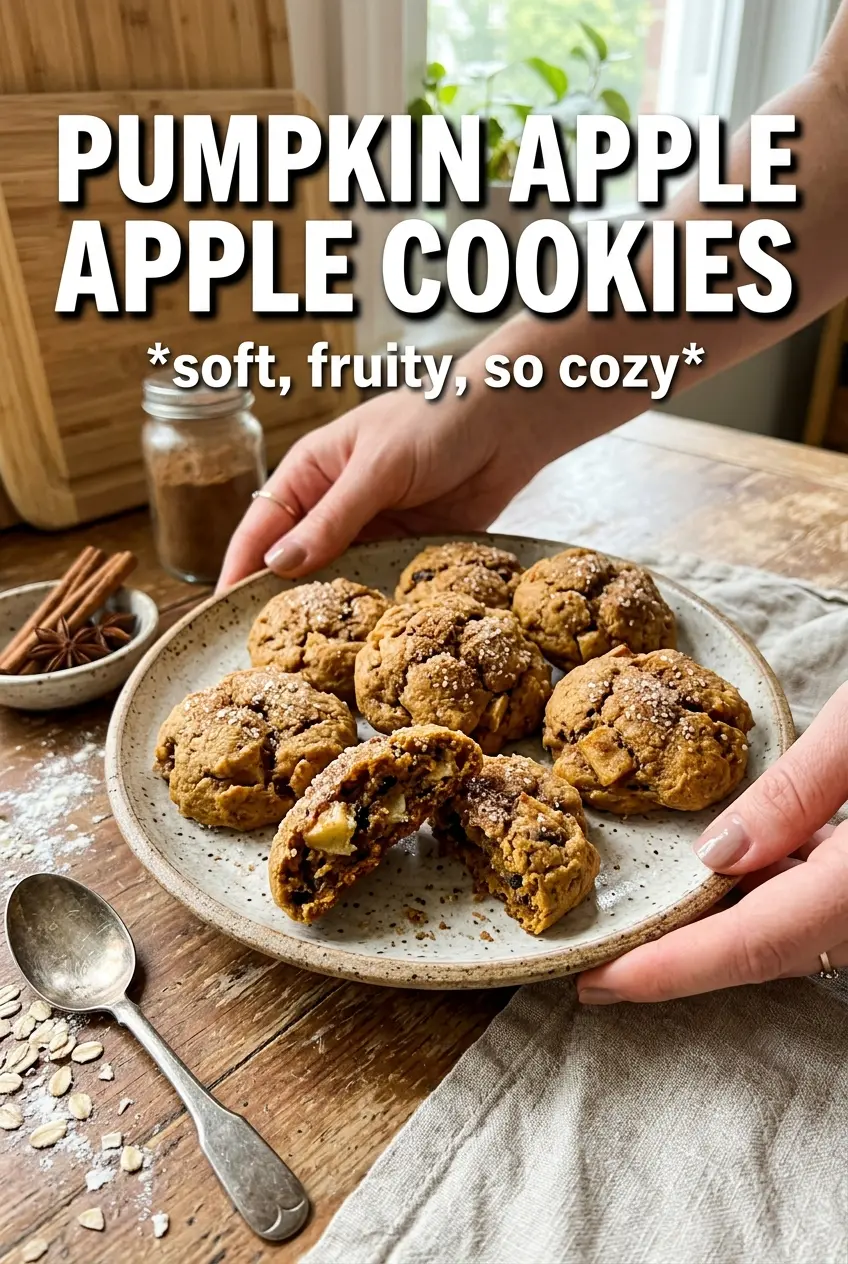
Soft pumpkin apple cookies bake up with tender centers, lightly crisp edges, and little pockets of apple that stay bright instead of turning mushy. The pumpkin gives them that warm, cake-like chew people expect, but the blotted fruit keeps them from going dense or wet. A caramel drizzle on top finishes the whole batch with just enough sweetness to make the spice in the dough stand out.
What makes these work is restraint. The pumpkin puree gets blotted before it goes into the bowl, and the apples do too, because extra moisture is the fastest way to end up with cookies that spread too much or bake up gummy. Finely dicing the apples matters just as much; bigger pieces can leave raw little pockets, while tiny pieces soften in the oven without disappearing.
Below, I’ve laid out the part that matters most: how to keep the dough from getting wet, how to spot the right bake, and what to change if you want to lean more heavily into the pumpkin or the apple side.
I blotted the pumpkin and apple like you said, and the cookies baked up soft instead of cakey-wet. The caramel drizzle on top made them taste like an apple orchard dessert, and they were gone before they cooled completely.
Save these pumpkin apple cookies for the caramel-drizzled batch that stays soft, spiced, and packed with tiny apple pieces.
The Trick to Keeping Pumpkin Cookies from Turning Cakey-Wet
Pumpkin cookies often fail because the dough starts with too much moisture. Pumpkin puree looks harmless, but even a few extra spoonfuls of liquid can push the texture from soft and tender into heavy and damp. Blotting the puree first keeps the cookies in that sweet spot where they hold their shape but still taste plush.
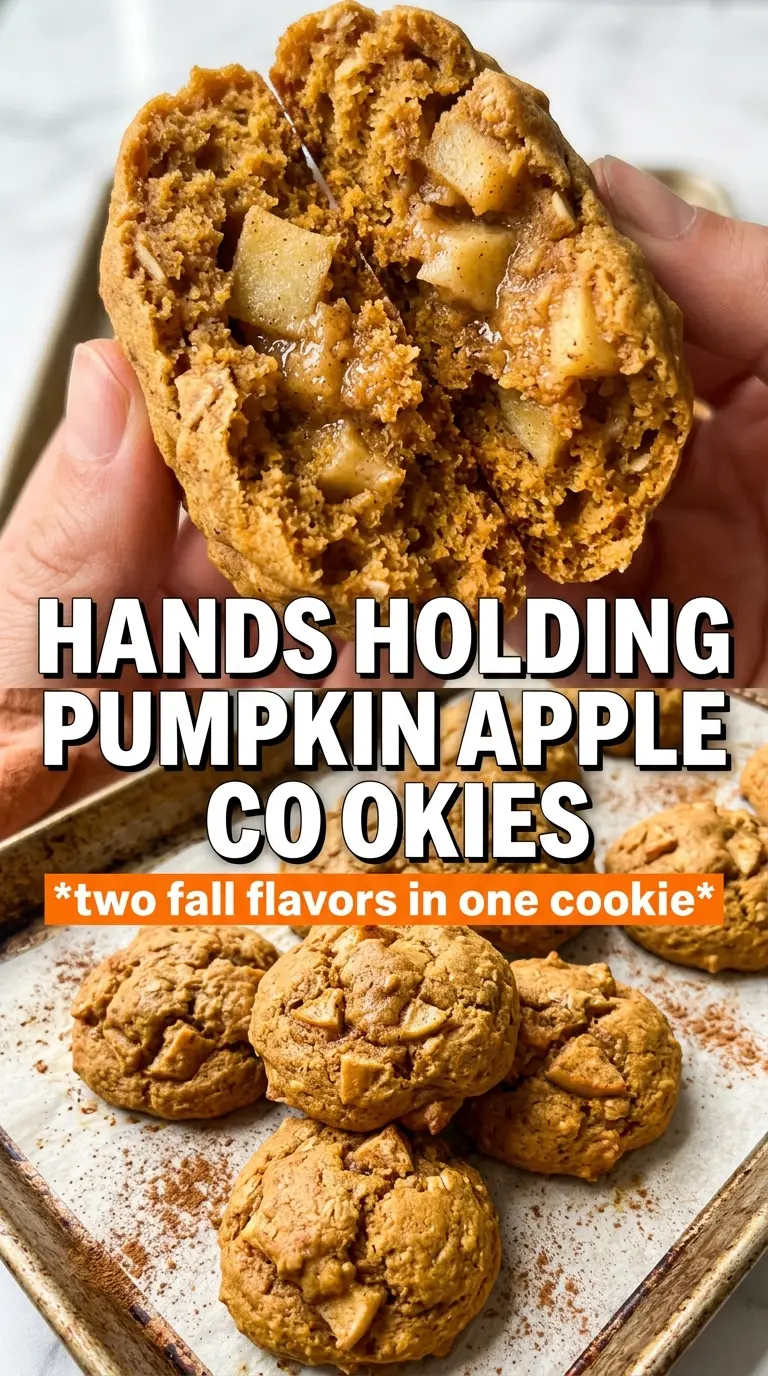
The same rule applies to the apples. If the dice are too large or too wet, they release juice in the oven and leave you with soggy spots instead of little tender bites. Fine dice distribute better through the dough, so every cookie gets apple flavor without losing structure.
- Blotted pumpkin puree — This gives you pumpkin flavor without the excess water that makes the dough spread and bake up pasty.
- Very finely diced apples — Smaller pieces soften quickly and stay tucked into the cookie instead of creating wet seams.
- Brown sugar — It brings moisture and a deeper caramel note that plays well with the spice and the drizzle.
- Caramel drizzle — Use it after the cookies are fully cool, or it will melt right off and blur the top.
What Each Ingredient Is Actually Doing in These Cookies
- All-purpose flour — This gives the cookies their structure. A bread flour swap would make them tougher, and a low-protein cake flour would make them too delicate for the apple pieces.
- Butter — Softened butter traps air when beaten with the sugars, which helps the cookies bake up tender. If it’s too melty, the dough turns greasy and spreads more.
- Pumpkin puree — Use plain puree, not pumpkin pie filling. Pie filling already contains sugar and spice, which throws off both texture and seasoning.
- Brown sugar and granulated sugar — Brown sugar keeps the centers soft, while granulated sugar helps the edges set a little more cleanly.
- Pumpkin pie spice and cinnamon — The spice blend handles the warm background notes, and the extra cinnamon keeps the pumpkin from tasting flat.
- Finely diced apples — Tart or crisp apples both work, but avoid very soft varieties that collapse into paste while baking. Blotting them dry before folding them in is the part that keeps the dough balanced.
Building the Dough So the Apples Bake In, Not Out
Start with the dry side first
Whisk the flour, baking soda, spices, and salt together before anything hits the butter. That step matters because it distributes the leavener and spices evenly, so you don’t get one cookie that tastes heavy and another that tastes sharp. When you’re ready to combine, stop as soon as the flour disappears; overmixing here makes the cookies tougher.
Beat the butter and sugars until they look fluffy
The butter and sugars should look lighter in color and slightly aerated before you add the pumpkin, egg, and vanilla. That’s where the tender texture starts. If the butter is too cold, it won’t cream properly; if it’s melted, the dough will never build the same structure and the cookies will spread more in the oven.
Fold in the apples at the very end
Add the blotted apple pieces after the flour mixture is mostly incorporated. That keeps the fruit from breaking down while you mix and helps the pieces stay evenly distributed instead of sinking into one wet layer. Scoop the dough onto lined baking sheets in 1 1/2-tablespoon mounds, and bake until the edges are set and the centers look just slightly underdone; they finish on the pan as they cool.
Wait for the cool-down before the caramel
Let the cookies cool completely before drizzling. Warm cookies melt the caramel into the surface, which sounds convenient but muddies the look and softens the top too much. Once they’re cool, the drizzle sits on top in neat lines and gives you that bakery-style finish.
How to Tweak These for Different Kitchens and Different Moods
Dairy-Free Version
Swap the butter for a plant-based stick butter that behaves like real butter, not a tub spread. You’ll lose a little of the buttery depth, but the cookies will still cream properly and hold their shape. Skip coconut oil here; it can make the dough feel greasy and spread more.
Gluten-Free Adjustment
Use a 1:1 gluten-free baking blend that already includes xanthan gum. The cookies will be a little more delicate, but the texture stays close if you don’t overmix the dough and you let the baked cookies cool on the sheet for a few minutes before moving them.
Make Them More Apple-Forward
Add a tablespoon or two of extra finely diced apple, but only if you blot it dry first. Any more than that starts to crowd the dough with moisture, which changes the cookies from soft and chewy to soft and fragile.
Storage and Reheating
- Refrigerator: Store in an airtight container for 4 days. The cookies stay soft, though the apple pieces mellow a bit by day two.
- Freezer: Freeze the baked cookies without the caramel drizzle for up to 2 months. Layer them with parchment so they don’t stick together, then thaw at room temperature before finishing with caramel.
- Reheating: Warm a cookie for 8 to 10 seconds in the microwave if you want that just-baked softness. Don’t heat them for long or the caramel and sugars will turn sticky and the edges lose their texture.