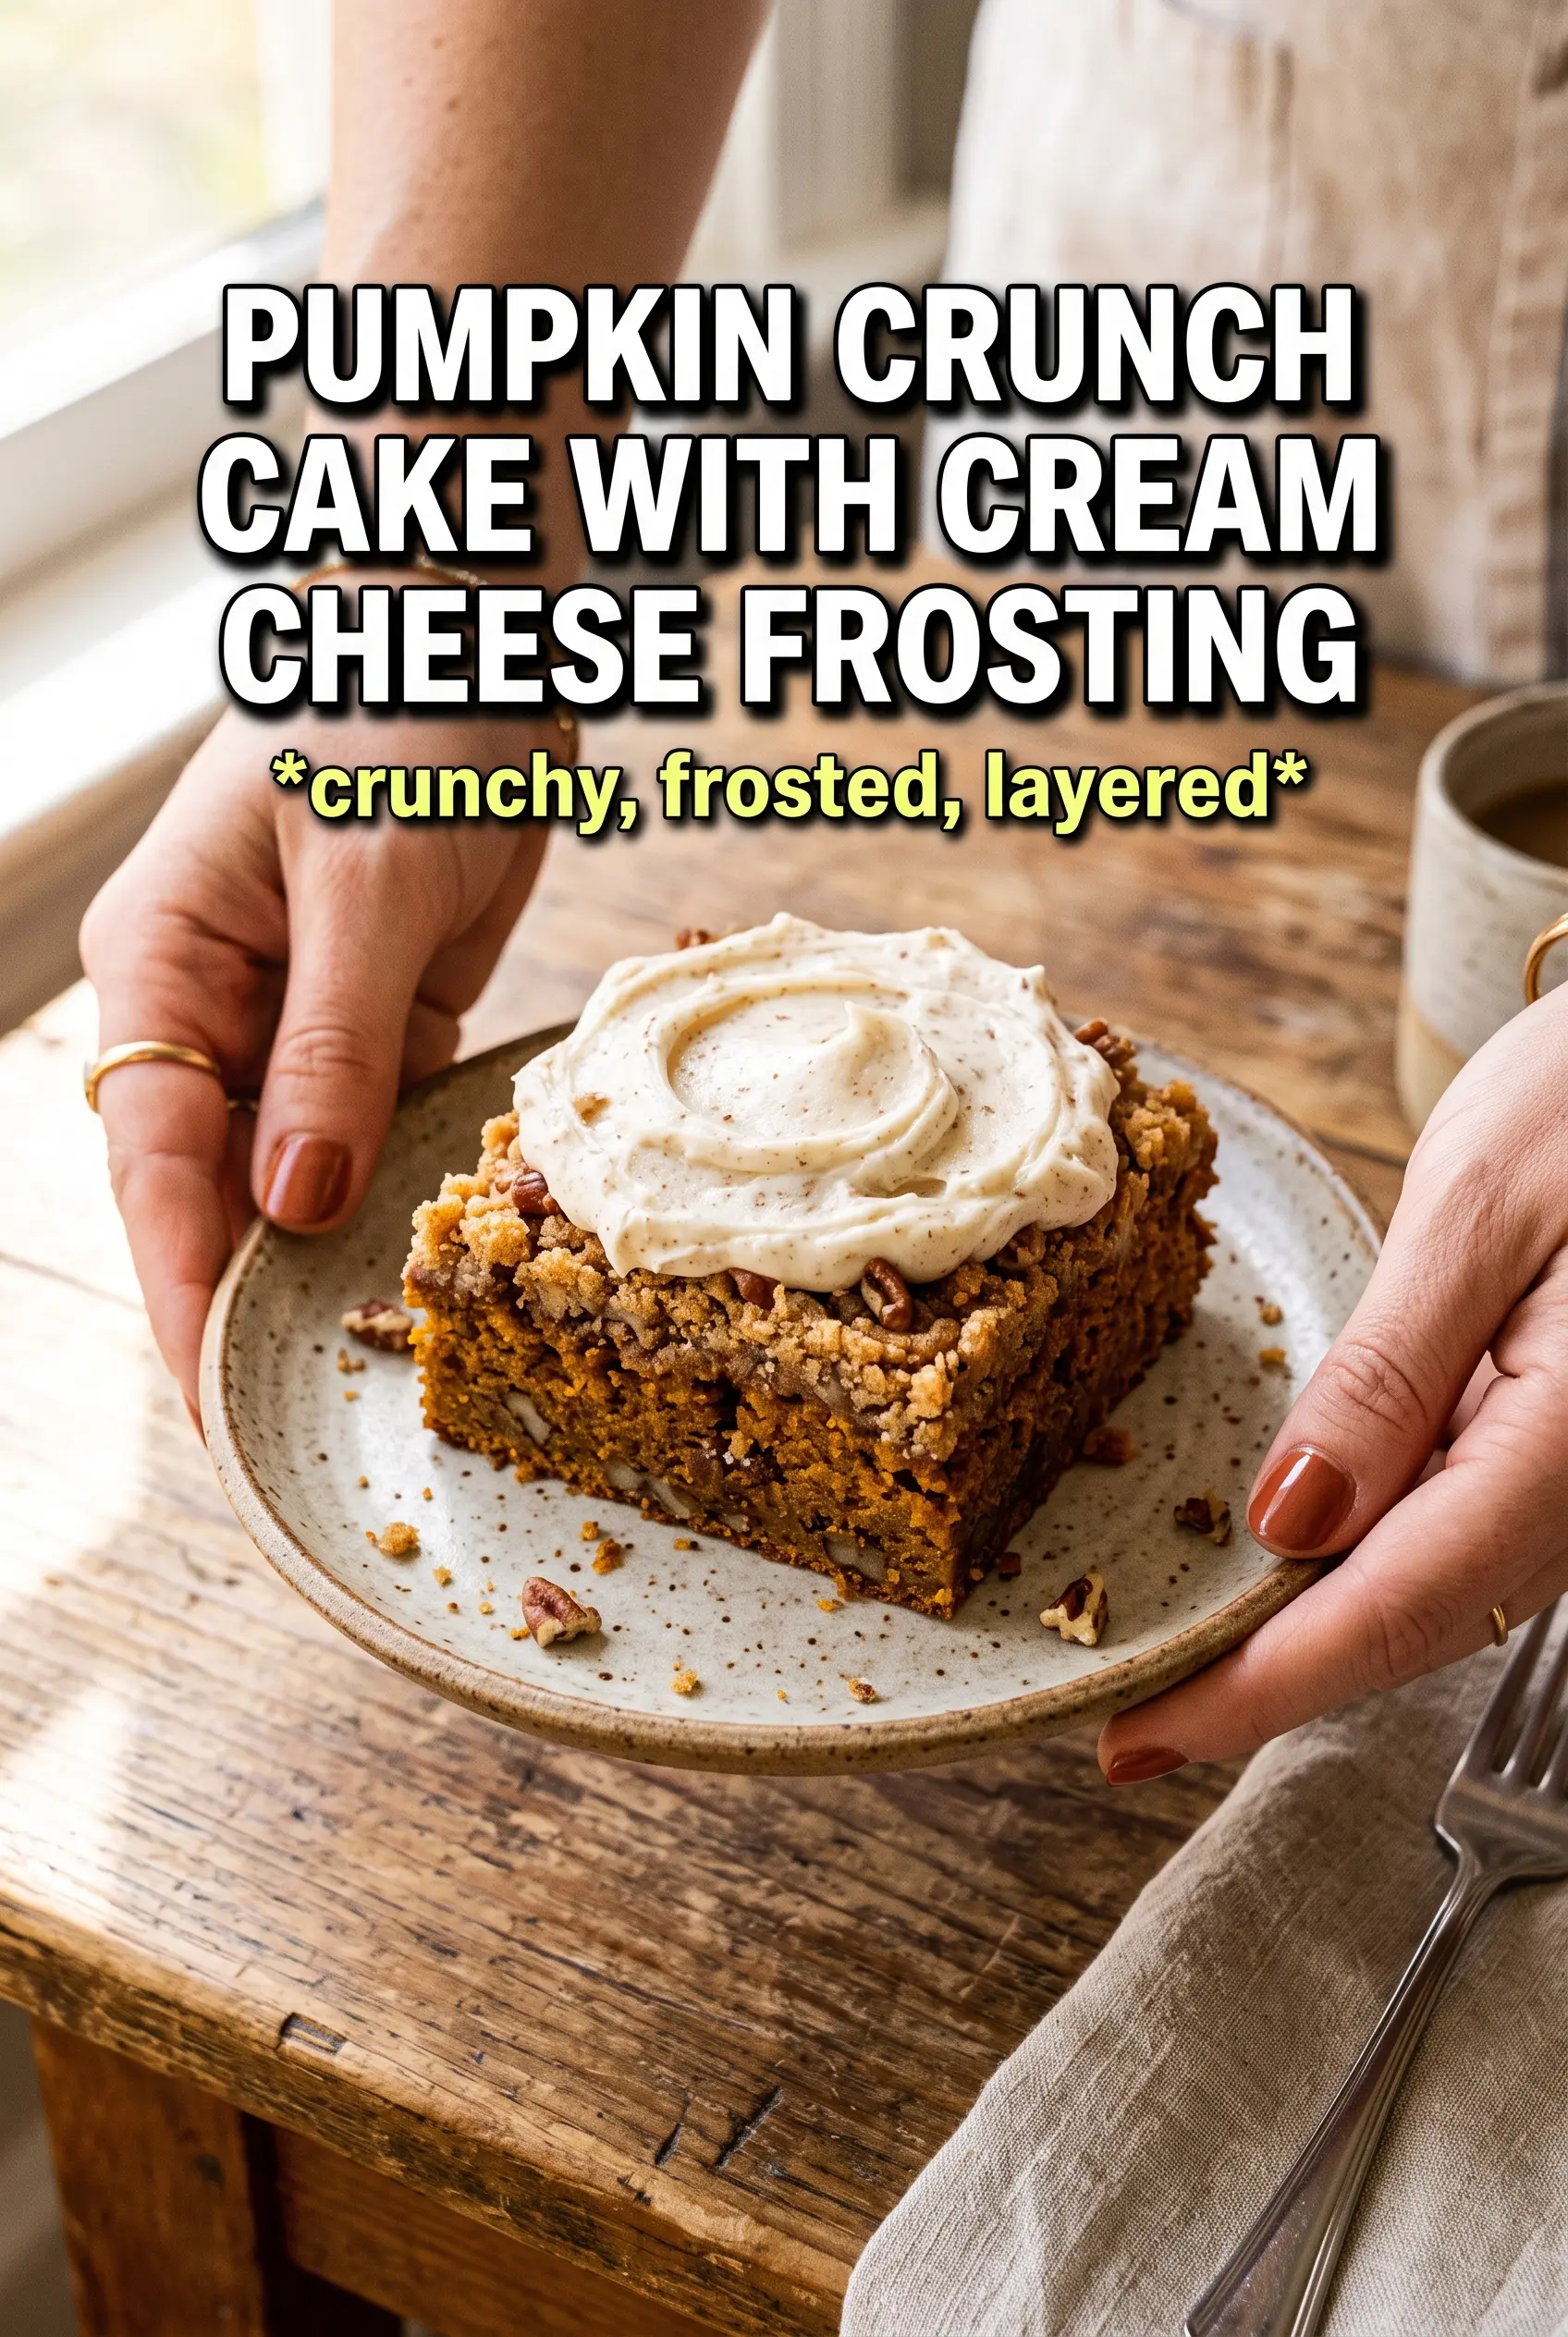
Pumpkin crunch cake lands somewhere between pumpkin pie, dump cake, and a layer cake you didn’t have to fuss over, and that’s exactly why it earns a place on repeat. The bottom bakes into a smooth, custardy pumpkin layer, the middle turns tender, and the pecans on top bring a toasty crunch that keeps every bite from feeling heavy. Once the cream cheese frosting goes on, the whole thing eats like a bakery dessert without the bakery effort.
The part that makes this version work is the balance of wet and dry ingredients. The pumpkin mixture is loose enough to bake into a soft base, while the dry cake mix stays separate until the butter hits it, creating those crisp, buttery pockets on top. If you’ve ever had crunch cake come out powdery in spots or soggy underneath, it usually means the butter wasn’t distributed evenly or the cake needed a little more time in the oven. Both are easy to fix here.
Below, I’ll walk through the texture cues that tell you when it’s done, the best way to flip it without a mess, and a couple of smart swaps if you want to change the topping or serve it a different way.
The pumpkin layer set up perfectly and the pecan topping stayed crunchy even after chilling. I flipped it onto a board and the cream cheese frosting made it look like something from a bakery.
Love the contrast of pumpkin custard, buttery cake-mix crunch, and fluffy cream cheese frosting? Save this Pumpkin Crunch Cake With Cream Cheese Frosting for your next dessert table.
The Reason This Cake Sets Up Cleanly Instead of Turning Soupy
The bottom layer needs enough structure to hold the custard, but not so much that it bakes into a dense pumpkin bar. That’s why the eggs and evaporated milk matter here: the eggs set the filling, and the evaporated milk adds richness without thinning the batter as much as regular milk would. If your pumpkin layer stays loose after baking, it usually needed a few more minutes in the oven, not more flour.
The other mistake is dumping the cake mix on in clumps and then drenching the same spots with butter. The goal is an even blanket of dry mix with melted butter drizzled across the whole surface so the top bakes into a crisp, craggy crust. If you see pale powder after baking, those dry patches didn’t get enough butter.
What Each Ingredient Is Actually Doing in the Pan
- Pumpkin purée — This is the base of the dessert, so use plain pumpkin purée, not pumpkin pie filling. Pie filling already has sugar and spice mixed in, which throws off the texture and makes the cake overly sweet.
- Evaporated milk — It gives the filling body and a deeper dairy richness than regular milk. I wouldn’t swap in watery milk here unless you’re fine with a lighter, less custardy set.
- Yellow cake mix — This is what creates the crunchy top without having to build a crumb topping from scratch. A butter or yellow cake mix works best because it browns well and tastes balanced against the spiced pumpkin layer.
- Butter — Melted butter is what transforms the dry cake mix into that crisp, golden topping. If you pour it unevenly, you’ll get dry floury spots, so distribute it all the way to the corners.
- Pecans — They bring texture and a toasted, slightly bitter note that keeps the dessert from tasting flat. Walnuts work in a pinch, but pecans are the better match here because they stay sweeter and more buttery.
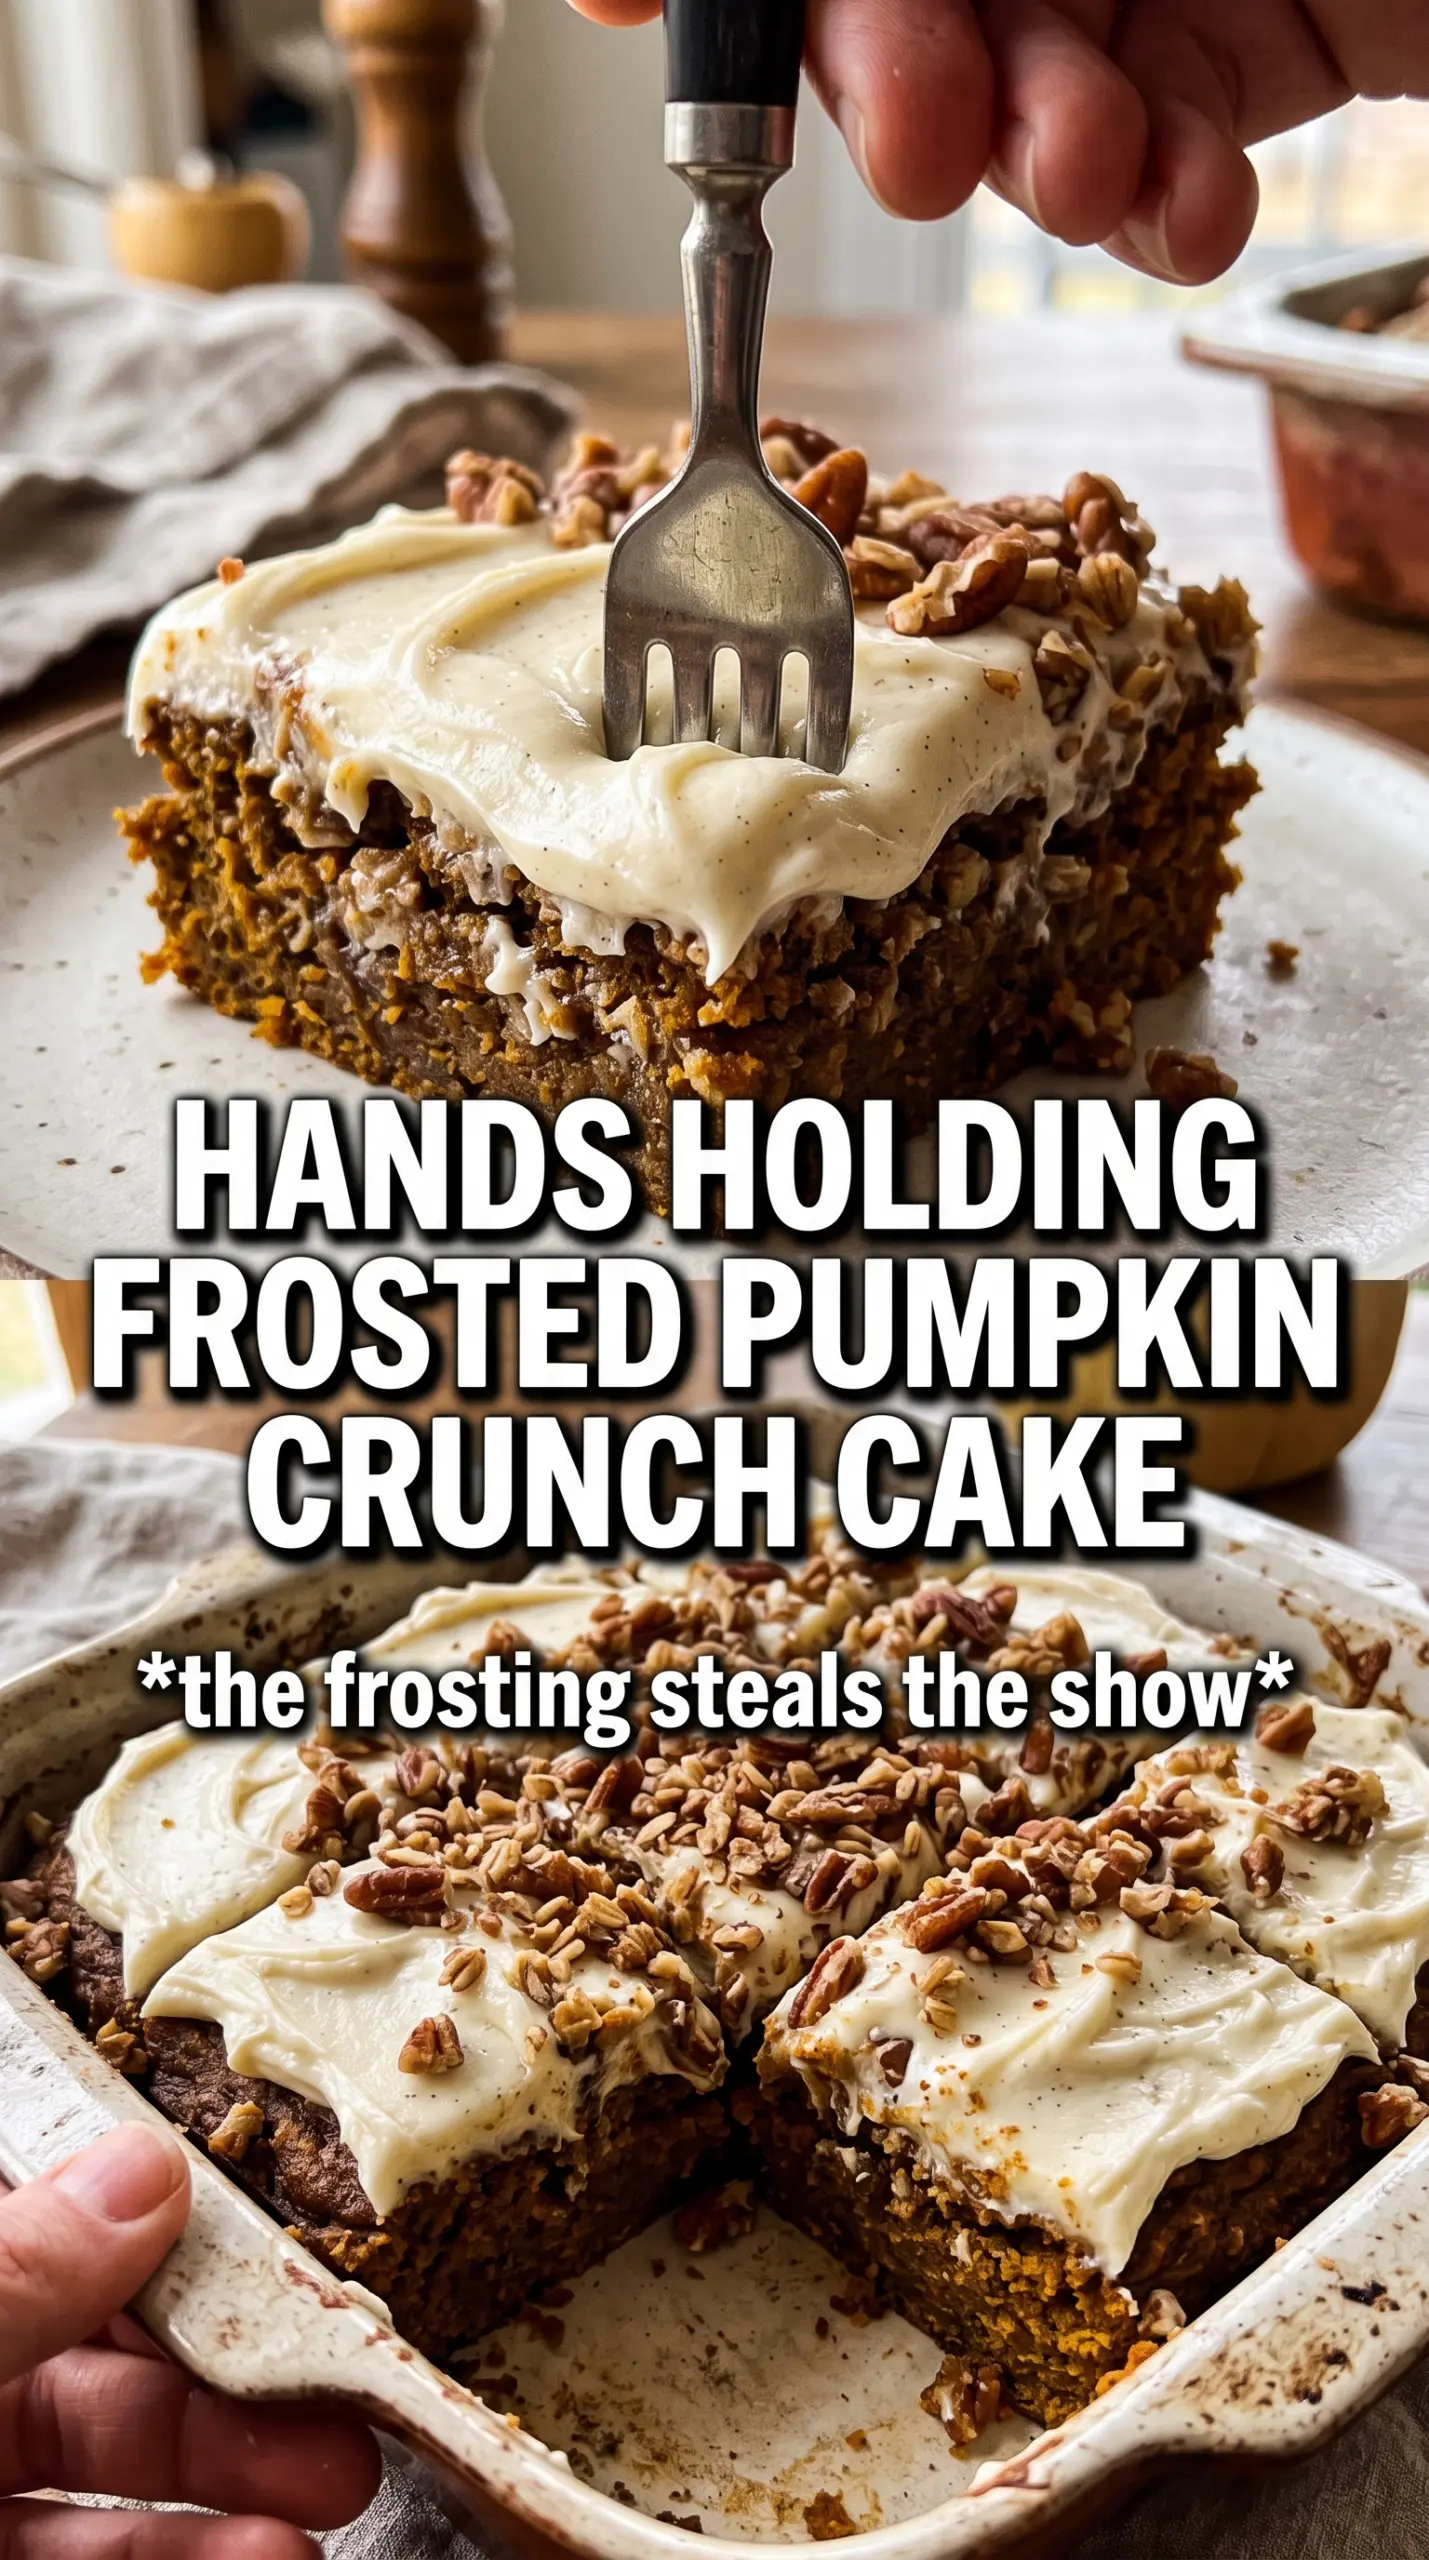
- Cream cheese frosting — This is what turns the cake from casual potluck dessert into something that feels special. Softened cream cheese and butter beat into a fluffy, spreadable frosting; if either one is cold, the frosting turns lumpy before it has a chance to smooth out.
How to Build the Layers Without Losing the Crunch
Mix the Pumpkin Base Until It Looks Smooth and Pourable
Whisk the pumpkin, evaporated milk, eggs, sugar, spice, cinnamon, and salt until the mixture looks fully blended and silky. Pour it into a greased 9×13 pan and level it gently so the custard bakes evenly. If the pan is unevenly filled, the center can stay loose while the edges overbake.
Keep the Cake Mix Dry and the Butter Even
Sprinkle the cake mix over the pumpkin layer in an even blanket, then scatter the chopped pecans over the top. Drizzle the melted butter slowly across the surface, aiming for as much of the dry mix as possible. The top should look damp in patches but not flooded; if you pour the butter in one place, you’ll end up with a greasy pocket and dry corners.
Bake Until the Top Is Deep Gold and the Center Gives Slightly
Bake at 350°F until the surface is deeply golden and the middle no longer sloshes when you move the pan, about 50 to 55 minutes. A little wobble in the very center is fine because it firms as it cools, but a liquid center means the custard hasn’t set. Let the cake cool completely before frosting or flipping, or the layers will slide and the frosting will melt right off.
Frost After the Cake Is Fully Cool
Beat the cream cheese, butter, powdered sugar, vanilla, and cinnamon until the frosting is fluffy and smooth. Spread it generously over the cooled cake, or flip the cake onto a board first if you want the pecan layer on top and frost the sides after. If the frosting feels loose, the cake is still warm or the butter was too soft; chill the bowl for a few minutes and it will firm back up.
Three Ways to Change It Without Losing the Good Parts
Go nut-free
Skip the pecans and use the same amount of toasted sunflower seeds or leave the topping plain. You’ll lose some of the crunch and nutty flavor, but the cake still bakes up with a crisp buttered top and a soft pumpkin base.
Make it gluten-free
Use a gluten-free yellow cake mix in the topping and check that your spices are certified gluten-free if needed. The texture stays close to the original, though the crumb may be a little more delicate once it cools.
Make the frosting dairy-free
Use plant-based cream cheese and butter alternatives that are meant for baking, not the spreadable kind from a tub. The frosting won’t be quite as tangy or sturdy, so chill it briefly before spreading if it looks soft.
Bake it ahead for a cleaner slice
Bake the cake the day before, cool it completely, and chill it uncovered for an hour before frosting or flipping. A cold cake slices cleaner and holds its shape better, especially if you want those neat bakery-style squares.
Storage and Reheating
- Refrigerator: Store covered for up to 4 days. The topping softens a bit in the fridge, but the flavor holds up well.
- Freezer: Freeze unfrosted slices tightly wrapped for up to 2 months. Frosting after thawing gives you the best texture; cream cheese frosting can get a little grainy after freezing.
- Reheating: Warm a slice in the microwave for 15 to 20 seconds if you want it slightly soft, or serve it chilled for a firmer set. If it’s frosted, don’t overheat it or the frosting will slide.