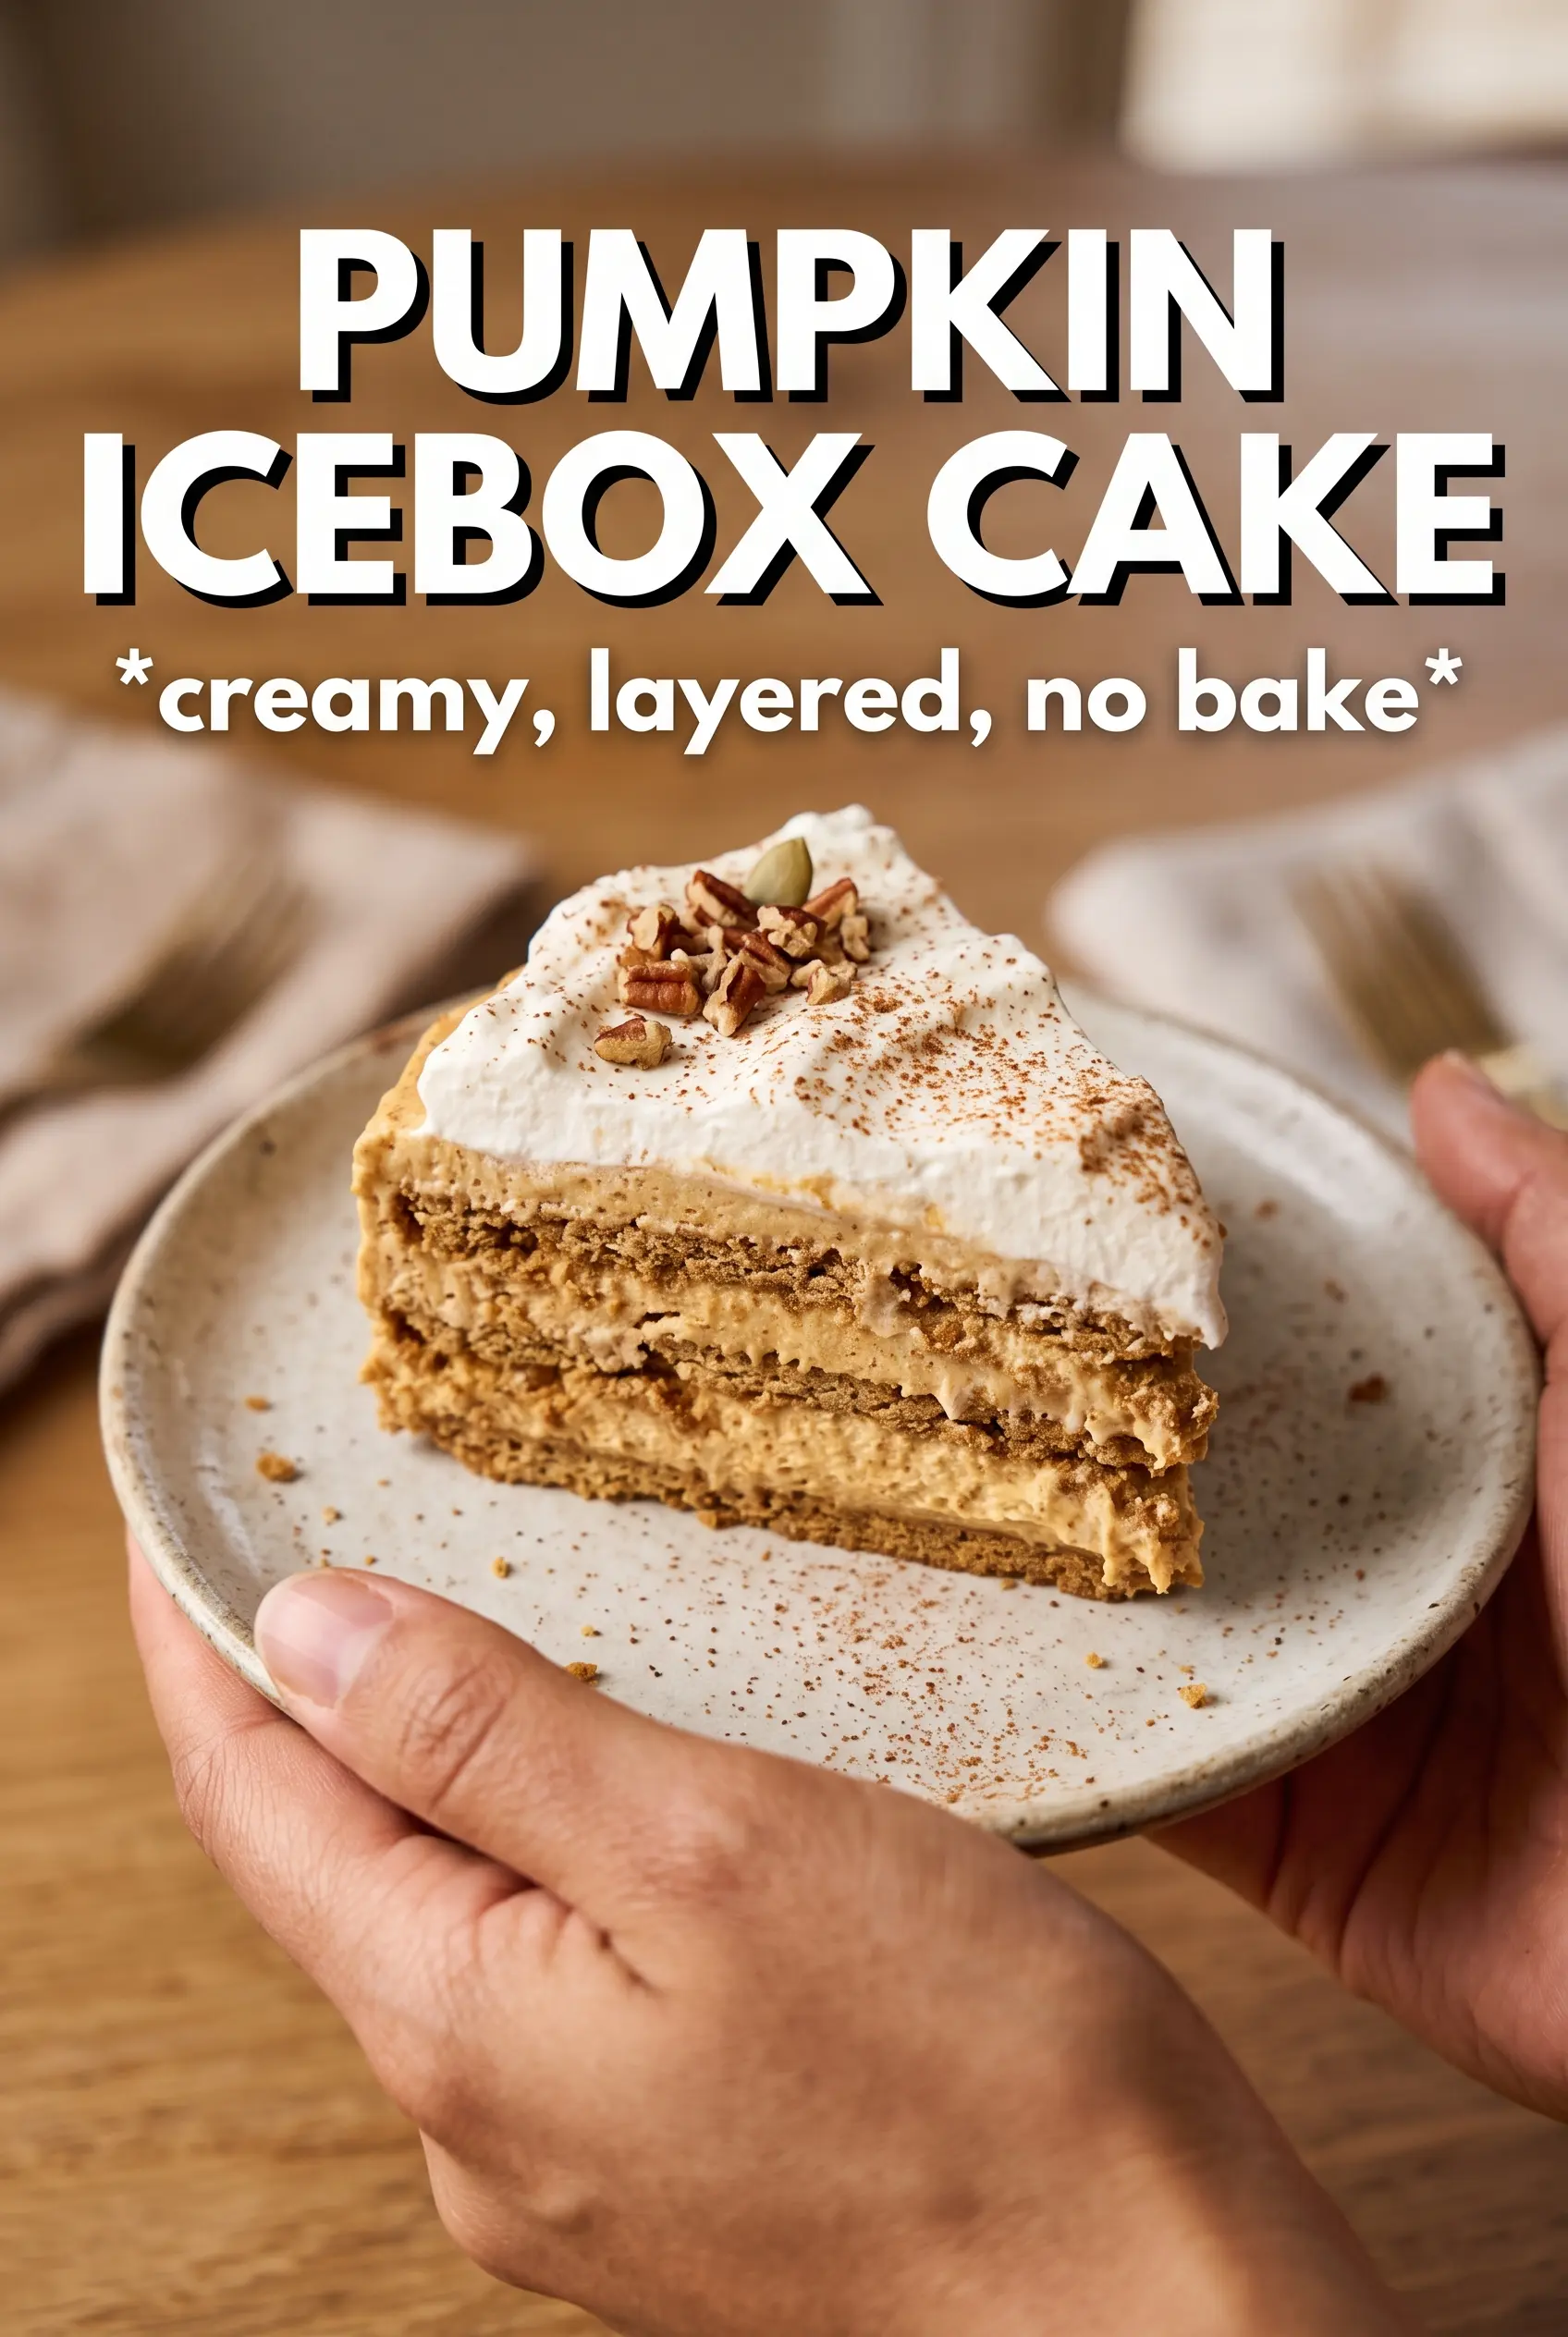
Pumpkin icebox cake turns a handful of pantry ingredients into a chilled dessert with tall, clean layers and a soft, sliceable texture that lands somewhere between cheesecake and pumpkin pie. The graham crackers start out crisp, then slowly absorb the pumpkin cream in the fridge until they become tender, cake-like layers that hold their shape on the plate. It’s the kind of dessert that looks like you spent a lot more time on it than you did.
The trick is in the pumpkin cream. Cream cheese gives it structure, pumpkin puree brings the flavor, and whipped topping keeps it light enough to spread without tearing the graham layers. If the filling is too loose, the dessert slides; if it’s too stiff, it won’t settle into even layers. Overnight chilling does the real work here, so this is one of those desserts that rewards planning ahead instead of last-minute fussing.
Below you’ll find the layering rhythm that keeps the slices neat, the ingredient choices that matter most, and a few ways to adapt it if you want to swap in a different topping or make it ahead for a crowd.
The pumpkin cream set up beautifully and the graham layers softened just enough overnight. I sliced it cold the next day and got neat layers without any mess.
Save this Pumpkin Icebox Cake for a make-ahead dessert with soft graham layers and a thick cinnamon-spiced pumpkin cream.
The Part People Miss: Letting the Grahams Soak Without Going Soggy
This dessert depends on balance. The graham crackers need enough time in the fridge to soften into something cake-like, but the filling has to stay thick enough that the layers don’t slump. That’s why the pumpkin mixture starts with softened cream cheese beaten completely smooth before anything else goes in. If the cream cheese stays lumpy, those lumps don’t disappear later; they just get trapped in the final layers.
The other detail that matters is how you spread each layer. A thick, even layer of pumpkin cream does more for this cake than piling it high in the center. Uneven filling creates sliding layers, and once the whipped topping and crackers start to settle, that unevenness shows up in the slices. Tight layering now gives you clean squares later.
- Full-fat cream cheese gives the filling enough body to hold the dessert together after chilling. Reduced-fat cream cheese can work in a pinch, but it tends to make the filling looser and a little less rich.
- Pure pumpkin puree gives you the right texture and steady pumpkin flavor. Pumpkin pie filling is already sweetened and spiced, which throws off both the taste and the set.
- Whipped topping keeps the filling airy and stable. Fresh whipped cream can be used, but it softens faster and won’t hold the same structure overnight.
What Each Ingredient Is Actually Doing in This Dessert
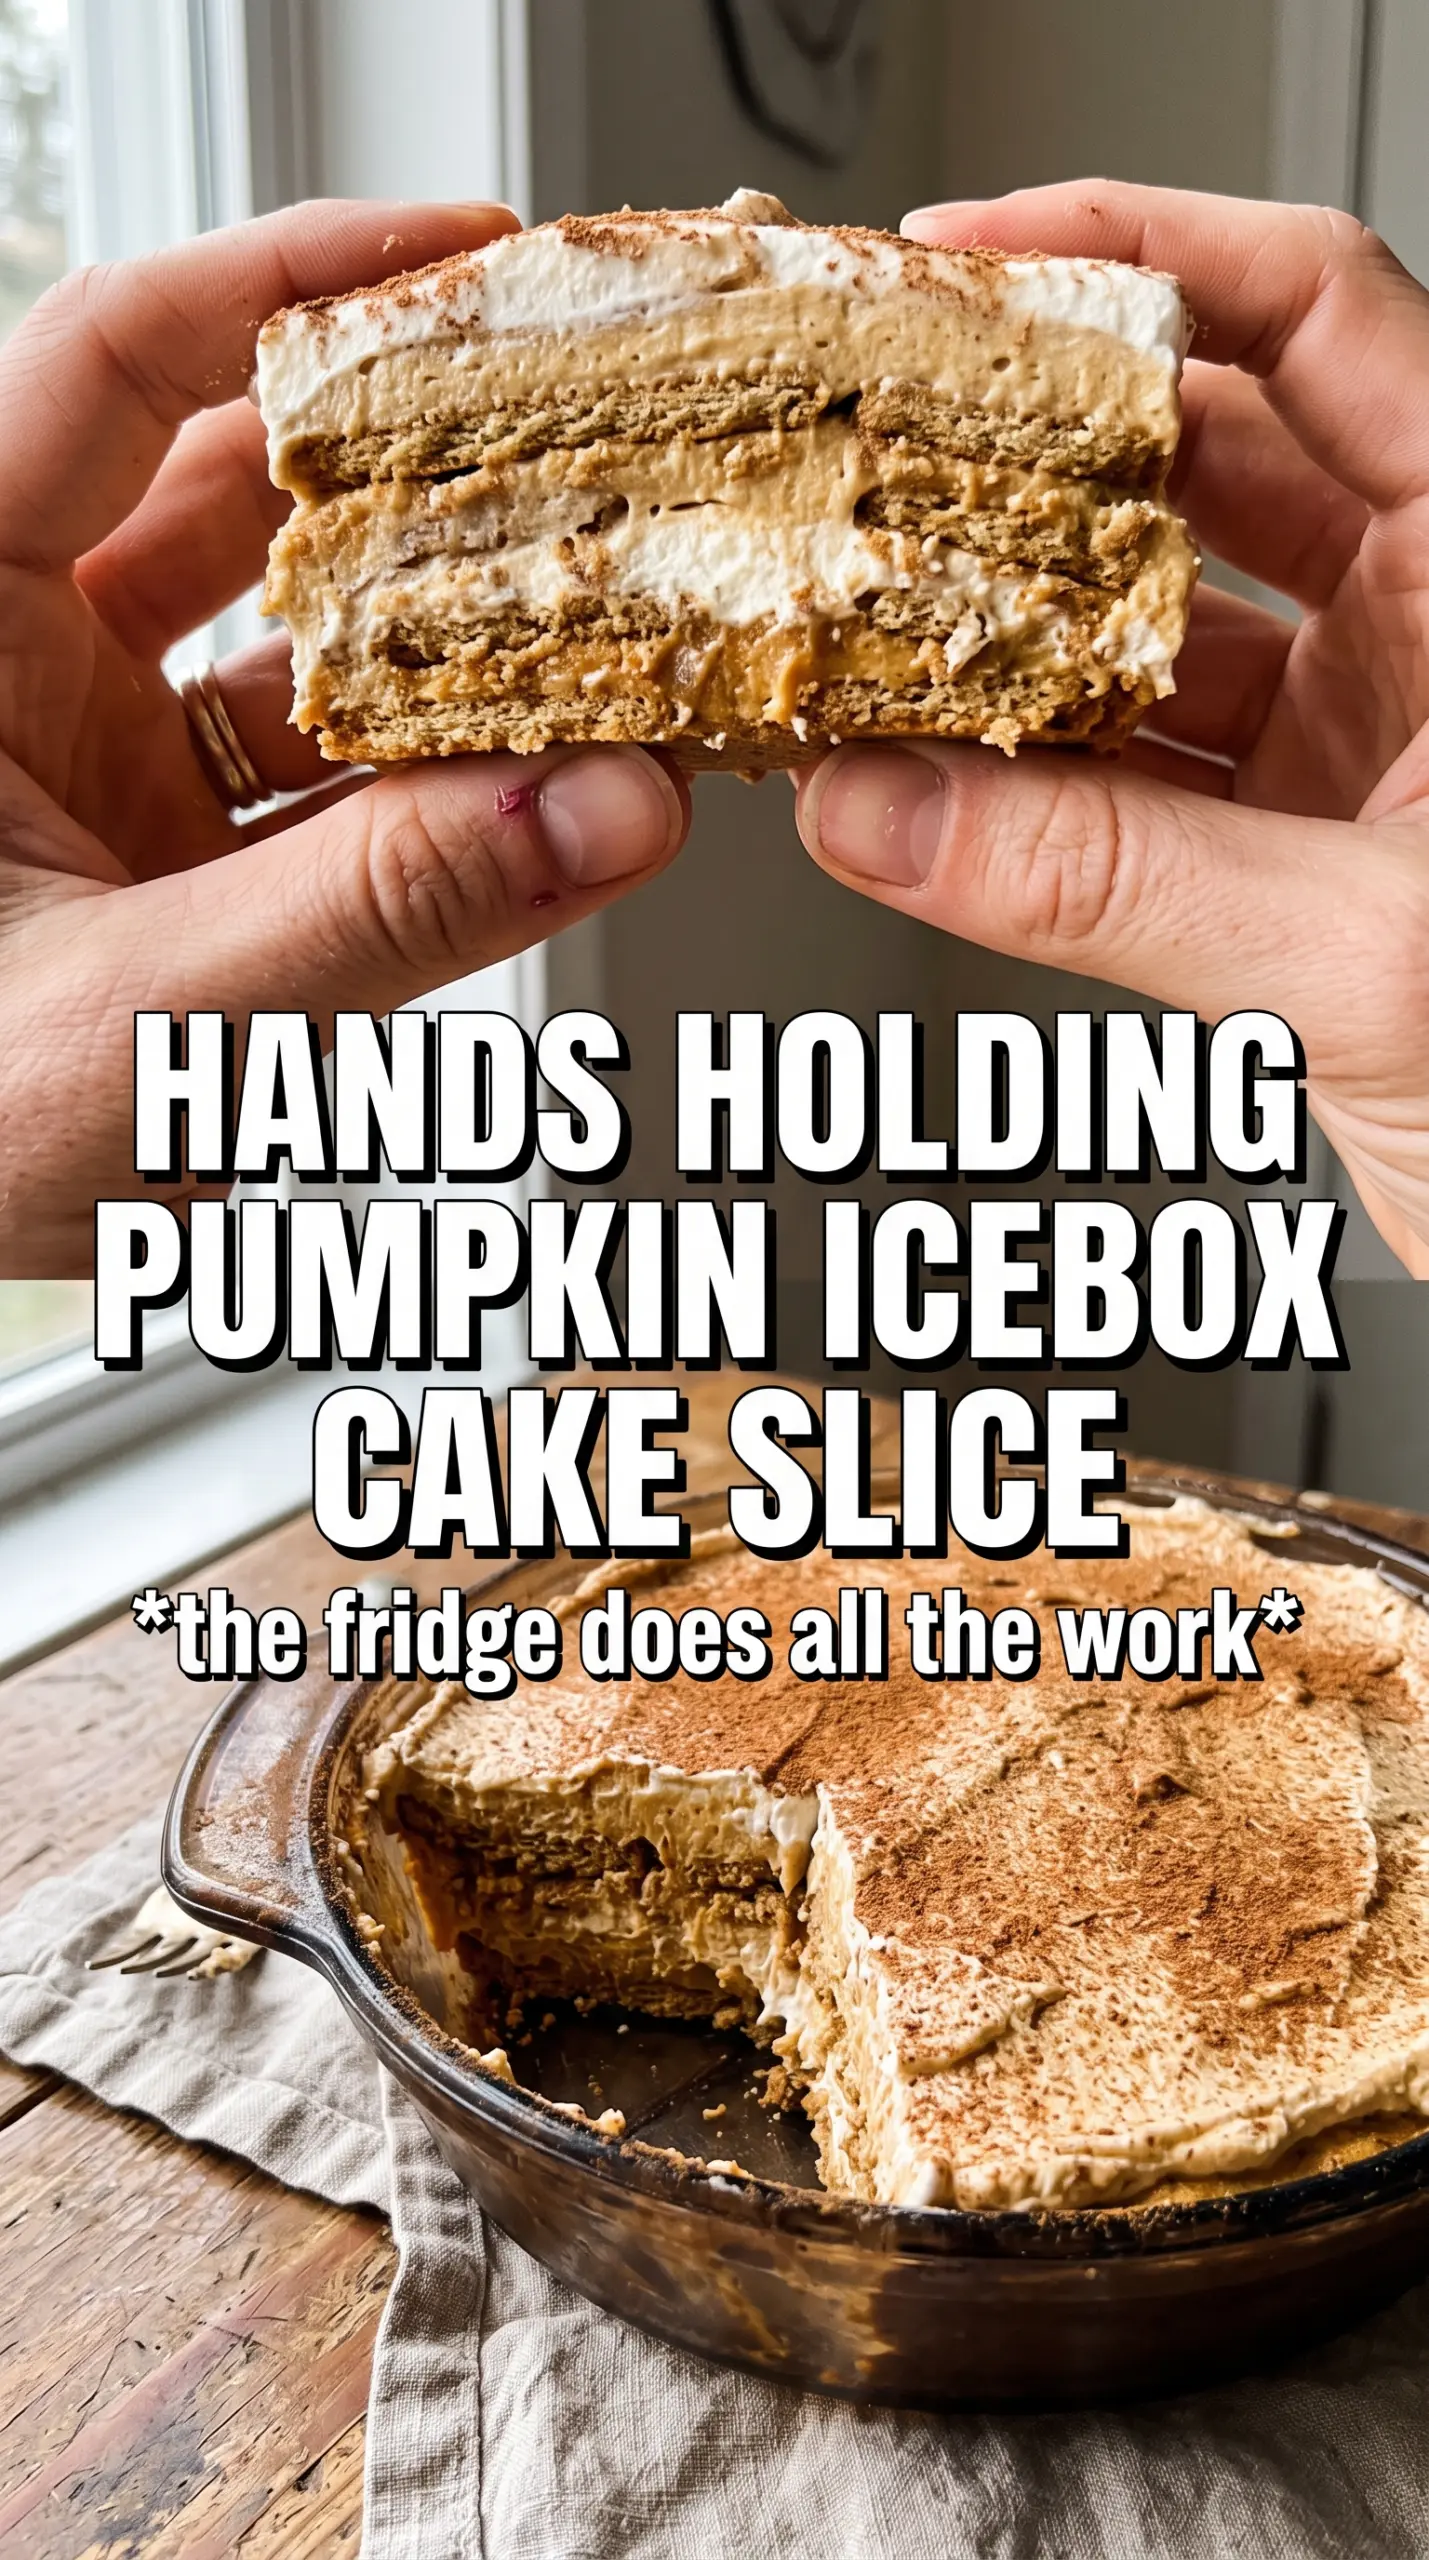
- Cream cheese is the backbone. It gives the pumpkin layer the thickness it needs so the cake slices cleanly after chilling. Soften it fully before beating, or you’ll end up with tiny lumps that never quite mix out.
- Pumpkin puree brings the flavor and the color, but it also adds moisture. That’s why the recipe leans on cream cheese and whipped topping for support.
- Powdered sugar sweetens without making the filling gritty. Granulated sugar won’t dissolve as smoothly here.
- Pumpkin pie spice and cinnamon give the filling depth. The spice blend carries the classic pumpkin note, and the extra cinnamon keeps the flavor from tasting flat.
- Vanilla rounds out the filling and keeps the pumpkin from tasting one-dimensional.
- Whipped topping lightens the mixture and helps it hold its shape. Fold it in gently so you keep the air in the filling instead of knocking it out.
- Graham crackers are the structure and the texture story. They look firm at first, but they soften into tender layers as they sit with the pumpkin cream.
Building the Layers So the Cake Slices Cleanly
Smoothing the Pumpkin Cream First
Beat the cream cheese until it’s completely smooth before adding the pumpkin, sugar, spices, and vanilla. If you rush this part, the filling starts out grainy and never fully recovers. Once the pumpkin mixture looks uniform, fold in most of the whipped topping by hand so the filling stays light and spreadable. Stop as soon as it looks combined; overmixing knocks out the volume you need for neat layers.
Laying the Cracker Base
Cover the bottom of the dish with graham crackers in a solid layer, breaking a few pieces as needed to fill in gaps. Gaps here turn into weak spots later, so don’t leave open space if you can help it. Spread about a third of the pumpkin cream over the crackers and take it all the way to the edges. The edges are what keep the sides of the dessert tidy when you cut it.
Repeating the Stack
Keep building in even layers: grahams, pumpkin cream, grahams, pumpkin cream, then one more layer of grahams. Press down only lightly as you go. You want the dessert to settle, not compress into a dense block. Finish with the remaining whipped topping over the top layer of crackers so the top looks smooth once it chills.
Chilling for the Right Texture
Cover the dish tightly and refrigerate overnight. That resting time is what transforms the graham crackers from crisp to soft, cake-like layers. If you cut it too early, the crackers stay tough in the center and the slices won’t hold together. Right before serving, dust the top with cinnamon and crushed graham crackers for a clean finish and a little extra texture.
How to Adapt Pumpkin Icebox Cake for Different Kitchens and Crowds
Dairy-Free Version with a Softer Set
Use dairy-free cream cheese and a dairy-free whipped topping in place of the originals. The texture will still be sliceable, but it may be a little softer, so keep the chilling time overnight or longer. The flavor stays close to the original because the pumpkin and spices carry most of the personality here.
Extra-Spiced Pumpkin Layer
If you like a sharper spice note, add an extra 1/2 teaspoon cinnamon or a pinch of ground ginger to the filling. That gives the dessert a warmer edge without changing the structure. Don’t overdo the spice blend or it starts to overpower the pumpkin instead of supporting it.
Gluten-Free Swap
Use gluten-free graham-style crackers and build the cake the same way. The only real difference is that some gluten-free crackers soften a little faster, so don’t push the chilling time much past overnight if you want cleaner slices. The layering and filling stay exactly the same.
Storage and Reheating
- Refrigerator: Keep covered for up to 4 days. The crackers continue softening, so the texture gets creamier and less defined after day two.
- Freezer: It freezes well in individual slices wrapped tightly. Thaw in the refrigerator, not on the counter, so the filling doesn’t weep as it warms.
- Reheating: Don’t reheat it. Serve it cold straight from the fridge, and use a sharp knife wiped clean between cuts for the neatest slices.