
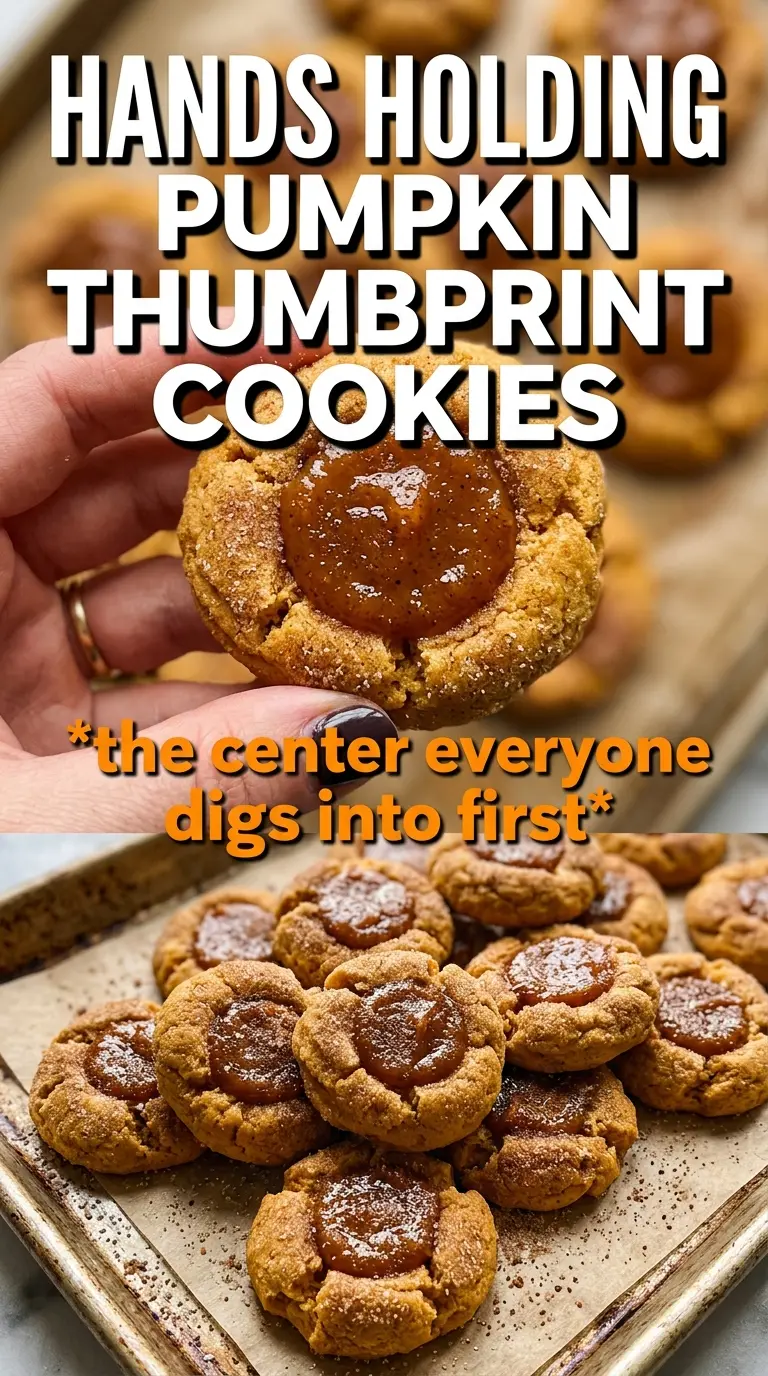
Soft pumpkin shortbread with a deep thumbprint center hits the sweet spot between tender and structured, and that little well in the middle keeps every bite interesting. These cookies bake up with crisp edges, a buttery crumb, and just enough pumpkin spice to taste like fall without turning cakey or heavy. The filling matters, too: cream cheese gives you tang and contrast, while thick caramel makes the whole cookie taste a little richer and more dessert-like.
The trick is keeping the pumpkin dry. Fresh pumpkin puree straight from the can can add enough moisture to make the dough spread and lose that clean thumbprint shape, so blotting it first really pays off here. Chilling the dough also keeps the cookies from flattening before they set, which is the difference between neat little rounds and soft puddles on the pan.
Below, I’ve included the one step people usually rush, plus a few filling and storage ideas in case you want to switch between cream cheese and caramel or make them ahead for a party tray.
The cookies held their shape beautifully, and the cream cheese center stayed thick instead of running all over the pan. I chilled the dough like you said, and that made the thumbprints super easy to press.
Pumpkin Thumbprint Cookies with cream cheese or caramel filling are the kind of cookies worth pinning for bake sales, dessert trays, and holiday cookie boxes.
The Pumpkin Moisture Mistake That Ruins Thumbprint Cookies
Thumbprint cookies need a dough that can hold an indentation without collapsing, and pumpkin makes that trickier than it looks. Even a small amount of extra moisture can soften the dough enough that the cookies spread before they set, which is why these stay sturdier when the pumpkin is blotted first. You still get the flavor and color, but you’re removing the water that works against the shortbread texture.
Chilling matters for the same reason. Cold dough holds the deep thumbprint better, and it gives the butter time to firm up so the cookies bake into neat rounds instead of flat disks. If your dough feels sticky after mixing, that’s the warning sign to stop and refrigerate it before shaping.
What Each Ingredient Is Actually Doing in These Cookies
- Butter — Softened butter gives the cookies their tender, shortbread-like crumb. Use real butter here; it’s the base of the texture and the flavor.
- Pumpkin puree — Blotted pumpkin adds color and a gentle pumpkin note without flooding the dough with moisture. If you skip blotting, the cookies are more likely to spread and lose that clean edge.
- Flour — This keeps the cookies structured enough to hold the thumbprint. If your kitchen runs humid, spoon and level the flour instead of scooping it straight from the bag.
- Pumpkin pie spice and cinnamon — The spice blend gives the cookies their warm background note, while the extra cinnamon makes the coating and the filling taste more defined. If you only have pumpkin pie spice, use it in the dough and skip the extra cinnamon in a pinch.
- Cream cheese filling or caramel — Cream cheese gives you a tangy, thicker center that holds beautifully. Caramel is easier and richer, but it should be thick enough to stay put once the cookies cool.
- Cinnamon sugar — This is more than decoration. It adds a little crunch and keeps the outside from tasting one-note.
How to Keep the Centers Neat and the Cookies Tender
Mix the Dough Without Overworking It
Beat the butter and sugar until the mixture looks smooth and lighter in color, then mix in the blotted pumpkin and vanilla just until combined. Once the dry ingredients go in, stop as soon as you no longer see flour streaks. If you keep beating after that, the dough can turn tough and the cookies lose that soft, shortbread texture.
Chill Before You Shape
Refrigerate the dough for 30 minutes so it firms up enough to roll cleanly. The dough should feel cool and pliable, not sticky or greasy. If it still clings to your hands, give it another 10 minutes in the fridge instead of adding more flour, which can make the cookies dry.
Press the Thumbprint Before Baking
Roll the dough balls in cinnamon sugar, place them on the sheet, and press a deep indentation in each one before they go in the oven. The centers puff a little as they bake, so press deeper than you think you need to. If the indent is too shallow, it disappears and leaves you with a domed cookie instead of a filled thumbprint.
Fill After They Cool
Let the cookies cool completely before adding the cream cheese mixture or caramel. Warm cookies soften the filling and can make it slide off the center. A cooled cookie gives you a clean, set well that holds the filling neatly and looks finished instead of messy.
How to Adapt These for Different Fillings and Make-Ahead Baking
Cream Cheese Filling for a Tangy Finish
Beat the cream cheese, powdered sugar, cinnamon, and vanilla until smooth and pipe or spoon it into the cooled cookies. This filling gives you a cooler, tangier contrast against the spiced cookie, and it stays thick if the cookies are fully cool before filling.
Caramel Thumbprints for a Richer Cookie
Use a thick caramel sauce instead of the cream cheese filling if you want a softer, sweeter center. Thin caramel will slide, so the key is a sauce that’s spoonable and stays put once it cools.
Dairy-Free Version
Use a good dairy-free butter stick in place of the butter, then fill the centers with caramel instead of cream cheese. The cookies will still bake up tender, though the flavor will be a little less rich and more spice-forward.
Storage and Reheating
- Refrigerator: Store filled cookies in an airtight container for up to 4 days. The cream cheese center should stay chilled, and the cookie will soften slightly on day two.
- Freezer: Freeze the baked cookies unfilled for up to 2 months. Thaw at room temperature, then fill after the cookies are fully soft again.
- Reheating: These cookies are best served at room temperature. If you want a little warmth, heat only the unfilled cookies briefly; warming filled cookies can make the cream cheese loose and the caramel run.