Monster cookies land in that sweet spot between hearty and nostalgic: thick peanut butter cookies with chewy oats, pockets of melted chocolate, and bright M&Ms in every bite. They bake up with crisp edges and soft centers, and because there’s no flour in the dough, the texture stays dense in the best possible way instead of dry or cakey.
What makes this version work is the balance. The peanut butter carries the dough, the oats give it structure, and the eggs hold everything together without needing flour. The trick is to stop mixing as soon as the oats are evenly distributed; overmixing can make the dough stiff and the cookies lose that tender middle. A short rest isn’t necessary here, which keeps the process fast enough for a weeknight baking session.
Below, I’ve included the one detail that keeps monster cookies from spreading too much, plus the small ingredient choices that make the texture turn out just right every time.
The cookies came out thick and chewy, and the M&Ms stayed bright instead of bleeding into the dough. I also loved that they held their shape after cooling — no flat cookies here.
Save these thick peanut butter monster cookies for the days when you want chewy oats, melty chocolate, and bright M&Ms in one pan.
The Dough That Looks Too Loose Until the Oven Fixes It
Monster cookie dough should look thick but soft, almost like it needs more structure. That’s normal. The oats absorb moisture as the cookies bake, and the eggs set the dough into a dense, chewy cookie that holds together without flour. If the mixture feels dry before baking, the cookies usually turn out crumbly; if it feels a little sticky, you’re on the right track.
The biggest mistake here is baking until the centers look fully set in the oven. Pull them when the edges are just turning golden and the middles still look slightly underbaked. They finish on the pan, and that carryover heat is what keeps them soft instead of turning them into oat-heavy hockey pucks.
What Each Ingredient Is Actually Doing in These Cookies
- Creamy peanut butter — This is the backbone of the dough, so use a standard no-stir style if you want consistent results. Natural peanut butter can work, but it often makes the dough greasy or too loose unless you stir it extremely well and accept a slightly different texture.
- Quick-cooking oats — These give the cookies their chewy structure and help them bake up thick. Old-fashioned oats can be used, but they create a chunkier, rougher cookie with a looser bite; quick oats blend in better and hold the dough together more evenly.
- Brown sugar and granulated sugar — Brown sugar brings moisture and chew, while granulated sugar helps the edges set and crisp. If you cut the granulated sugar too much, the cookies can bake up softer and a little heavier.
- M&Ms and chocolate chips — The mix of candy and chocolate is what makes these feel like monster cookies instead of plain peanut butter oat cookies. Mini chocolate chips distribute more evenly than full-size chips, which means you get chocolate in more bites.
Getting the Shape and Bake Time Right
Mix the Dough Until It Just Comes Together
Start by beating the peanut butter and sugars until the mixture looks smooth and a little glossy. Add the eggs, vanilla, and baking soda next, then mix until the batter loosens before you add the oats. If you dump everything in at once, the dough gets uneven and it’s harder to tell when the oats are fully incorporated.
Fold in the Mix-Ins at the End
Stir in the oats first, then fold in the M&Ms and chocolate chips only until they’re spread through the dough. Overmixing at this stage can crush the candy and smear the chocolate. The dough should look chunky and generously loaded, not perfectly uniform.
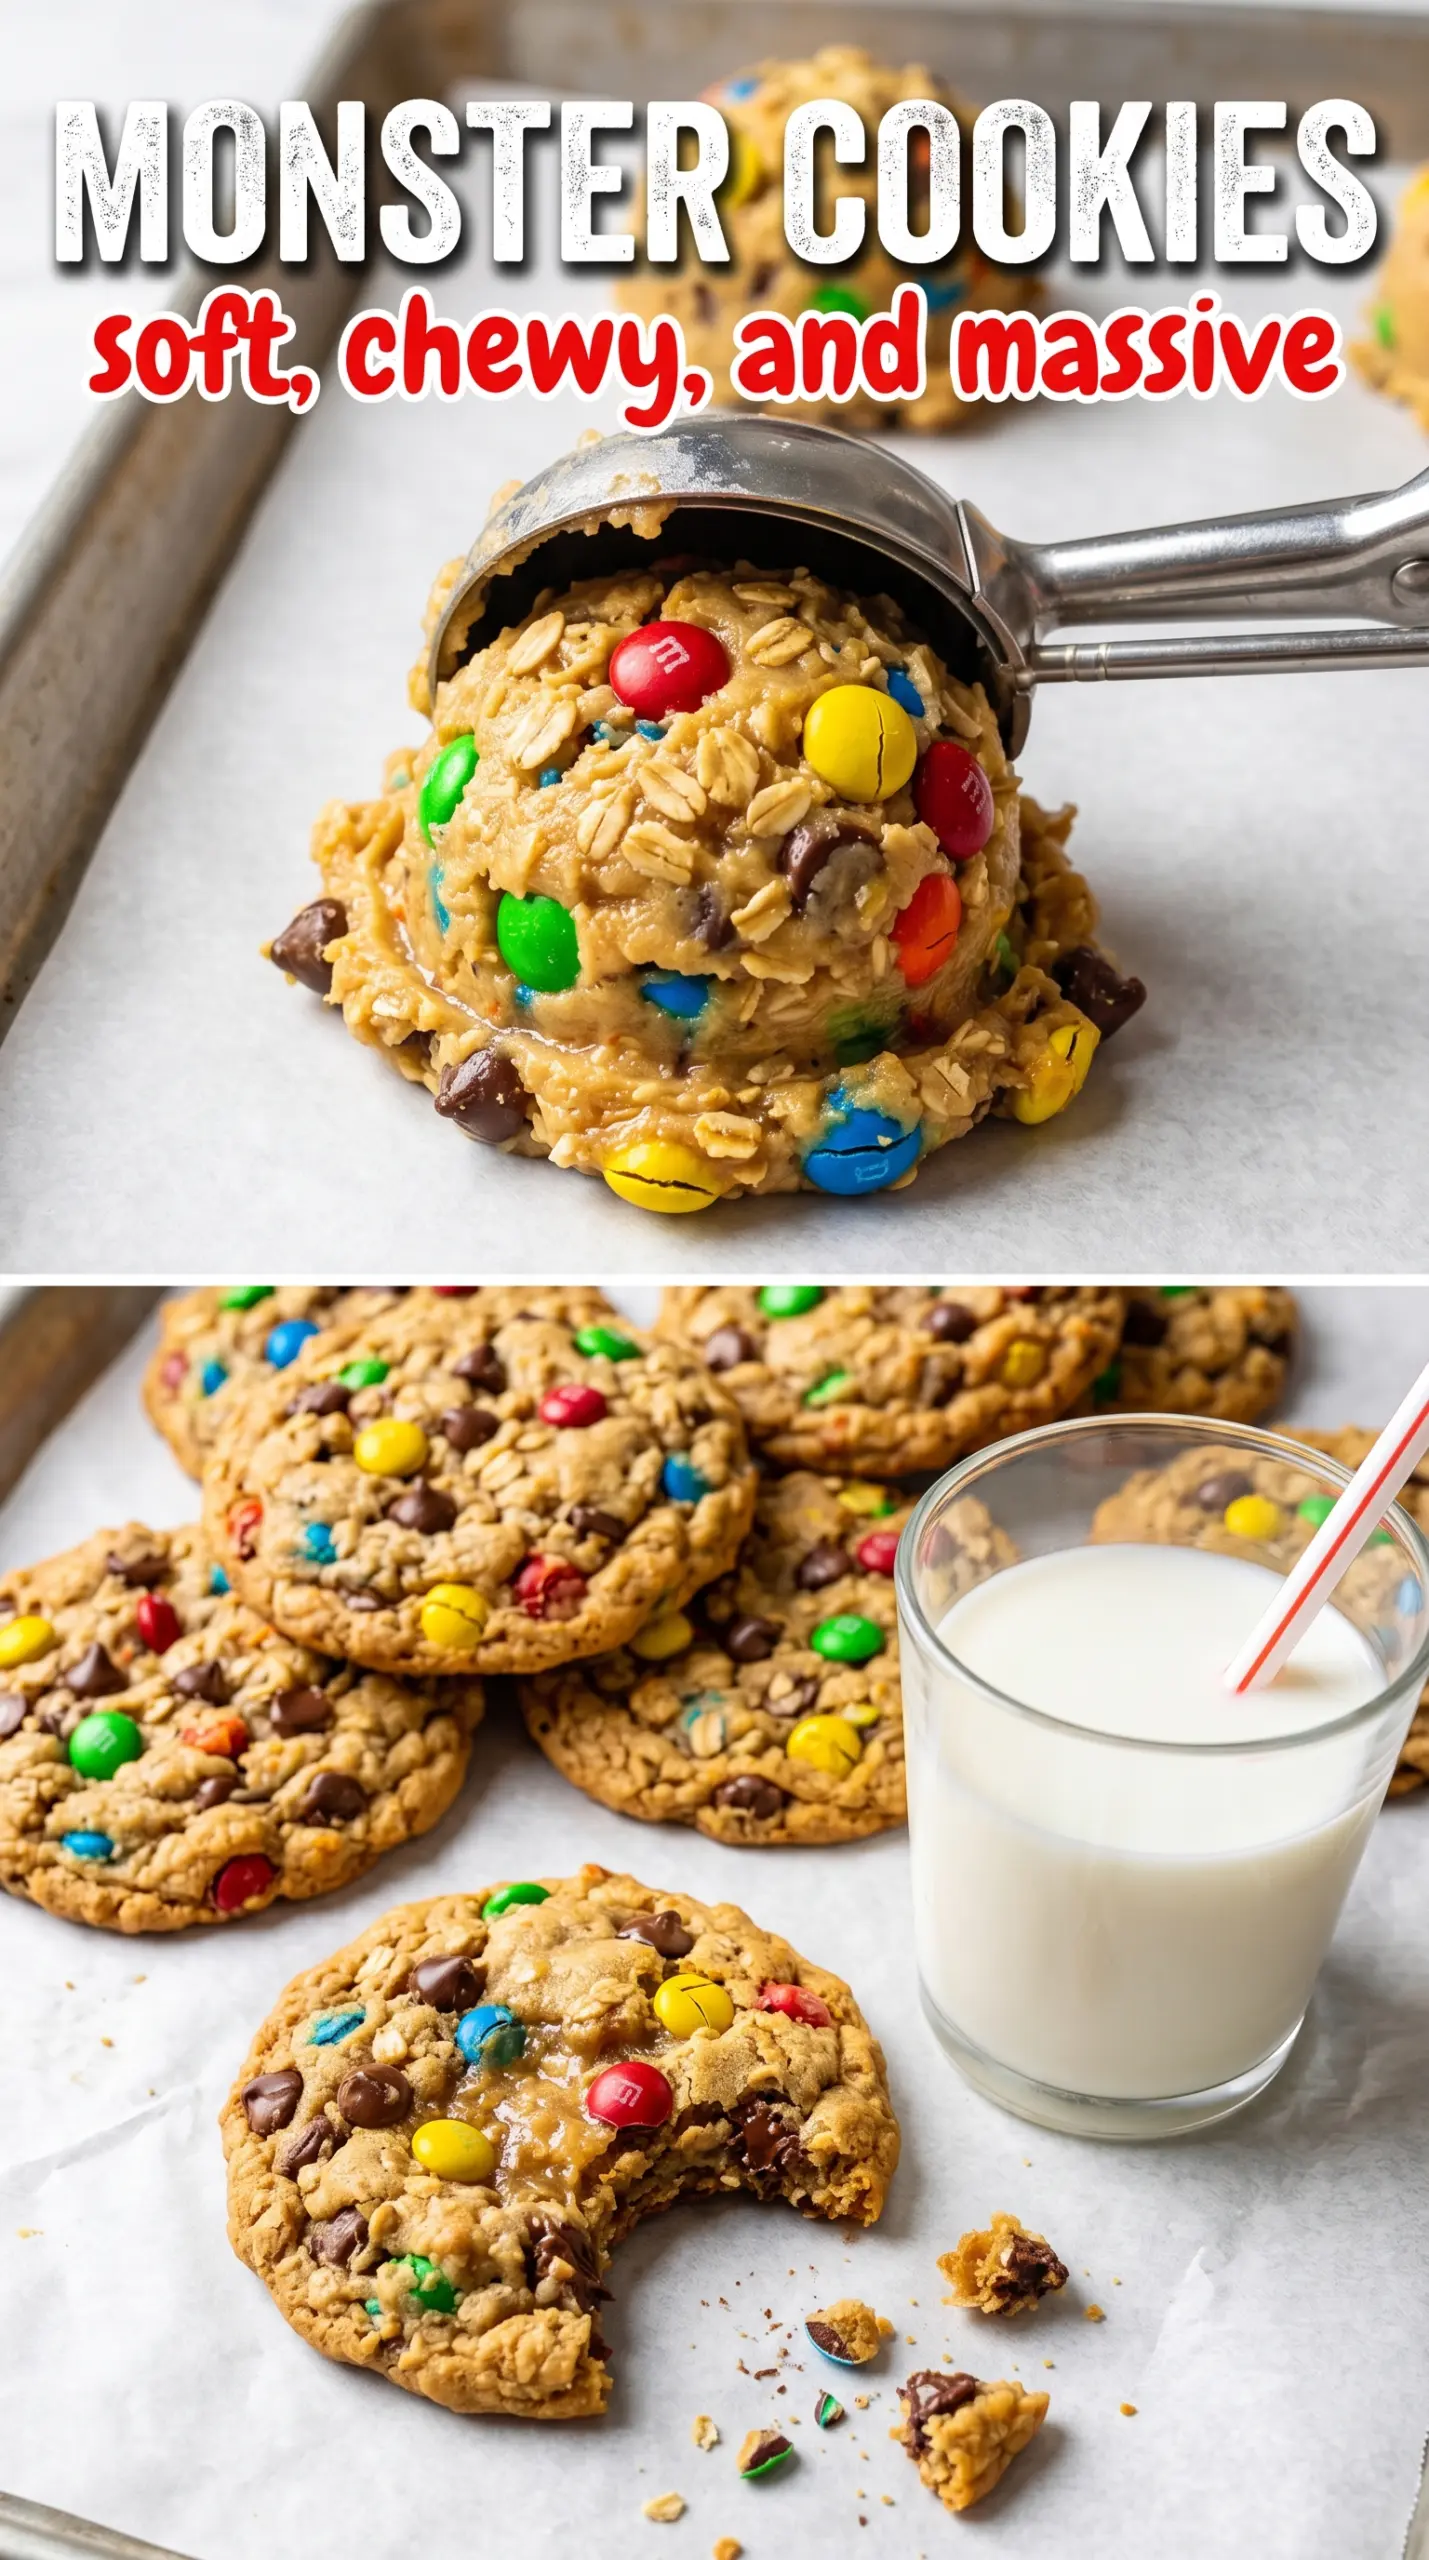
Flatten Before Baking, Then Trust the Oven
Scoop the dough into 2-tablespoon portions and flatten each one slightly with your palm. These cookies don’t spread dramatically, so starting with a little shape helps them bake into thick rounds instead of mounds. Pull them from the oven when the edges are set and the centers still look a touch soft; they firm up as they cool on the baking sheet.
Make Them Gluten-Free Without Changing the Flavor
Use certified gluten-free oats and keep everything else the same. Since this recipe already skips flour, the swap is easy, and the cookies still bake up thick and chewy with the same peanut butter base.
Swap the Candy for a Different Finish
Use chopped peanut butter cups, seasonal candies, or white chocolate chips in place of some of the M&Ms. The texture stays the same, but the cookies shift from bright and playful to sweeter and more bakery-style.
Use Old-Fashioned Oats for a Heavier Bite
Old-fashioned oats give you a chunkier cookie with more chew and a little less uniform texture. They work well if you like a heartier cookie, but the centers will feel slightly more rustic and the dough may need an extra minute or two to set.
Storage and Reheating
- Refrigerator: Store in an airtight container for up to 5 days. The oats will keep absorbing moisture, so the cookies stay chewy rather than crisp.
- Freezer: These freeze well for up to 2 months. Freeze baked cookies in a single layer first, then move them to a bag or container so the M&Ms don’t stick together.
- Reheating: Warm a cookie in the microwave for 8 to 10 seconds if you want the chocolate soft again. Don’t overheat them or the edges turn hard and the centers dry out fast.
Questions I Get Asked About This Recipe

Monster Cookies
Ingredients
Equipment
Method
- Preheat oven to 350°F and line two baking sheets with parchment paper, keeping parchment flat to prevent sticking.
- Beat creamy peanut butter, brown sugar, and granulated sugar together in a large bowl until combined and glossy.
- Add large eggs, vanilla extract, and baking soda and mix until smooth, with no streaks of sugar visible.
- Stir in quick-cooking oats until fully incorporated so the dough looks thick and studded.
- Fold in M&Ms (red, white, and blue for patriotic version), chocolate chips, and mini chocolate chips so the mix has colorful pieces throughout.
- Scoop dough into 2-tablespoon balls and place 2 inches apart on prepared baking sheets, flattening slightly with your palm for even spread.
- Bake for 10–12 minutes at 350°F until edges are set but centers still look slightly underdone for a soft finish.
- Let cool on the baking sheet for 5 minutes, then transfer to a wire rack where cookies firm up as they cool.