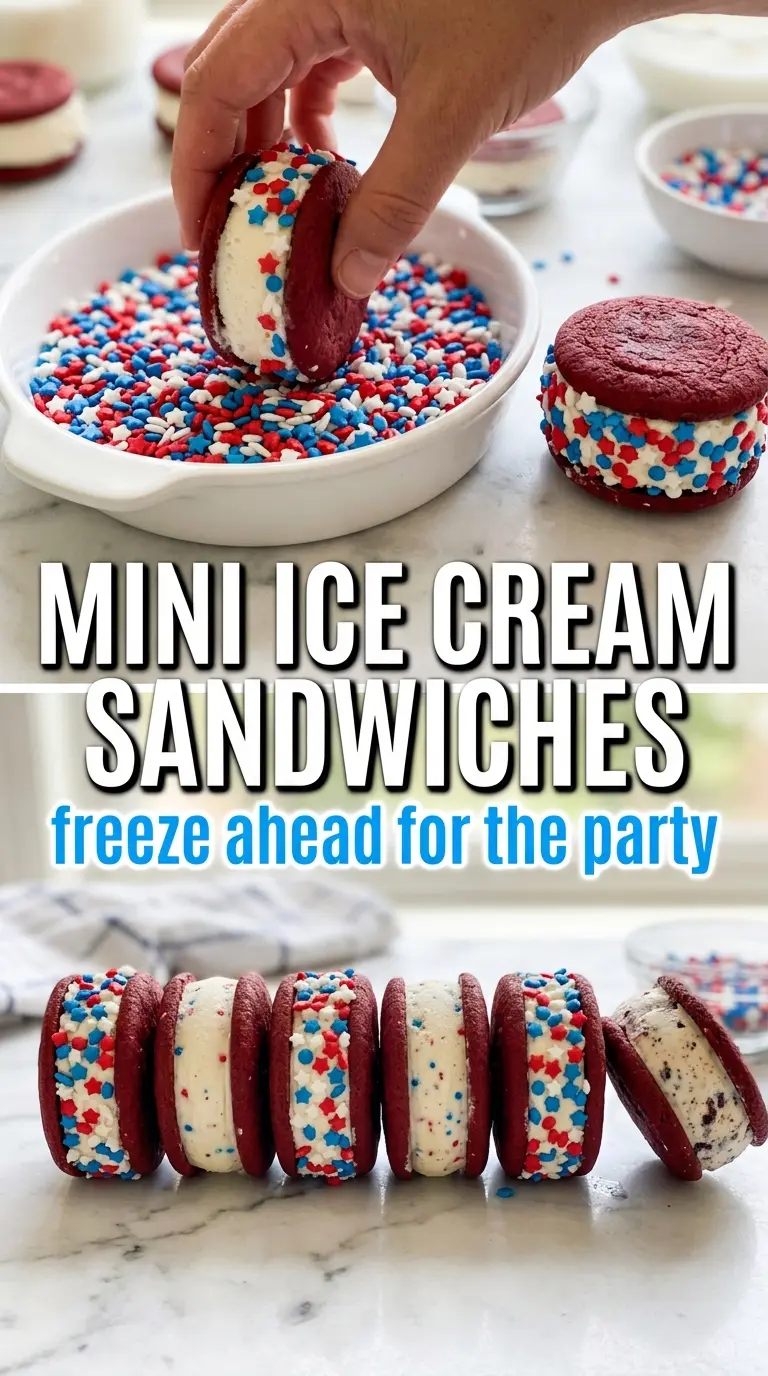
Mini ice cream sandwiches hit that sweet spot between nostalgic and practical: all the fun of a bakery-style frozen treat, but in a size that’s easy to grab, serve, and actually finish before it melts down your hand. These patriotic little stacks keep the cookies soft enough to bite through straight from the freezer, while the vanilla ice cream stays creamy in the middle and the sprinkle edge gives you that red, white, and blue finish that looks festive without extra work.
The part that makes them work is the cookie texture. A cake-mix cookie bakes up with a tender, brownie-like chew that stays pleasant after freezing, instead of turning hard and crumbly. Slightly softened ice cream matters here too — if it’s too cold, the sandwiches shift and crack; if it’s too soft, the filling squeezes out before you can get the sprinkles on. The quick freeze after assembly is what helps them hold their shape cleanly.
Below you’ll find the small details that keep the cookies from overbaking, how to pack the sandwiches so the sprinkle border sticks, and a few easy ways to change the color theme or flavor without losing the structure.
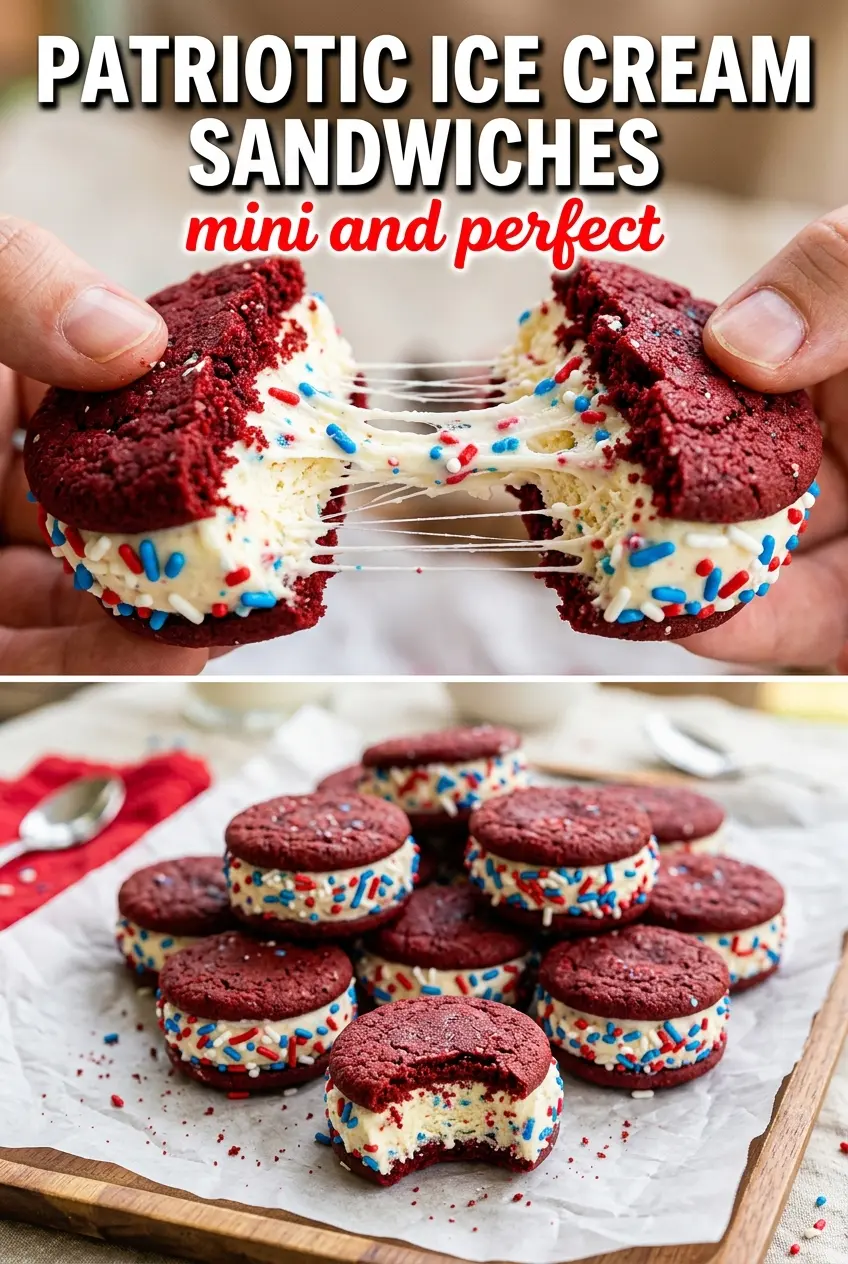
The cookies stayed soft even after freezing, and the sprinkle edge made them look like I bought them from a bakery. I had to work fast with the ice cream, but the sandwiches set up perfectly after a couple hours in the freezer.
Like these Patriotic Mini Ice Cream Sandwiches? Save them for your next red, white, and blue dessert table.
The Part That Keeps These Sandwiches Soft After Freezing
The mistake most people make with homemade ice cream sandwiches is baking the cookies too long. They should look set at the edges and still a little soft in the center when they come out, because they keep firming up as they cool. If they bake until crisp, they turn stubborn in the freezer and crack when you press the ice cream in.
The other thing that matters is size. Tablespoon-sized dough balls give you cookies that are small enough to freeze quickly and stack neatly, which is what makes them feel tidy instead of messy. You’re aiming for a cookie that bends slightly under pressure, not one that snaps the second you bite into it.
- Underbaking slightly — Pulling them at the 8 to 10 minute mark keeps the centers tender enough to stay pleasant after freezing.
- Cooling completely — Warm cookies melt the ice cream too fast and make the sandwich slide before it sets.
- Freezing the cookies before assembly — A short freeze gives them structure, which makes the filling step much cleaner.
What Each Ingredient Is Doing Here
- Red velvet or chocolate cake mix — This is the shortcut that gives you a soft, slightly chewy cookie with almost no measuring. Red velvet gives you the strongest patriotic look, while chocolate makes a deeper, less sweet cookie base.
- Eggs and vegetable oil — The eggs bind the dough, and the oil keeps the cookies tender after freezing. Butter can work in a pinch, but it usually bakes into a firmer cookie here.
- Vanilla ice cream — Use a good, creamy vanilla because it’s the filling you taste most. Let it soften just enough to scoop cleanly; if it’s soupy, the sandwiches won’t hold together.
- Red and blue sprinkles — These do more than decorate. They give the exposed ice cream edge a little texture so it looks finished and festive.
- Parchment paper and plastic wrap — Parchment keeps the cookies from sticking, and plastic wrap is what helps the finished sandwiches freeze into neat, grab-and-go portions.
Building the Cookies and Freezing the Sandwiches in the Right Order
Mixing the Dough Until It Just Comes Together
Stir the cake mix, eggs, and oil until you get a thick, uniform dough with no dry pockets left behind. It will look heavier than a normal cookie dough, and that’s what you want. If you keep mixing after it comes together, the dough gets sticky and harder to portion cleanly.
Baking for Soft Edges, Not Crisp Cookies
Scoop tablespoon-sized portions onto parchment and flatten them to about 1/4-inch thick circles so they bake evenly. Pull them when they’re set and the tops no longer look wet, even if they still look a little soft. The biggest failure here is overbaking by just a minute or two, which turns them into cookies that fight the ice cream instead of sandwiching it.
Assembling Fast While Everything Is Cold
Let the cookies cool all the way, then freeze them for 30 minutes before filling. Work with slightly softened ice cream and keep the other scoops in the freezer if your kitchen is warm, because the assembly goes downhill once the ice cream starts melting around the edges. Press the second cookie on gently so the filling spreads to the rim without oozing out.
Rolling the Edges and Locking Them In
As soon as the ice cream edge is exposed, roll it through the sprinkles so they stick before the surface firms up. Wrap each sandwich in plastic wrap and freeze until solid, at least 2 hours. If you skip the wrapping, the ice cream edge can pick up freezer smells and the cookies dry out faster.
Three Ways to Change the Color, Flavor, or Diet Without Losing the Structure
Chocolate Cookie Version
Use the chocolate cake mix if you want a darker, less red look and a deeper cocoa flavor. The texture stays the same, but the finished sandwiches read more like a classic ice cream treat than a holiday-specific dessert.
Dairy-Free Ice Cream Sandwiches
Swap in a dairy-free vanilla ice cream that freezes firm, not icy. Some almond- or oat-based versions soften faster than regular ice cream, so keep the sandwiches wrapped and frozen until the last minute or they’ll lose their edges sooner.
Gluten-Free Shortcut
Use a gluten-free chocolate or red velvet cake mix made for baking. The dough may feel slightly softer, so chill it for 10 to 15 minutes before scooping if it spreads too much in the oven.
Make-Ahead Party Tray
Assemble the sandwiches a full day ahead and freeze them overnight. They slice cleaner straight from the freezer, which makes them easier to serve on a platter without the ice cream squishing out the sides.
Storage and Reheating
- Refrigerator: Don’t store these in the fridge; the ice cream melts and the cookies turn sticky within minutes.
- Freezer: Wrap each sandwich individually in plastic wrap and keep them frozen for up to 2 weeks for the best texture.
- Reheating: No reheating needed. Let them sit at room temperature for 2 to 4 minutes before serving so the cookie softens just enough to bite cleanly.
Questions I Get Asked About This Recipe
Patriotic Mini Ice Cream Sandwiches
Ingredients
Equipment
Method
- Preheat the oven to 350°F and line baking sheets with parchment paper. Use a shiny sheet for even browning.
- Mix the cake mix, eggs, and vegetable oil until a thick dough forms. Stop when no dry streaks remain and the dough holds together.
- Scoop tablespoon-sized balls onto the prepared baking sheets and flatten to about 1/4-inch thick circles. Space them so they don’t touch while spreading.
- Bake at 350°F for 8–10 minutes, until the cookies are set and lightly firm. Do not overbake.
- Cool the cookies completely on a wire rack, then freeze for 30 minutes. This helps them hold their shape for sandwiching.
- Working quickly, place a scoop of slightly softened vanilla ice cream on the flat side of one cookie. Aim for a mound that reaches the edges without spilling.
- Press another cookie on top to form a mini sandwich. Press gently just until the filling evens out.
- Roll the exposed ice cream edge in red and blue sprinkles. Use your fingertips to help the sprinkles adhere cleanly.
- Wrap each sandwich in plastic wrap and freeze for at least 2 hours until solid before serving. Keep them flat in the freezer so the edges stay crisp.