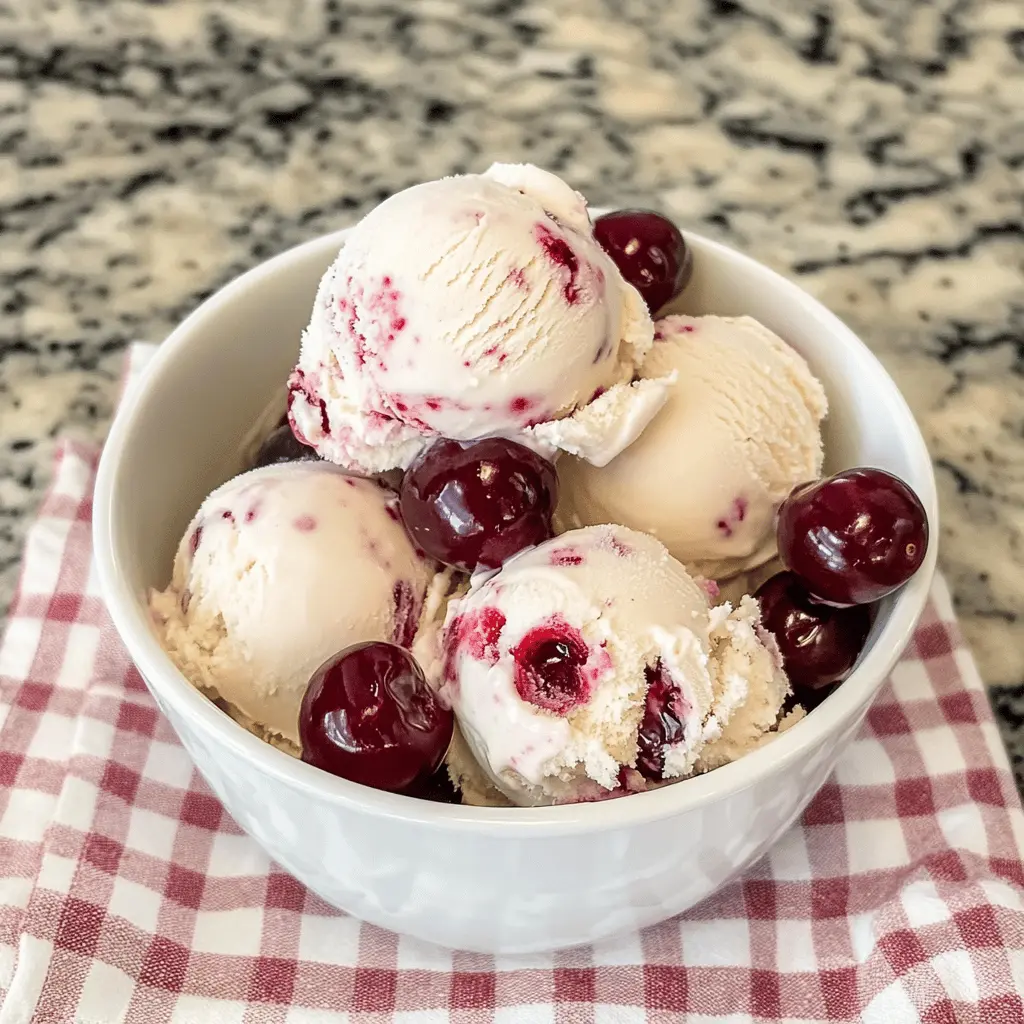
This easy homemade cherry vanilla ice cream is like a sweet summer day in a bowl! With creamy vanilla and delicious cherries, it’s perfect for cooling down.
I love how simple it is to make—just mix, freeze, and enjoy! Plus, you can pretend you’re a gourmet chef while whipping it up! 🍦
It’s great served by itself or with a slice of pie. Every scoop is a delightful treat that brings smiles all around. Who doesn’t love ice cream, right?
Key Ingredients & Substitutions
Cherries: Fresh cherries are ideal for the best flavor, but frozen cherries work well too, especially if they’re out of season. Consider using mixed berries or strawberries if cherries aren’t available.
Sugars: I use granulated sugar for sweetness in both the cherries and the ice cream base. You could substitute with honey or maple syrup, but keep in mind they might alter the final flavor slightly.
Heavy Cream and Milk: Heavy cream creates that rich and creamy texture. If you’re watching calories, you can use half-and-half. Dairy-free? Try coconut cream for a delicious alternative!
Vanilla Extract: Pure vanilla extract gives a wonderful flavor. If you are in a pinch, you can use imitation vanilla, but I prefer the taste of pure—the difference is noticeable!
How Do You Get the Perfect Swirl of Cherries in Ice Cream?
To achieve that beautiful cherry swirl, it’s important to add the cherries carefully. Here’s how:
- After macerating and lightly mashing the cherries, ensure you don’t blend them fully into the cream mixture. This way, you’ll maintain some chunky pieces.
- When mixing, use a gentle folding motion rather than stirring vigorously. This keeps those pretty streaks intact.
- Churn the mixture according to your ice cream maker directions, and don’t rush this step. The longer it churns, the creamier it will be!
These simple tips will help you create a visually appealing and tasty cherry vanilla ice cream. Enjoy the process of making it at home—a delicious treat awaits!
Easy Homemade Cherry Vanilla Ice Cream
Ingredients You’ll Need:
- 2 cups fresh or frozen cherries, pitted and halved
- 1/4 cup granulated sugar (for cherries)
- 2 cups heavy cream
- 1 cup whole milk
- 3/4 cup granulated sugar
- 1 tablespoon pure vanilla extract
- Pinch of salt
How Much Time Will You Need?
This delightful cherry vanilla ice cream requires about 15 minutes of active prep time and approximately 4 hours of freezing time. So, don’t forget to allow enough time for chilling before you dig in!
Step-by-Step Instructions:
1. Prepare the Cherries:
In a small bowl, toss the pitted and halved cherries with 1/4 cup of sugar, allowing their natural sweetness to enhance as they macerate for about 15-20 minutes. You want to see those juicy cherries release their deliciousness!
2. Mix the Ice Cream Base:
While the cherries are working their magic, take a mixing bowl and whisk together the heavy cream, whole milk, 3/4 cup sugar, vanilla extract, and a pinch of salt. Make sure to whisk until the sugar is completely dissolved for that perfect creamy texture.
3. Create a Chunky Cherry Sauce:
Once the cherries are ready, grab a fork and lightly mash some of them in the bowl. You want a chunky mixture, so don’t overdo it—this will add delightful bits of cherry throughout your ice cream!
4. Combine and Swirl:
Now, gently fold the cherry mixture into your creamy base. Stir carefully so you keep those beautiful cherry swirls intact without fully blending them in. It’s all about those yummy streaks!
5. Churn the Mixture:
Pour the cherry-vanilla mixture into your ice cream maker and churn according to the manufacturer’s instructions, usually about 20-25 minutes, until it has a soft-serve consistency.
6. Freeze to Firm Up:
Transfer your churned ice cream into a freezer-safe container. Let it freeze for at least 4 hours or until it reaches your desired firmness. Patience is key!
7. Serve and Enjoy:
When you’re ready to serve, let the ice cream sit out for a few minutes to soften slightly for easier scooping. Dish it out and enjoy the delicious flavor of homemade cherry vanilla ice cream!
Each spoonful brings the perfect balance of creaminess and fruity goodness—an absolutely refreshing dessert any time of year!

FAQ About Easy Homemade Cherry Vanilla Ice Cream
Can I Use Frozen Cherries Instead of Fresh?
Absolutely! Frozen cherries work well in this recipe. Just make sure to thaw them slightly before pitting and halving. They’ll still provide that delicious cherry flavor!
How Can I Store Leftover Ice Cream?
Store leftovers in an airtight container in the freezer for up to 2 weeks. To keep it creamy, press a piece of plastic wrap directly on the surface before sealing the container.
Can I Make This Ice Cream Without an Ice Cream Maker?
Yes! Pour the mixture into a shallow dish instead of an ice cream maker. Freeze it, and every 30-45 minutes, stir it vigorously with a fork to break up any ice crystals, repeating this for about 3 hours until it reaches a creamy consistency.
How Can I Sweeten the Ice Cream Without Granulated Sugar?
If you prefer a natural sweetener, feel free to substitute granulated sugar with honey, maple syrup, or agave nectar. Just remember, this may slightly change the flavor and texture, so adjust according to your taste!