This Easy No-Churn Cookie Monster Ice Cream is a fun treat that’s creamy, sweet, and packed with cookie bits! No ice cream maker needed, just whip it up and freeze!
It’s perfect for when you’re craving dessert but don’t want to fuss too much. I love mixing in extra cookies just to make it even more delightful—who can resist that? 🍪
Key Ingredients & Substitutions
Heavy Whipping Cream: This is what gives the ice cream its creamy texture. If you’re looking for a lighter version, you can try using half-and-half, but the texture won’t be as rich.
Sweetened Condensed Milk: This sweet treat helps create a smooth ice cream without the need for churning. If you’re looking for a lower-sugar option, try using sweetened condensed coconut milk, which can give a nice tropical hint!
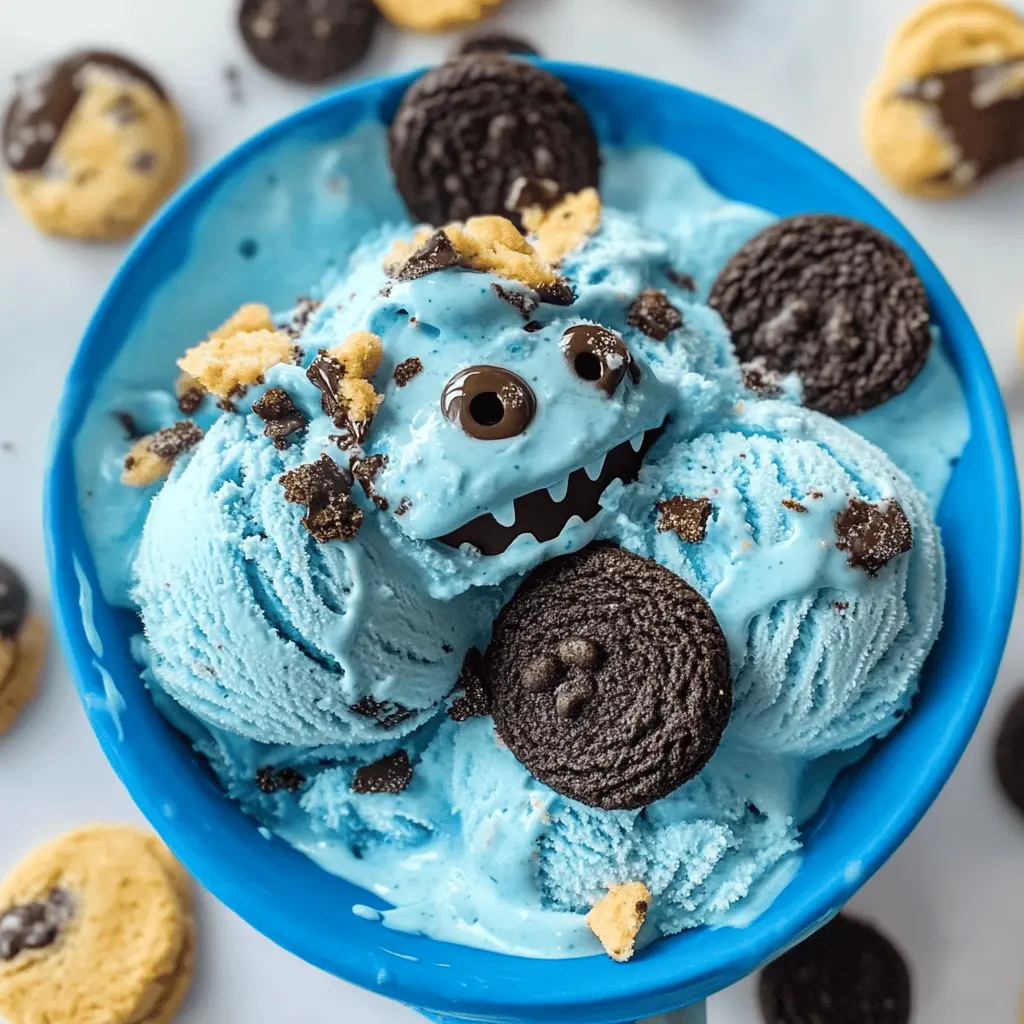
Blue Food Coloring: This is what makes the ice cream fun and vibrant! If you prefer a natural option, consider using spirulina powder, just be aware it might alter the ice cream’s taste slightly.
Chocolate Sandwich Cookies: Oreos are classic, but you can swap them with any chocolate cream-filled cookies you love. For a healthier twist, try dark chocolate sandwich cookies.
How Can You Achieve the Right Creamy Texture Without an Ice Cream Maker?
To get the perfect creamy texture in your no-churn ice cream, the whipping cream needs to be whipped to stiff peaks. Here’s how to nail it:
- Start with cold heavy cream to help it whip up nicely.
- Use a clean bowl and beaters to avoid any grease or residue affecting the whipping process.
- Whip on medium to high speed until the mixture is thickened and holds peaks. This usually takes about 3-5 minutes.
- Fold the whipped cream gently with the condensed milk mixture to keep it light and airy, which is essential for the final texture.
These techniques will ensure your ice cream is creamy and not icy, giving you a delightful treat without the extra fuss!
Easy No-Churn Cookie Monster Ice Cream
Ingredients You’ll Need:
- 2 cups heavy whipping cream, cold
- 1 (14 oz) can sweetened condensed milk
- 1 teaspoon vanilla extract
- Blue food coloring (about 10-15 drops, or until desired color)
- 1 cup crushed chocolate sandwich cookies (e.g., Oreos)
- 1 cup crushed chocolate chip cookies
- Extra whole cookies for garnish (optional)
How Much Time Will You Need?
This recipe requires about 15 minutes of hands-on prep time, followed by at least 6 hours in the freezer to firm up. It’s perfect for preparing ahead of time for a party or a special treat!
Step-by-Step Instructions:
1. Whip the Cream:
In a large mixing bowl, pour in the cold heavy whipping cream. Using an electric mixer, whip the cream on high speed until stiff peaks form. This means when you lift the beaters, the cream should hold its shape and not fold over.
2. Prepare the Condensed Milk Mixture:
In a separate bowl, combine the sweetened condensed milk, vanilla extract, and blue food coloring. Stir together until you achieve a nice, bright blue color. Add more coloring if you want a deeper blue!
3. Combine the Mixtures:
Now it’s time to create that luscious texture. Gently fold the blue condensed milk mixture into the whipped cream using a spatula. Make sure to fold carefully to keep the mixture light and airy; you don’t want to deflate the whipped cream!
4. Add the Cookies:
Next, fold in the crushed chocolate sandwich cookies and chocolate chip cookies. Mix until they are evenly distributed throughout the blue mixture. You want every bite to have that delicious cookie crunch!
5. Freeze the Mixture:
Pour the mixture into a freezer-safe container. Smooth out the top to make it nice and even. Cover it tightly with a lid or plastic wrap.
6. Chill Out!
Place the container in the freezer and let it freeze for at least 6 hours, or overnight if you prefer. This will allow the ice cream to set perfectly!
7. Serve and Enjoy!
When you’re ready to enjoy this delicious creation, scoop it into bowls or cones. Feel free to top each scoop with an extra whole cookie for a fun garnish. Now, indulge in your homemade Cookie Monster Ice Cream!
Enjoy this vibrant and fun No-Churn Cookie Monster Ice Cream packed with cookie crunches and easy to make at home!

FAQ About Easy No-Churn Cookie Monster Ice Cream
Can I Use a Different Type of Cream?
Absolutely! While heavy whipping cream gives the best texture, you can substitute with a plant-based option like coconut cream for a dairy-free version. Just make sure it’s well-chilled before whipping!
Can I Add More Cookies or Different Flavors?
Yes, you can definitely customize your Cookie Monster Ice Cream! Feel free to add more crushed cookies or include other mix-ins like mini chocolate chips, sprinkles, or even a swirl of peanut butter. Just be cautious not to overload it, as that could affect the texture.
How Long Can I Store Leftover Ice Cream?
Your no-churn cookie monster ice cream can be stored in an airtight container in the freezer for up to 2 weeks. To keep it fresh, make sure it’s tightly covered to prevent ice crystals from forming.
What Should I Do If the Ice Cream Is Too Hard to Scoop?
If your ice cream is too hard to scoop straight out of the freezer, let it sit at room temperature for about 5-10 minutes before attempting to serve. This should soften it just enough to scoop easily!