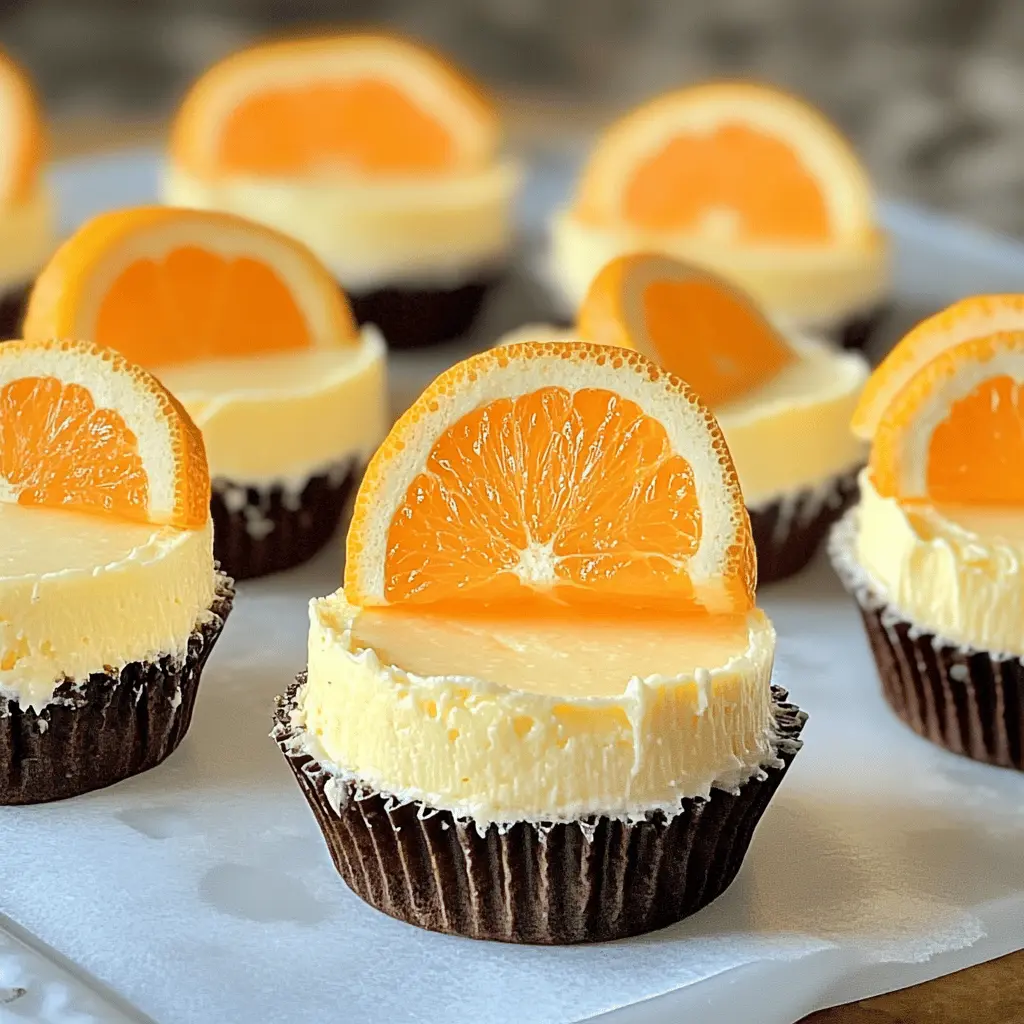
These Orange Creamsicle Mini Cheesecakes are a burst of sunshine in every bite! With a creamy orange filling and a crunchy graham cracker base, they are a treat for sure.
Who doesn’t love the nostalgia of creamsicles? I serve these at parties, and they vanish in no time. Plus, they’re super cute and perfect for sharing—if you can resist eating them all yourself! 😋
Key Ingredients & Substitutions
Oreo Cookie Crumbs: These bring a chocolatey depth to the cheesecakes. If you don’t have Oreos, try using other chocolate sandwich cookies or even graham cracker crumbs for a different flavor.
Cream Cheese: It’s essential for that classic cheesecake texture. For a lighter option, you could use reduced-fat cream cheese. Vegan cream cheese is also available if you’re looking for a dairy-free alternative.
Sour Cream: This adds richness and a slight tanginess. Greek yogurt can be a good substitute, giving the same creaminess with added protein. Just make sure to use plain, unsweetened yogurt!
Heavy Cream: Whipping cream helps create a light and fluffy cheesecake filling. You can use half-and-half in a pinch, but the texture may be less fluffy.
Orange Soda or Juice: This is the star for flavor! If you want a less sugary alternative, fresh orange juice works well, or even a bit of orange extract can add flavor without the fizz.
How Do I Make the Perfect Cheesecake Filling?
The filling can be tricky, but with the right technique, it can be easy! Start by making sure your cream cheese is very soft, which helps in blending everything smoothly. Here’s how to handle it:
- Beat the cream cheese first until it’s free of lumps.
- Add in sugar, sour cream, and vanilla extract gradually. Mix on low to avoid lumps and overmixing.
- When folding in the whipped cream, use a gentle hand to keep the air in. This keeps your filling light and fluffy!
Remember, it’s okay if there are a few small lumps in the filling; they will mostly disappear during baking and chilling!
How to Make Orange Creamsicle Mini Cheesecakes
Ingredients You’ll Need:
For the Crust:
- 1 cup Oreo cookie crumbs
- 4 tablespoons unsalted butter, melted
For the Cheesecake Filling:
- 16 oz cream cheese, softened
- 1/2 cup granulated sugar
- 1/4 cup sour cream
- 1 teaspoon vanilla extract
- 1/2 cup heavy cream
- 1/2 cup orange soda or orange juice
- Orange food coloring (optional)
For Topping:
- Whipped cream for topping
- Orange slices or wedges for garnish
How Much Time Will You Need?
This recipe takes about 15 minutes for preparation and 20-25 minutes of baking time. After baking, you’ll need to let the mini cheesecakes cool for about 30 minutes and then chill them in the fridge for at least 4 hours to set. So, plan for a total time of about 5 hours and 15 minutes before you can enjoy these delicious treats!
Step-by-Step Instructions:
1. Prepare the Muffin Tin:
Start by preheating your oven to 325°F (160°C). While it’s heating up, line a 12-cup muffin tin with paper liners. This will make it easier to remove the cheesecakes later on.
2. Make the Crust:
In a mixing bowl, combine the Oreo cookie crumbs with melted butter. Mix the ingredients together until the crumbs look like wet sand. This means they’re perfectly coated! Next, press this crumbly mixture firmly into the bottom of each muffin cup to form a nice crust.
3. Prepare the Cheesecake Filling:
In another large mixing bowl, take your softened cream cheese and beat it with an electric mixer until it’s nice and smooth. Then, add in the granulated sugar, sour cream, and vanilla extract. Mix everything together until it’s well combined and creamy.
4. Fold in the Whipped Cream:
In a separate bowl, whip the heavy cream until it forms soft peaks. Gently fold this whipped cream into your cream cheese mixture. This will make your filling light and fluffy!
5. Add the Orange Flavor:
Now, gradually mix in the orange soda or orange juice into the cheesecake filling. Stir until everything is blended smoothly. If you want a bright, cheerful color, you can add a few drops of orange food coloring at this point and mix until you achieve your desired shade.
6. Fill the Muffin Tin:
Spoon the cheesecake mixture over the crusts in the muffin tin, filling each cup to the top. Don’t worry, they won’t overflow!
7. Bake and Chill:
Place the muffin tin in the oven and bake for about 20-25 minutes. The edges should look set, but the centers should still jiggle a bit. Let the mini cheesecakes cool at room temperature for about 30 minutes. Then, pop them into the fridge for at least 4 hours, or until they are fully set and chilled.
8. Serve and Enjoy:
Once they are set and ready, carefully remove the mini cheesecakes from the muffin tin and peel off the paper liners. Top each one with a dollop of whipped cream and a small slice of orange as a lovely garnish. Now, enjoy your delicious Orange Creamsicle Mini Cheesecakes!

Can I Use Different Cookies for the Crust?
Absolutely! You can substitute Oreo cookie crumbs with other cookie types like graham crackers, Nilla wafers, or chocolate digestive biscuits. Just make sure to crush them finely and mix with the melted butter in the same way.
How Can I Make These Mini Cheesecakes Without Sour Cream?
If you don’t have sour cream, you can use plain Greek yogurt as a substitute! It will still provide that creamy texture and tangy flavor that complements the cheesecake perfectly.
Can I Freeze These Cheesecakes?
Yes, you can freeze them! Just make sure they are fully set first. Wrap each mini cheesecake tightly in plastic wrap and store them in an airtight container. They can last in the freezer for up to 2 months. Thaw them in the fridge overnight before serving.
What Should I Do If My Cheesecakes Are Still Jiggly After Baking?
Your cheesecakes may look slightly jiggly, which is normal. They will firm up in the refrigerator as they chill. If they are overly undercooked (very wobbly), you can return them to the oven for a few more minutes, but monitor closely to prevent overbaking!